SETUP AND CONNECTIONS
STEP 3: PLACE BATTERIES IN THE REMOTE
CONTROL
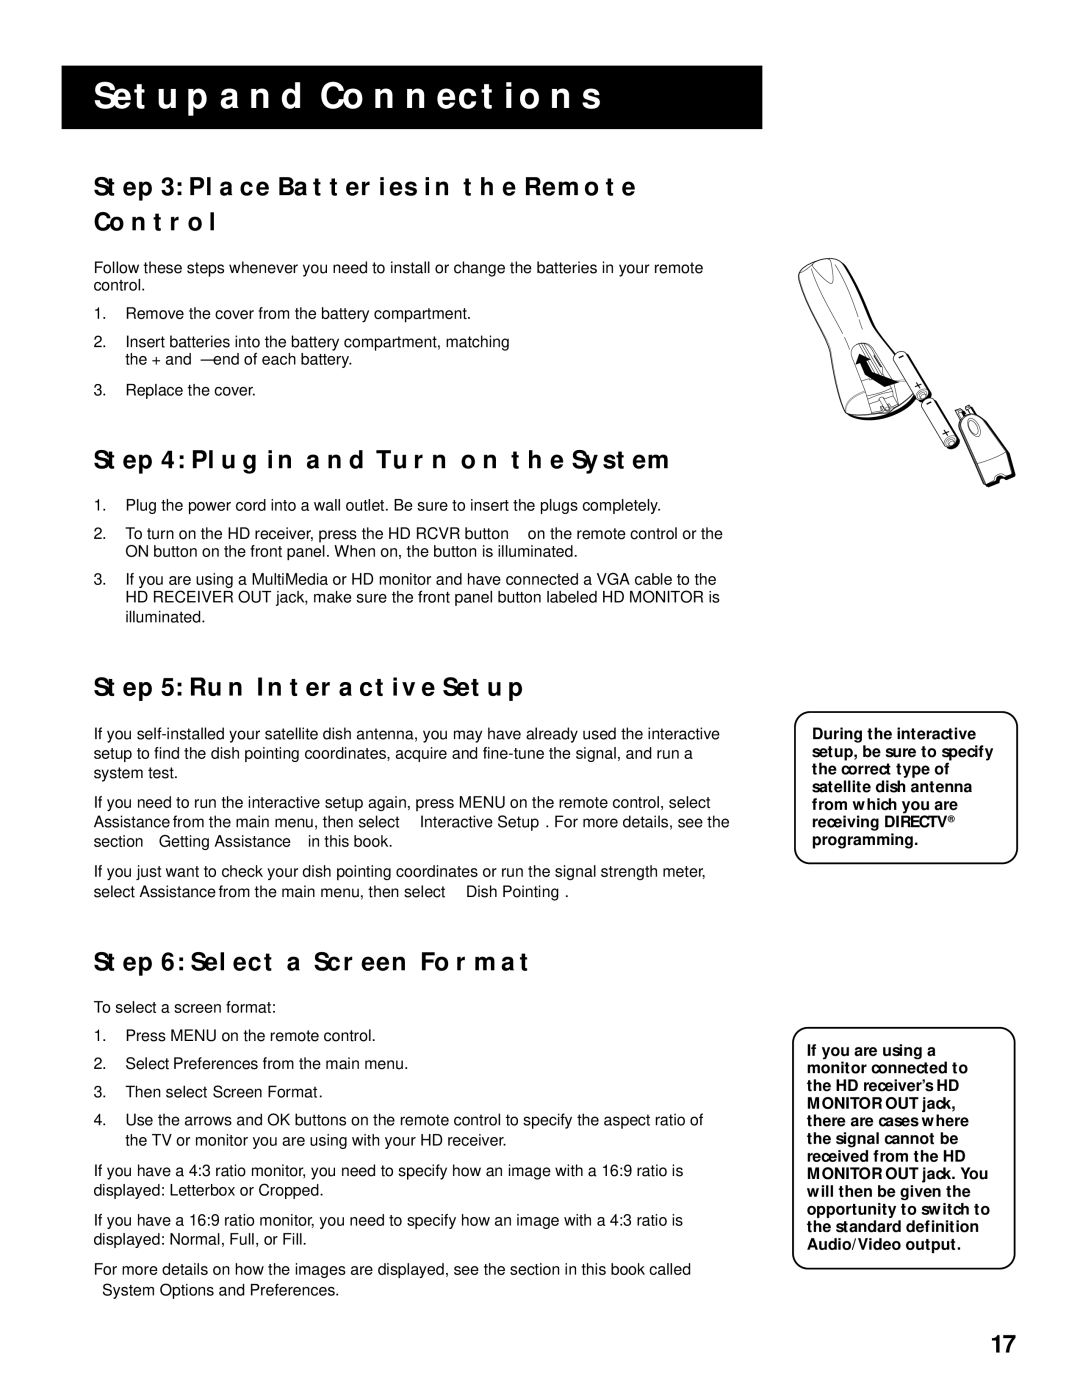
Follow these steps whenever you need to install or change the batteries in your remote control.
1.Remove the cover from the battery compartment.
2.Insert batteries into the battery compartment, matching the + and – end of each battery.
3.Replace the cover.
STEP 4: PLUG IN AND TURN ON THE SYSTEM
1.Plug the power cord into a wall outlet. Be sure to insert the plugs completely.
2.To turn on the HD receiver, press the HD RCVR button on the remote control or the ON button on the front panel. When on, the button is illuminated.
3.If you are using a MultiMedia or HD monitor and have connected a VGA cable to the HD RECEIVER OUT jack, make sure the front panel button labeled HD MONITOR is illuminated.
STEP 5: RUN INTERACTIVE SETUP
If you
If you need to run the interactive setup again, press MENU on the remote control, select Assistance from the main menu, then select Interactive Setup. For more details, see the section “Getting Assistance” in this book.
If you just want to check your dish pointing coordinates or run the signal strength meter, select Assistance from the main menu, then select Dish Pointing.
During the interactive setup, be sure to specify the correct type of satellite dish antenna from which you are receiving DIRECTV® programming.
STEP 6: SELECT A SCREEN FORMAT
To select a screen format:
1.Press MENU on the remote control.
2.Select Preferences from the main menu.
3.Then select Screen Format.
4.Use the arrows and OK buttons on the remote control to specify the aspect ratio of the TV or monitor you are using with your HD receiver.
If you have a 4:3 ratio monitor, you need to specify how an image with a 16:9 ratio is displayed: Letterbox or Cropped.
If you have a 16:9 ratio monitor, you need to specify how an image with a 4:3 ratio is displayed: Normal, Full, or Fill.
For more details on how the images are displayed, see the section in this book called “System Options and Preferences.”
If you are using a monitor connected to the HD receiver’s HD MONITOR OUT jack, there are cases where the signal cannot be received from the HD MONITOR OUT jack. You will then be given the opportunity to switch to the standard definition Audio/Video output.
17