Basic Operations
•The start menu is only displayed the first time the projector is used. However, the start menu is displayed when the projector is turned on after [Reset All] in [Default Settings] is executed.
•The display language and lamp power level can also be changed in the menu screen. For details, see p.59 "Default Settings Menu".
Selecting an Input Signal
Select a signal that is compatible with the equipment that is connected to the projector.
1.Turn on the equipment that is connected to the projector.
To project the image of a video player, press the play button on the video player.
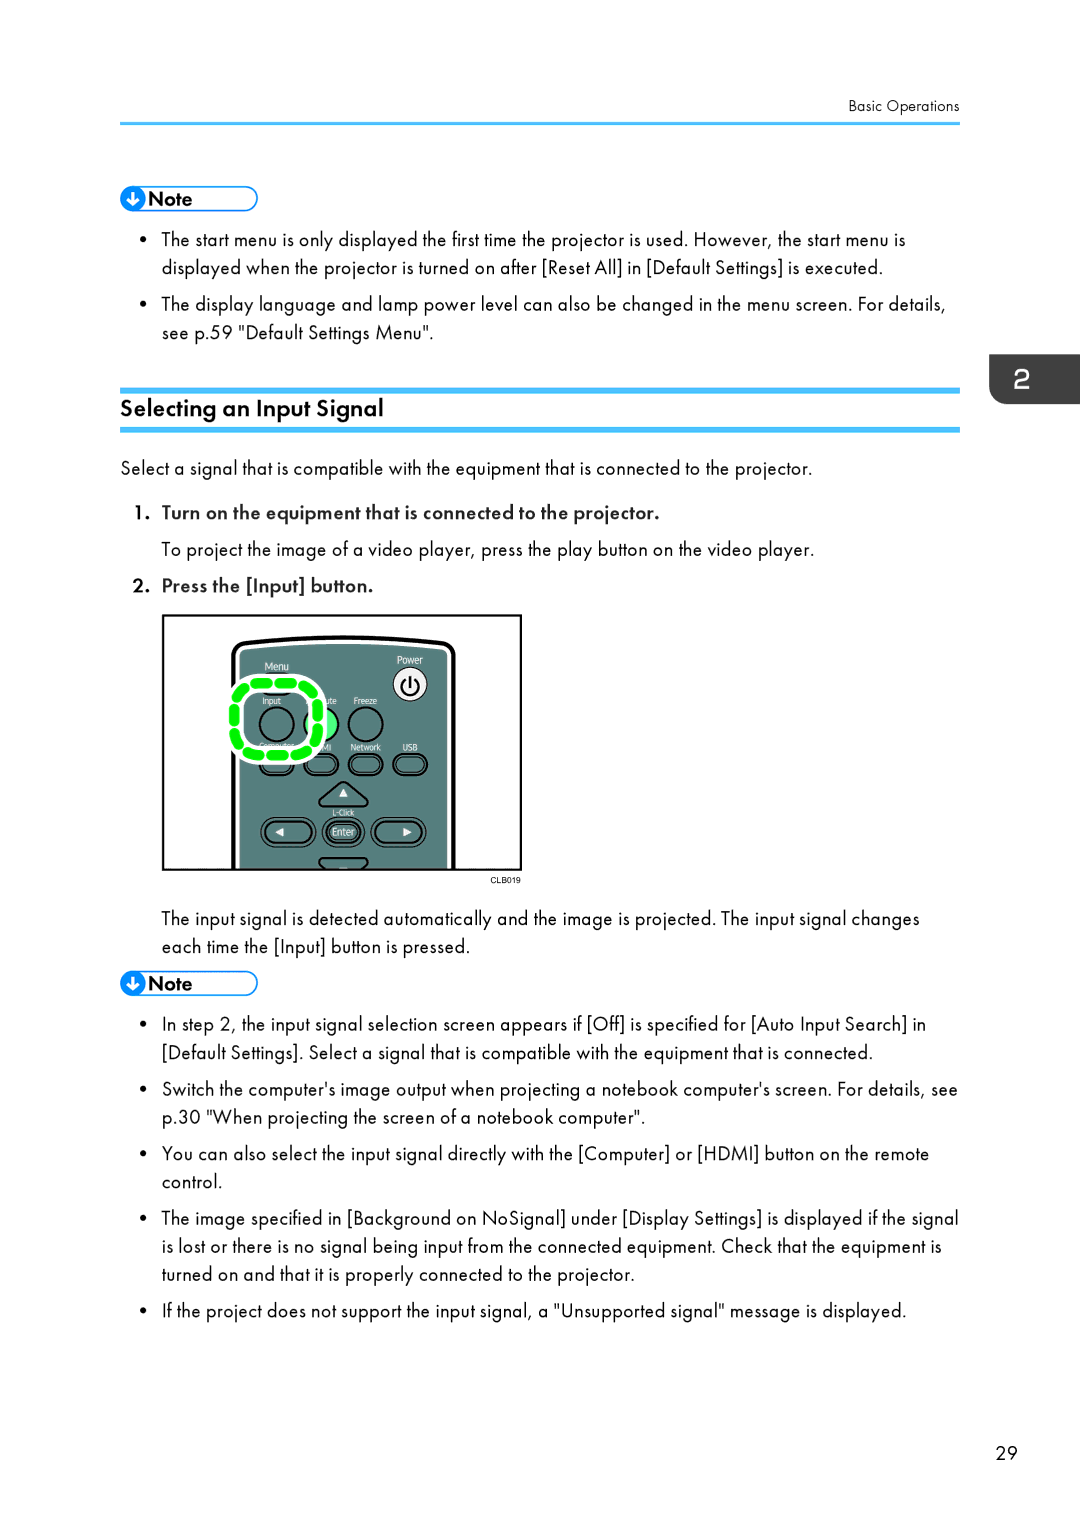
2.Press the [Input] button.
CLB019
The input signal is detected automatically and the image is projected. The input signal changes each time the [Input] button is pressed.
•In step 2, the input signal selection screen appears if [Off] is specified for [Auto Input Search] in [Default Settings]. Select a signal that is compatible with the equipment that is connected.
•Switch the computer's image output when projecting a notebook computer's screen. For details, see p.30 "When projecting the screen of a notebook computer".
•You can also select the input signal directly with the [Computer] or [HDMI] button on the remote control.
•The image specified in [Background on NoSignal] under [Display Settings] is displayed if the signal is lost or there is no signal being input from the connected equipment. Check that the equipment is turned on and that it is properly connected to the projector.
•If the project does not support the input signal, a "Unsupported signal" message is displayed.
29