Setting Up Studio Package Pro
■Setting Up the SI-24
1.Select “Options-Control Surfaces” command in SONAR to open the “Control Surfaces” dialog.
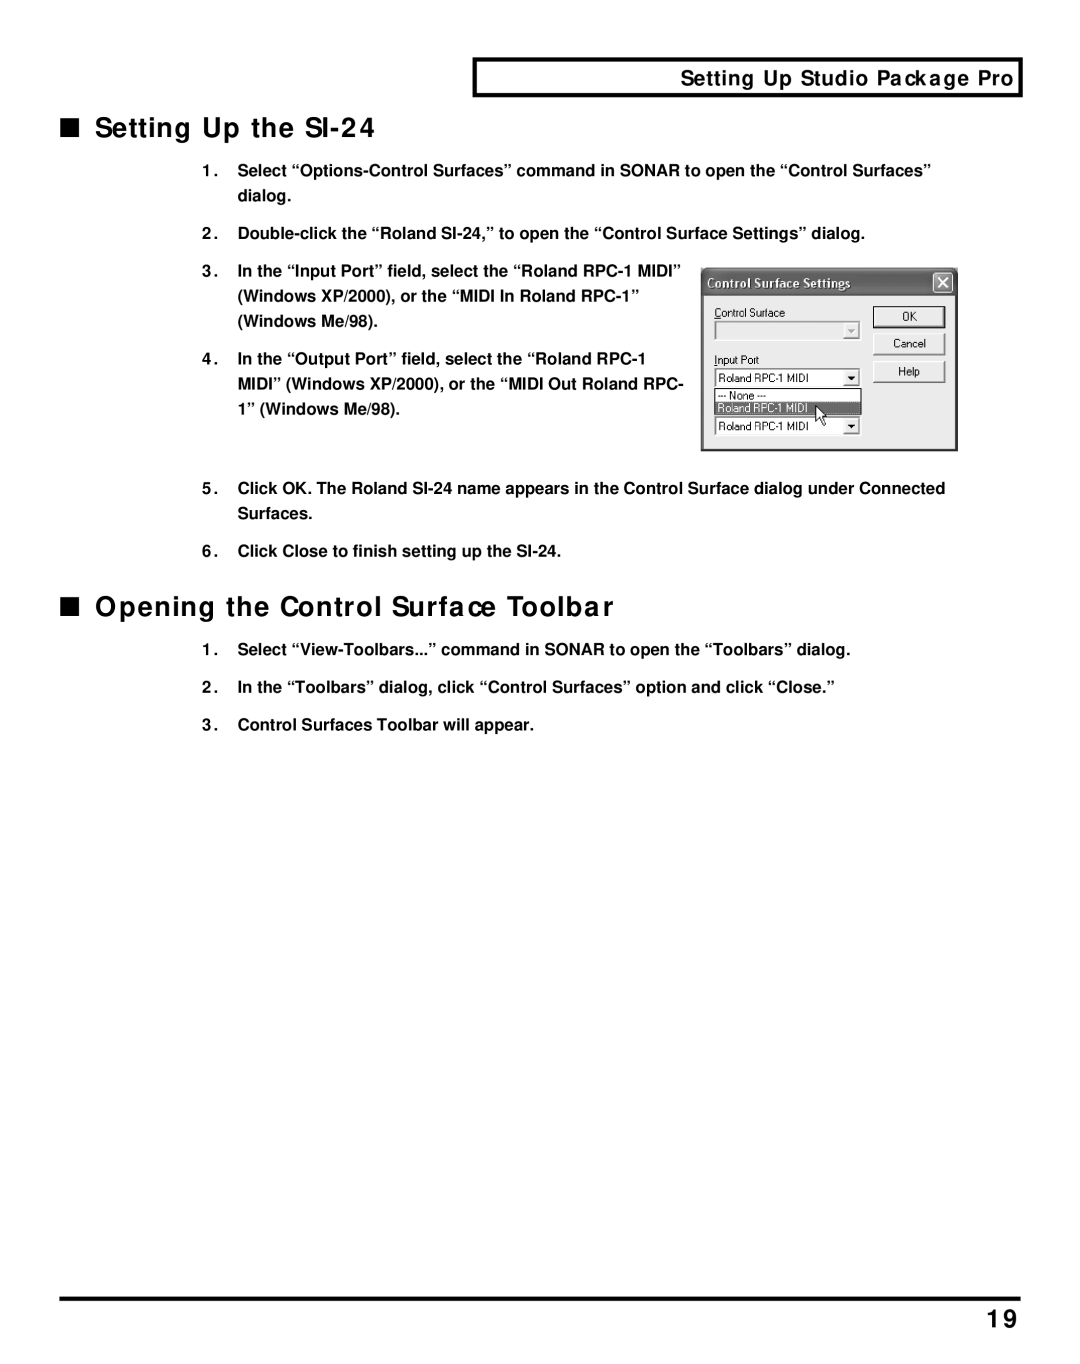
2.Double-click the “Roland SI-24,” to open the “Control Surface Settings” dialog.
3.In the “Input Port” field, select the “Roland RPC-1 MIDI” (Windows XP/2000), or the “MIDI In Roland RPC-1” (Windows Me/98).
4.In the “Output Port” field, select the “Roland RPC-1 MIDI” (Windows XP/2000), or the “MIDI Out Roland RPC- 1” (Windows Me/98).
5.Click OK. The Roland SI-24 name appears in the Control Surface dialog under Connected Surfaces.
6.Click Close to finish setting up the SI-24.
■Opening the Control Surface Toolbar
1.Select “View-Toolbars...” command in SONAR to open the “Toolbars” dialog.
2.In the “Toolbars” dialog, click “Control Surfaces” option and click “Close.”
3.Control Surfaces Toolbar will appear.