Operation
Although it may be possible to obtain satisfactory picture quality using the naked eye and regular program material, Runco recommends using the following calibration tools for best results:
•External test pattern source
•A blue filter (provided with many test DVDs), for color level and tint adjustments.
Connect your test pattern source to the input that you are calibrating and proceed as follows. Perform the adjustments in the order listed here.
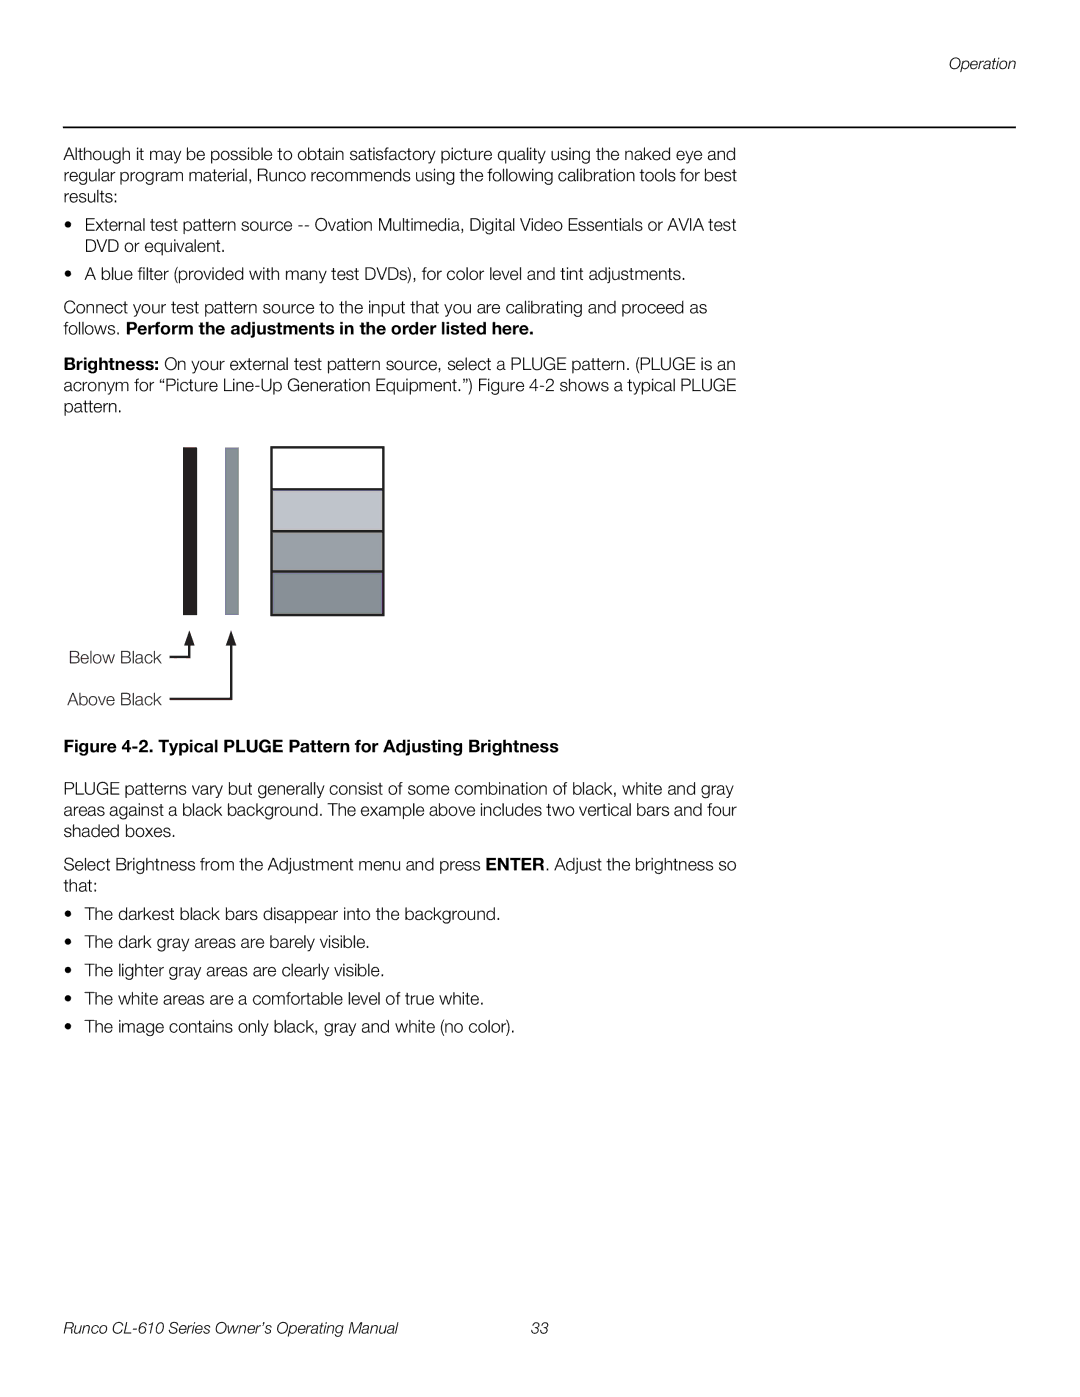
Brightness: On your external test pattern source, select a PLUGE pattern. (PLUGE is an acronym for “Picture
Below Black 
Above Black
Figure 4-2. Typical PLUGE Pattern for Adjusting Brightness
PLUGE patterns vary but generally consist of some combination of black, white and gray areas against a black background. The example above includes two vertical bars and four shaded boxes.
Select Brightness from the Adjustment menu and press ENTER. Adjust the brightness so that:
•The darkest black bars disappear into the background.
•The dark gray areas are barely visible.
•The lighter gray areas are clearly visible.
•The white areas are a comfortable level of true white.
•The image contains only black, gray and white (no color).
Runco | 33 |