Appendix A. Personalizing the ISF Splash Screen on the
This Appendix describes how to personalize the ISF splash screen on the Runco
Series DLP Projectors.
Only
Note procedure!
1.Connect a PC to the
2.Press MENU on the projector remote control. Use the up- or
3.Press MENU on the projector remote control. Then, select Splash Screen Timer from the ISF Calibration menu.
4.Use the left- or
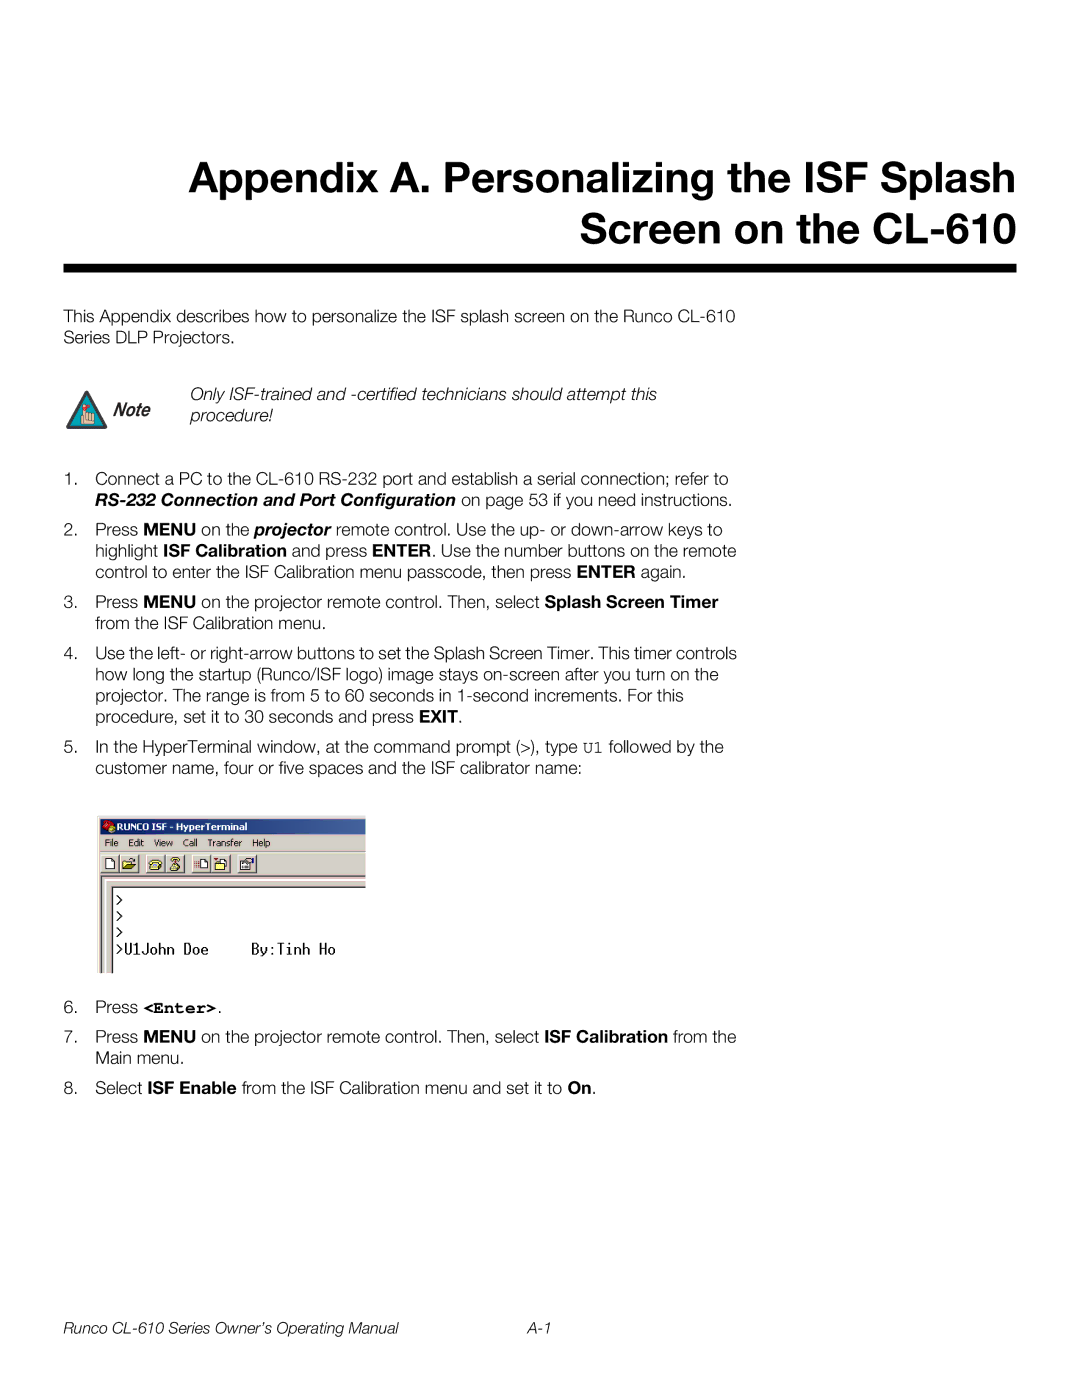
5.In the HyperTerminal window, at the command prompt (>), type U1 followed by the customer name, four or five spaces and the ISF calibrator name:
6.Press <Enter>.
7.Press MENU on the projector remote control. Then, select ISF Calibration from the Main menu.
8.Select ISF Enable from the ISF Calibration menu and set it to On.
Runco |