Installation
Proceed as follows to connect the
When connecting your equipment:
•Turn off all equipment before making any connections.
•Use the correct signal cables for each source.
•Ensure that the cables are securely connected. Tighten the thumbscrews on connectors that have them.
To access the connector panel, press the door release button so it pops out. Turn the knob clockwise or
3.5
Connections to the CL-610
 Connector Panel Access
Connect your video sources to the
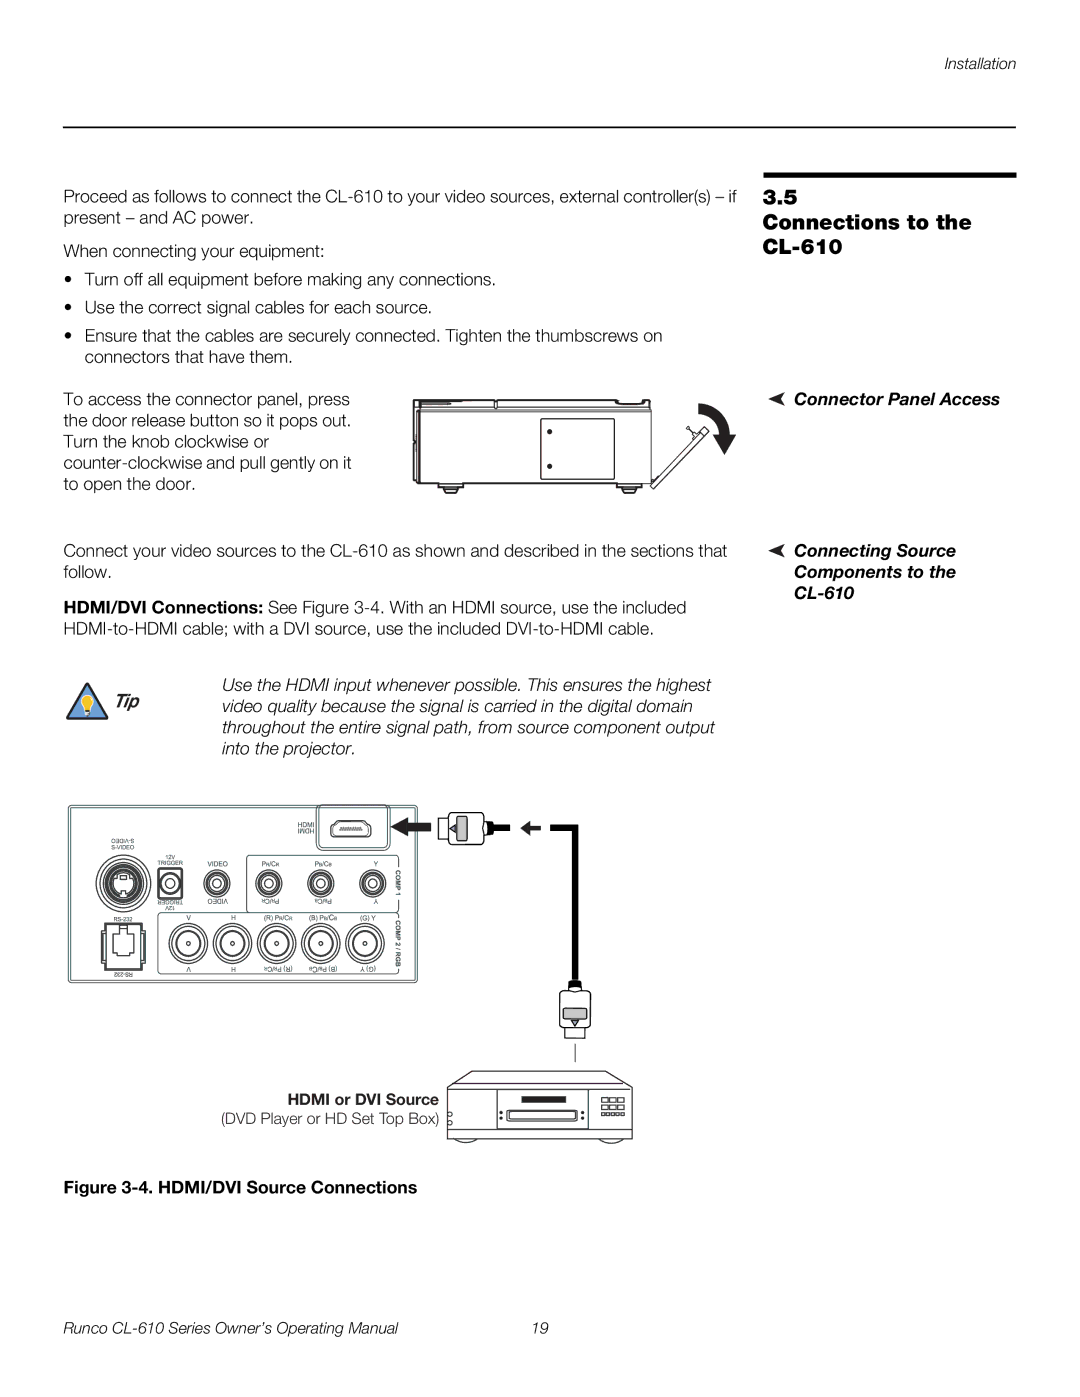
HDMI/DVI Connections: See Figure
Use the HDMI input whenever possible. This ensures the highest
Tip video quality because the signal is carried in the digital domain throughout the entire signal path, from source component output into the projector.
 Connecting Source Components to the
 CL-610
HDMI or DVI Source
(DVD Player or HD Set Top Box) ![]()
Figure 3-4. HDMI/DVI Source Connections
Runco | 19 |