Printing on preprinted paper
•Preprinted paper is paper that has some type of printing on it before it is sent through the machine (paper that has a preprinted logo at the top of the page, for example).
•Letterhead must be printed with
•Ink on letterhead must be
•Forms and letterhead should be sealed in
•Before you load preprinted paper, such as forms and letterhead, verify that the ink on the paper is dry. During the fusing process, wet ink can come off of preprinted paper, reducing the print quality.
To print on preprinted paper:
1Squeeze the paper length guide and slide it out to its full length.
2Load letterhead in the tray, with the print side up and the top and short edge first. Adjust the guides to fit the edge of the paper stack.
Printing on card stock or custom-sized materials
•Postcards, 3in by 5in (index) cards, and other
•Always insert the short edge into the tray first. If you want to print in landscape mode, make this selection using your software. Inserting these materials long edge first may cause a paper jam.
•Do not print on material smaller than 3in (76mm) wide or 5in (127mm) long.
•In the software application, set margins at least 4mm away from the edges of the material.
To print on card stock:
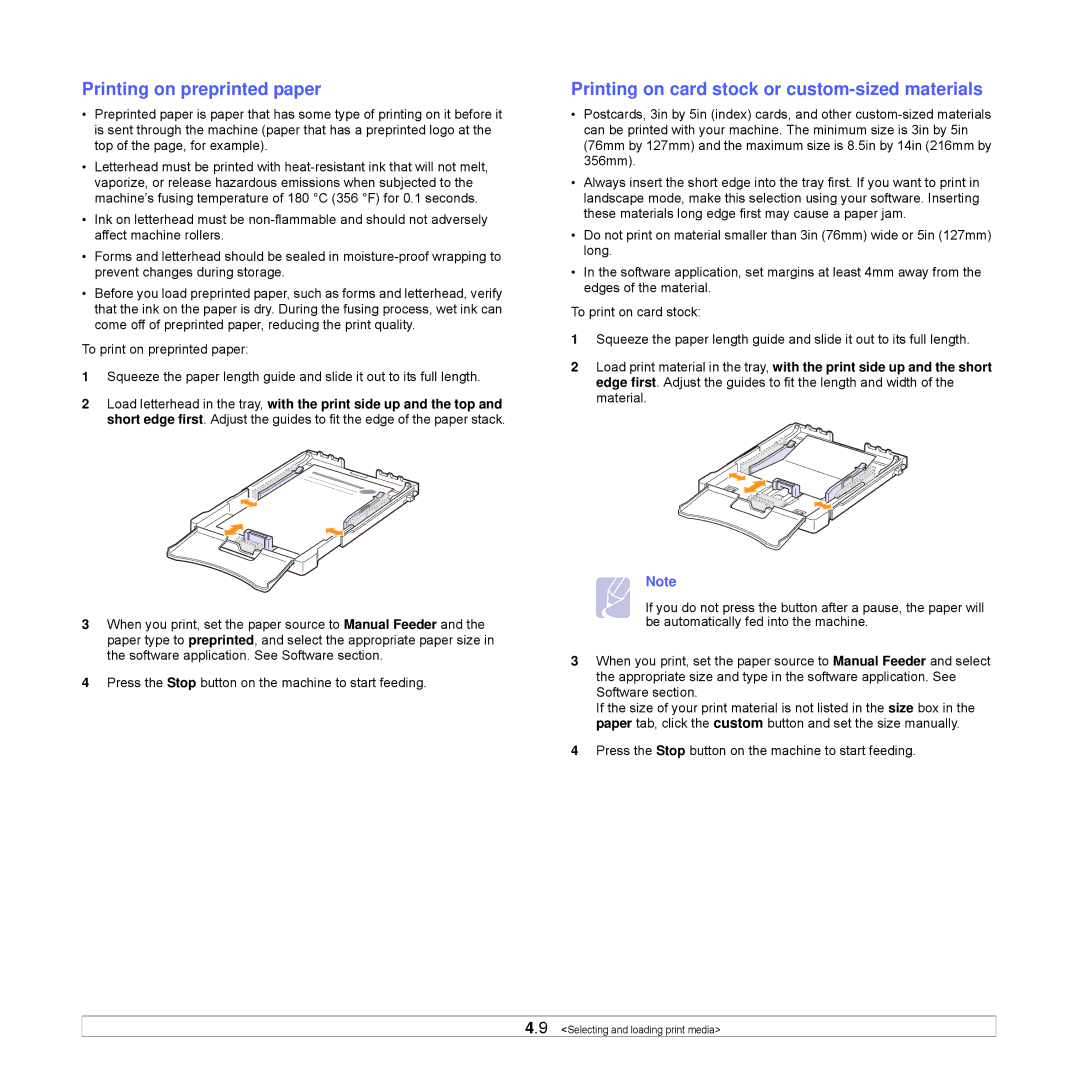
1Squeeze the paper length guide and slide it out to its full length.
2Load print material in the tray, with the print side up and the short edge first. Adjust the guides to fit the length and width of the material.
3When you print, set the paper source to Manual Feeder and the paper type to preprinted, and select the appropriate paper size in the software application. See Software section.
4Press the Stop button on the machine to start feeding.
Note
If you do not press the button after a pause, the paper will be automatically fed into the machine.
3When you print, set the paper source to Manual Feeder and select the appropriate size and type in the software application. See Software section.
If the size of your print material is not listed in the size box in the paper tab, click the custom button and set the size manually.
4Press the Stop button on the machine to start feeding.