7 Troubleshooting
This chapter gives helpful information on what to do if you encounter a problem.
This chapter includes:Machine Setup
•Tips for avoiding paper jams
•Clearing paper jams
•Solving other problems
Tips for avoiding paper jams
By selecting the correct media types, most paper jams can be avoided. When a paper jam occurs, follow the steps outlined on page 7.1.
•Follow the procedures on page 4.4. Ensure that the adjustable guides are positioned correctly.
•Do not overload the tray.
•Do not remove paper from the tray while your machine is printing.
•Flex, fan, and straighten paper before loading.
•Do not use creased, damp, or highly curled paper.
•Do not mix paper types in a tray.
•Use only recommended print media. (See "Specifications on print media" on page 4.2.)
•Ensure that the recommended side of the print media is facing up in the tray.
Clearing paper jams
Note
When removing paper that is jammed in the printer, if possible always pull the paper in the direction that it normally moves so as not to damage internal components. Always pull firmly and evenly; do not jerk the paper. If the paper tears, ensure that all fragments of paper are removed; otherwise a jam will occur again.
If a paper jam occurs, the Status LED on the control panel lights red. Find and remove the jammed paper.
To resume printing after clearing paper jams, you must open and close the front cover or rear cover.
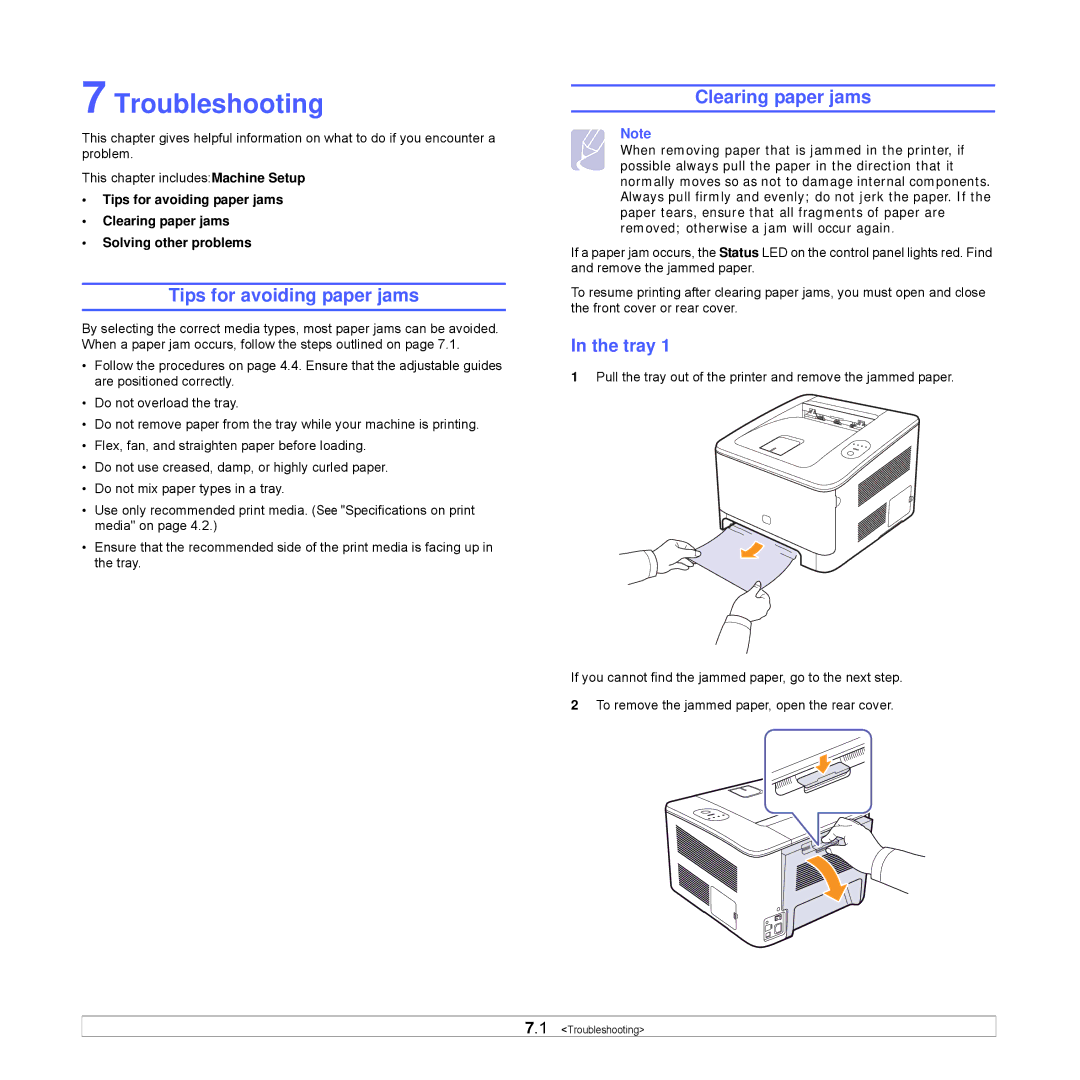
In the tray 1
1Pull the tray out of the printer and remove the jammed paper.
If you cannot find the jammed paper, go to the next step.
2To remove the jammed paper, open the rear cover.
7.1 <Troubleshooting>