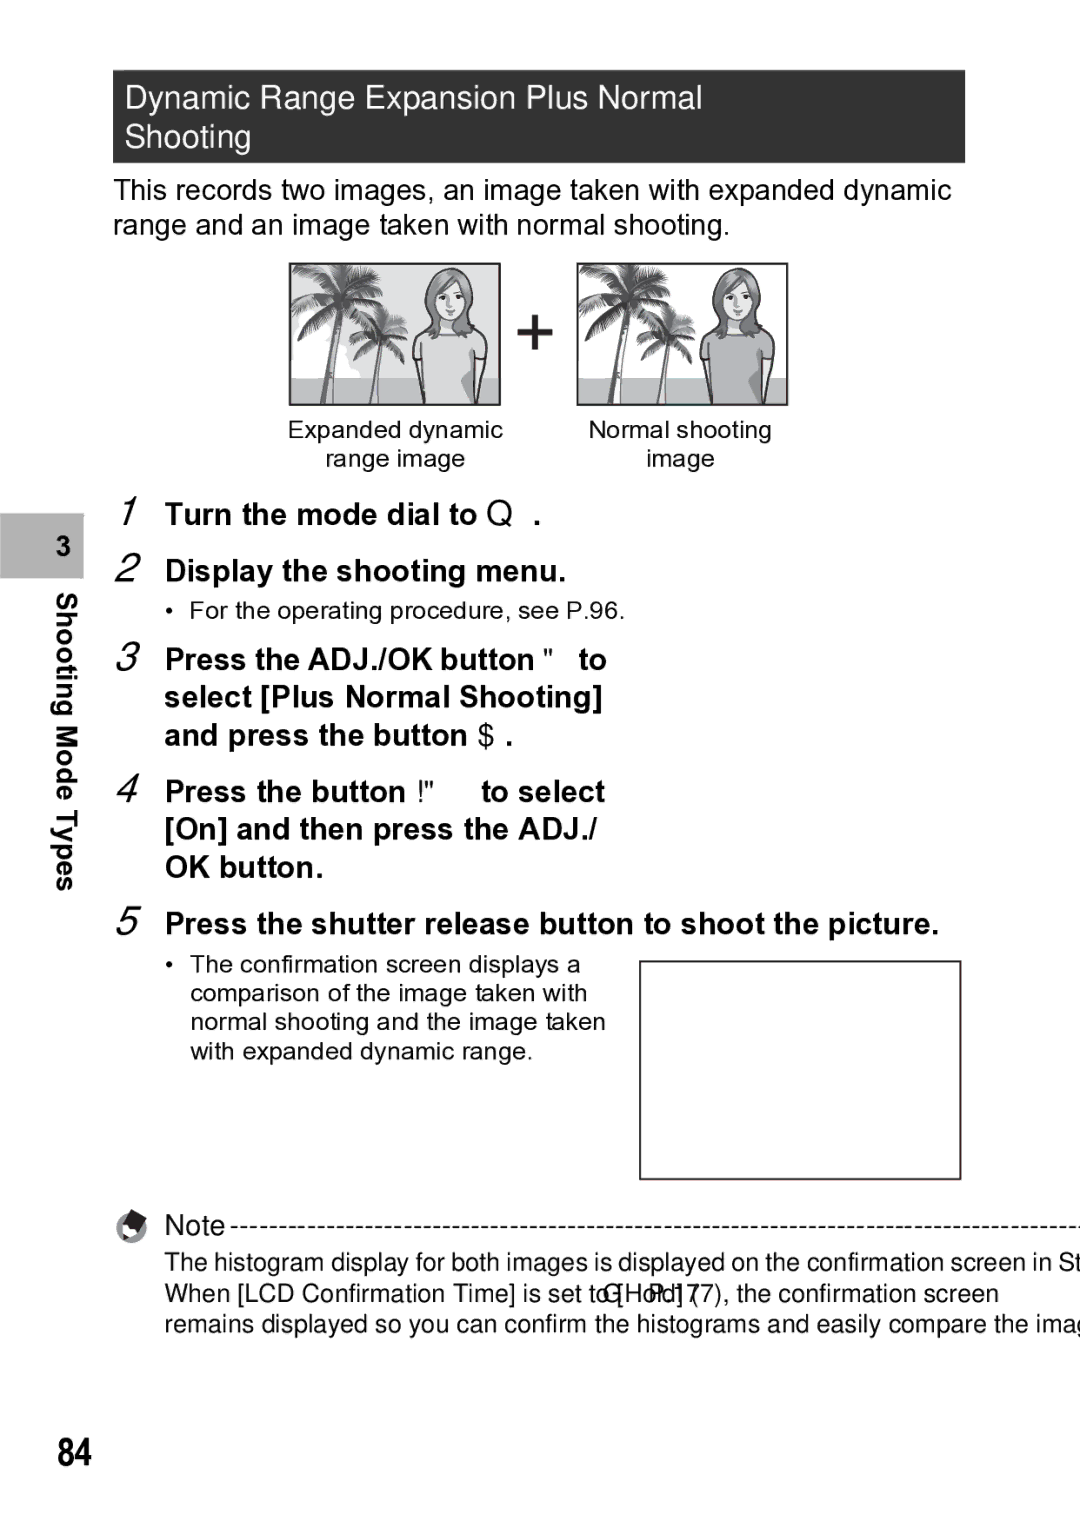
Dynamic Range Expansion Plus Normal Shooting
This records two images, an image taken with expanded dynamic range and an image taken with normal shooting.
3
Shooting Mode Types
| Expanded dynamic | Normal shooting | |
| range image |
| image |
1 | Turn the mode dial to Q. |
|
|
2 | Display the shooting menu. |
|
|
3 | • For the operating procedure, see P.96. | ||
Press the ADJ./OK button " to | |||
| select [Plus Normal Shooting] | ||
4 | and press the button $. |
|
|
Press the button !" to select | |||
| [On] and then press the ADJ./ | ||
5 | OK button. |
|
|
Press the shutter release button to shoot the picture. | |||
| • The confirmation screen displays a |
|
|
|
|
| |
| comparison of the image taken with |
|
|
| normal shooting and the image taken |
| |
| with expanded dynamic range. |
|
|
|
|
|
|
Note
The histogram display for both images is displayed on the confirmation screen in Step 5. When [LCD Confirmation Time] is set to [Hold] (GP.177), the confirmation screen remains displayed so you can confirm the histograms and easily compare the images.
84