ENGLISH
ESPAÑOL
Preparing | Configuración de la videocámara |
1. | Set power switch to CAMERA mode. | 1 |
|
| |
2. | Press Self Timer button until the | CAMERA |
| appropriate indicator is displayed on | |
| the LCD: |
|
■WAIT-10S/SELF-30S
■ | 2 |
|
3. Press START/STOP button to start the timer.
:After waiting for 10 seconds, recording starts.
: If you have selected
30 seconds.
:If you have selected
Note: When recording with the timer, you can press START/STOP button again to cancel the function.
1. Ponga el interruptor de encendido en modo CAMERA.
2.Pulse el botón del Temporizador Automático hasta que el indicador
aparezca en la pantalla LCD: ■
■
3.Pulse el botón START/STOP para que se ponga en funcionamiento el temporizador.
: Tras 10 segundos de espera, | |
comienza la filmación | |
|
:Si ha seleccionado
la filmación se detendrá automática-
mente después de 30 segundos.
: Si ha seleccionado
Nota: Cuando filme utilizando el temporizador, puede pulsar el botón START/STOP una segunda vez para cancelar la función.
Adjusting the Hand Strap and Shoulder Strap
Hand Strap
✤It is very important to adjust the hand strap for better recording.
✤The hand strap enables you to:
-Hold the camcorder in a stable, comfortable position.
-Press the Zoom and the red Record button without having to change the position of your hand.
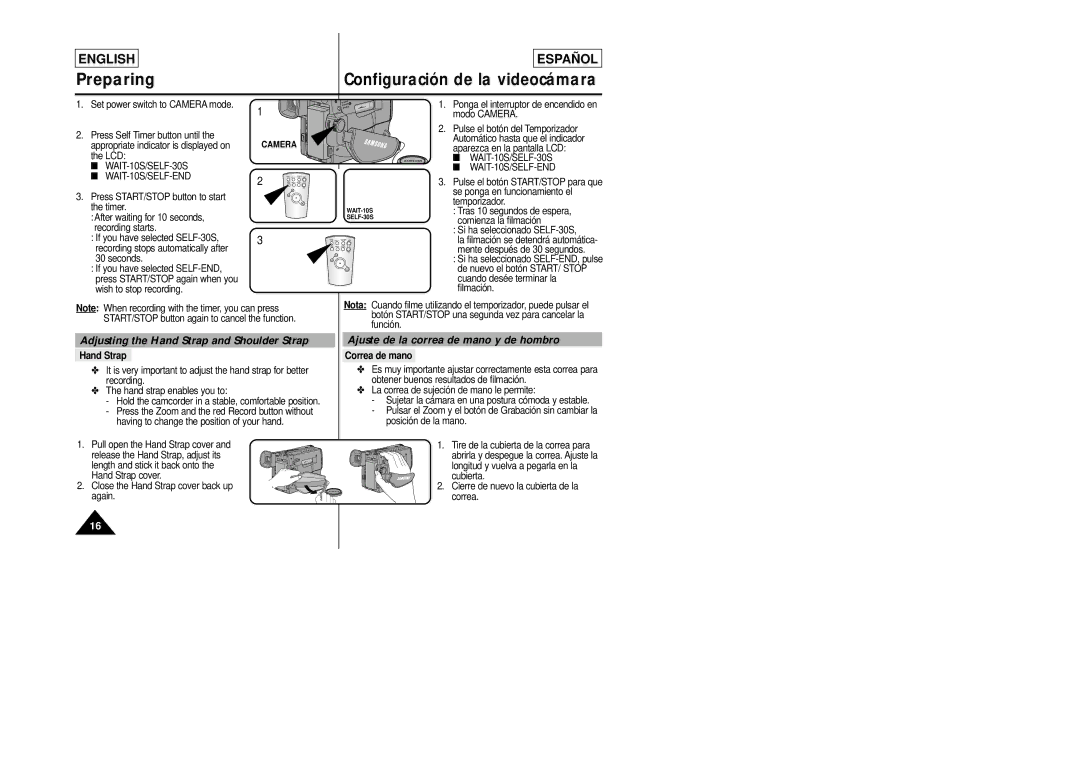
1.Pull open the Hand Strap cover and
release the Hand Strap, adjust its length and stick it back onto the Hand Strap cover.
2. Close the Hand Strap cover back up again.
Ajuste de la correa de mano y de hombro
Correa de mano
✤Es muy importante ajustar correctamente esta correa para obtener buenos resultados de filmación.
✤La correa de sujeción de mano le permite:
-Sujetar la cámara en una postura cómoda y estable.
-Pulsar el Zoom y el botón de Grabación sin cambiar la posición de la mano.
1. Tire de la cubierta de la correa para abrirla y despegue la correa. Ajuste la longitud y vuelva a pegarla en la cubierta.
2. Cierre de nuevo la cubierta de la correa.
16
