Image Adjustment
Reset
To reset the adjusted data, select Reset and press the Point 8 or OK buttons. A confirmation box appears. Select [Yes] and then press the OK button. All adjustments return to their previous figures. You can also reset the adjusted data by pressing the RESET button on the remote control.
Store
To store the adjusted data, select Store and press the Point 8 or OK buttons. The User Image Mode Menu appears. Use the Point ed buttons to choose one of the four (4) user image modes and press the OK or Point 8 buttons. A confirmation box appears.
Select [Yes] and then press the OK button.
To exit the User Image Mode Menu, go to the Quit icon and press the OK or Point 8 buttons. The stored data can be called up by selecting “User image 1 – 4” in the Image Mode Selection on page 27.
✔Notes:
•If you change the image mode (see page 27) or turn off the POWER without storing adjusted settings, all the adjusted settings will be reset.
•When resetting, the adjusted data in Advanced menu will be reset whether or not Advanced menu in the Setting Menu is “On.” See page 36.
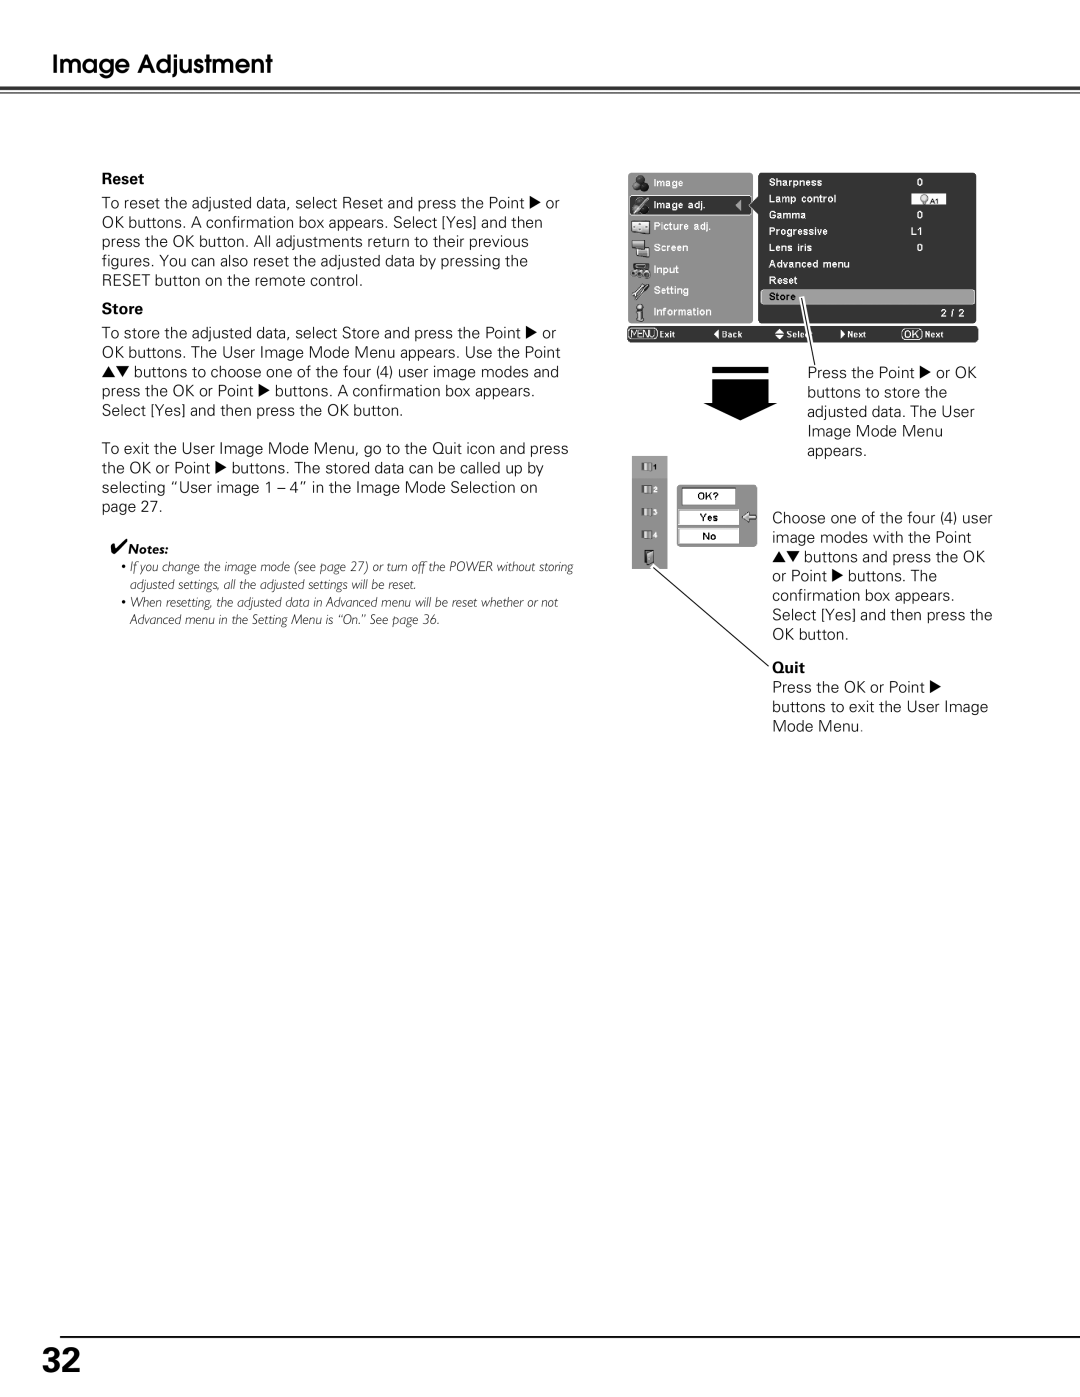
Press the Point 8 or OK buttons to store the adjusted data. The User Image Mode Menu appears.
Choose one of the four (4) user image modes with the Point ed buttons and press the OK or Point 8 buttons. The confirmation box appears. Select [Yes] and then press the OK button.
Quit
Press the OK or Point 8 buttons to exit the User Image Mode Menu.
32