SCN60
Service
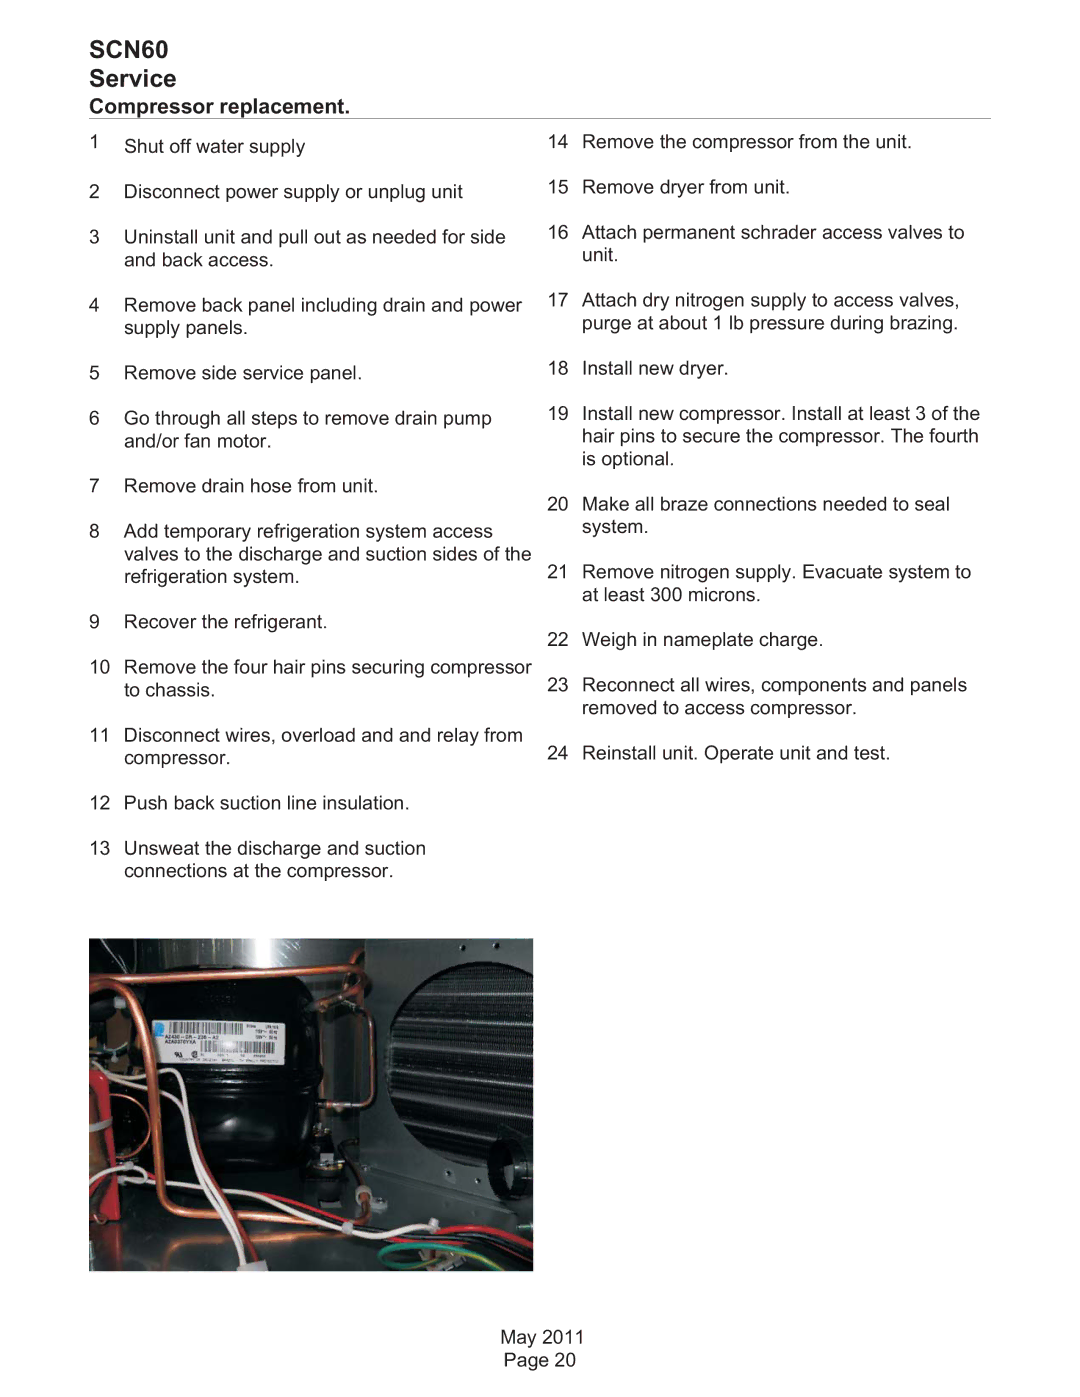
Compressor replacement.
1Shut off water supply
2Disconnect power supply or unplug unit
3Uninstall unit and pull out as needed for side and back access.
4Remove back panel including drain and power supply panels.
5Remove side service panel.
6Go through all steps to remove drain pump and/or fan motor.
7Remove drain hose from unit.
8Add temporary refrigeration system access valves to the discharge and suction sides of the refrigeration system.
9Recover the refrigerant.
10Remove the four hair pins securing compressor to chassis.
11Disconnect wires, overload and and relay from compressor.
12Push back suction line insulation.
13Unsweat the discharge and suction connections at the compressor.
14Remove the compressor from the unit.
15Remove dryer from unit.
16Attach permanent schrader access valves to unit.
17Attach dry nitrogen supply to access valves, purge at about 1 lb pressure during brazing.
18Install new dryer.
19Install new compressor. Install at least 3 of the hair pins to secure the compressor. The fourth is optional.
20Make all braze connections needed to seal system.
21Remove nitrogen supply. Evacuate system to at least 300 microns.
22Weigh in nameplate charge.
23Reconnect all wires, components and panels removed to access compressor.
24Reinstall unit. Operate unit and test.
May 2011 Page 20