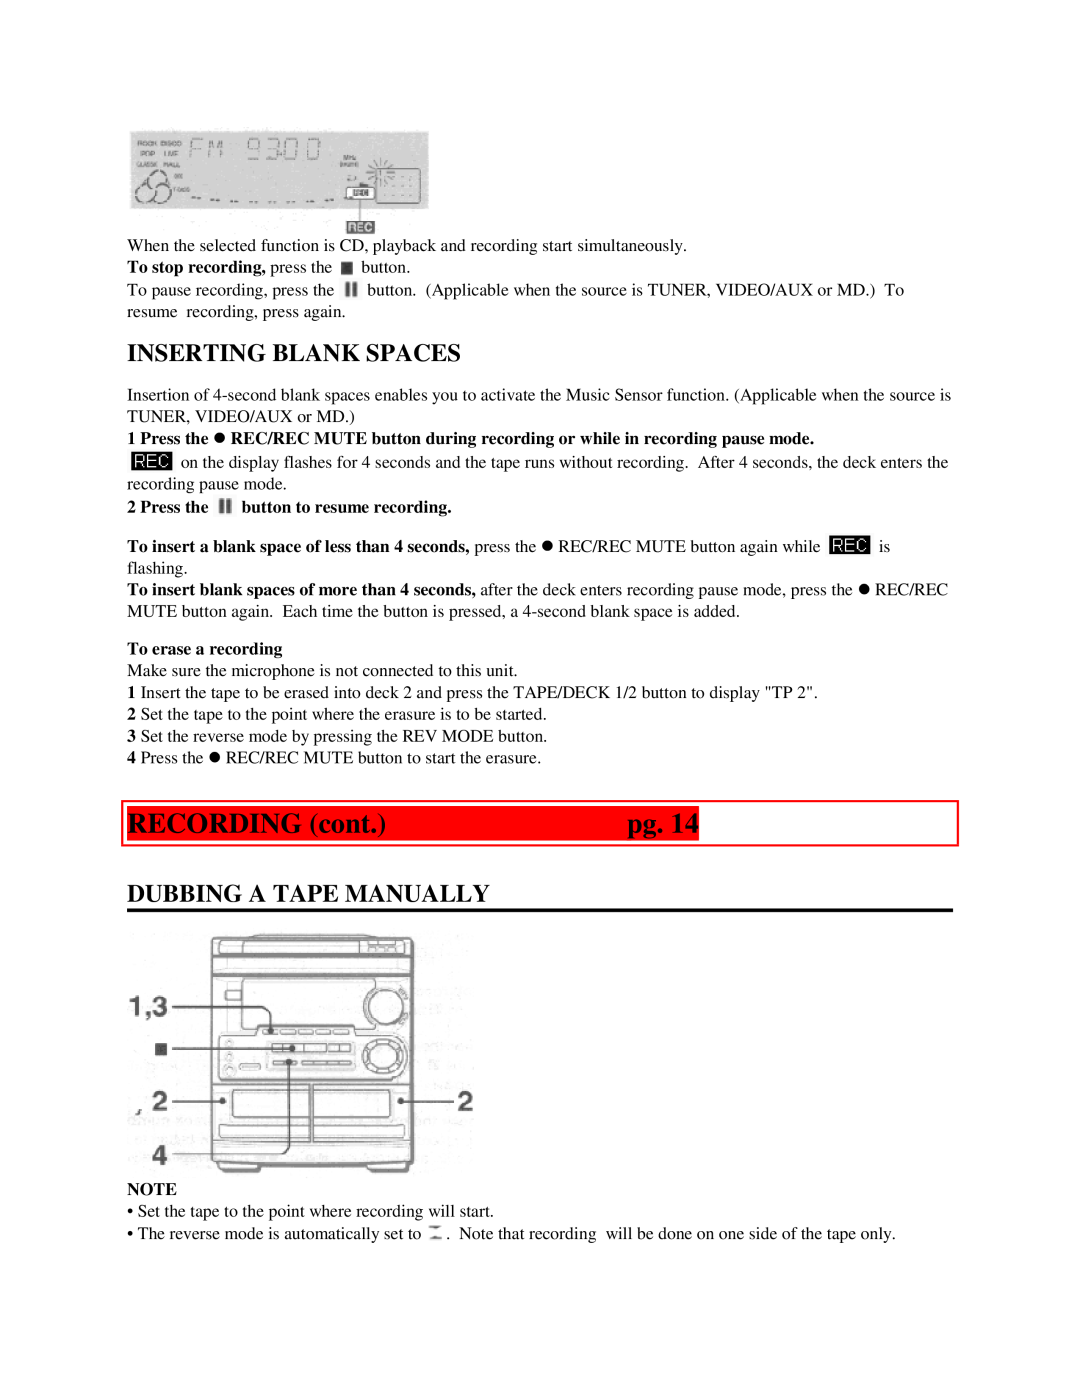
When the selected function is CD, playback and recording start simultaneously.
To stop recording, press the  button.
To pause recording, press the ![]() button. (Applicable when the source is TUNER, VIDEO/AUX or MD.) To resume recording, press again.
button. (Applicable when the source is TUNER, VIDEO/AUX or MD.) To resume recording, press again.
INSERTING BLANK SPACES
Insertion of
1 Press the zREC/REC MUTE button during recording or while in recording pause mode.
![]() on the display flashes for 4 seconds and the tape runs without recording. After 4 seconds, the deck enters the recording pause mode.
on the display flashes for 4 seconds and the tape runs without recording. After 4 seconds, the deck enters the recording pause mode.
2 Press the  button to resume recording.
To insert a blank space of less than 4 seconds, press the zREC/REC MUTE button again while ![]() is
is
flashing.
To insert blank spaces of more than 4 seconds, after the deck enters recording pause mode, press the zREC/REC MUTE button again. Each time the button is pressed, a
To erase a recording
Make sure the microphone is not connected to this unit.
1 Insert the tape to be erased into deck 2 and press the TAPE/DECK 1/2 button to display "TP 2". 2 Set the tape to the point where the erasure is to be started.
3 Set the reverse mode by pressing the REV MODE button.
4 Press the zREC/REC MUTE button to start the erasure.
|
|
|
|
| RECORDING (cont.) | pg. 14 |
|
|
|
|
|
DUBBING A TAPE MANUALLY
NOTE
•Set the tape to the point where recording will start.
•The reverse mode is automatically set to ![]() . Note that recording will be done on one side of the tape only.
. Note that recording will be done on one side of the tape only.
