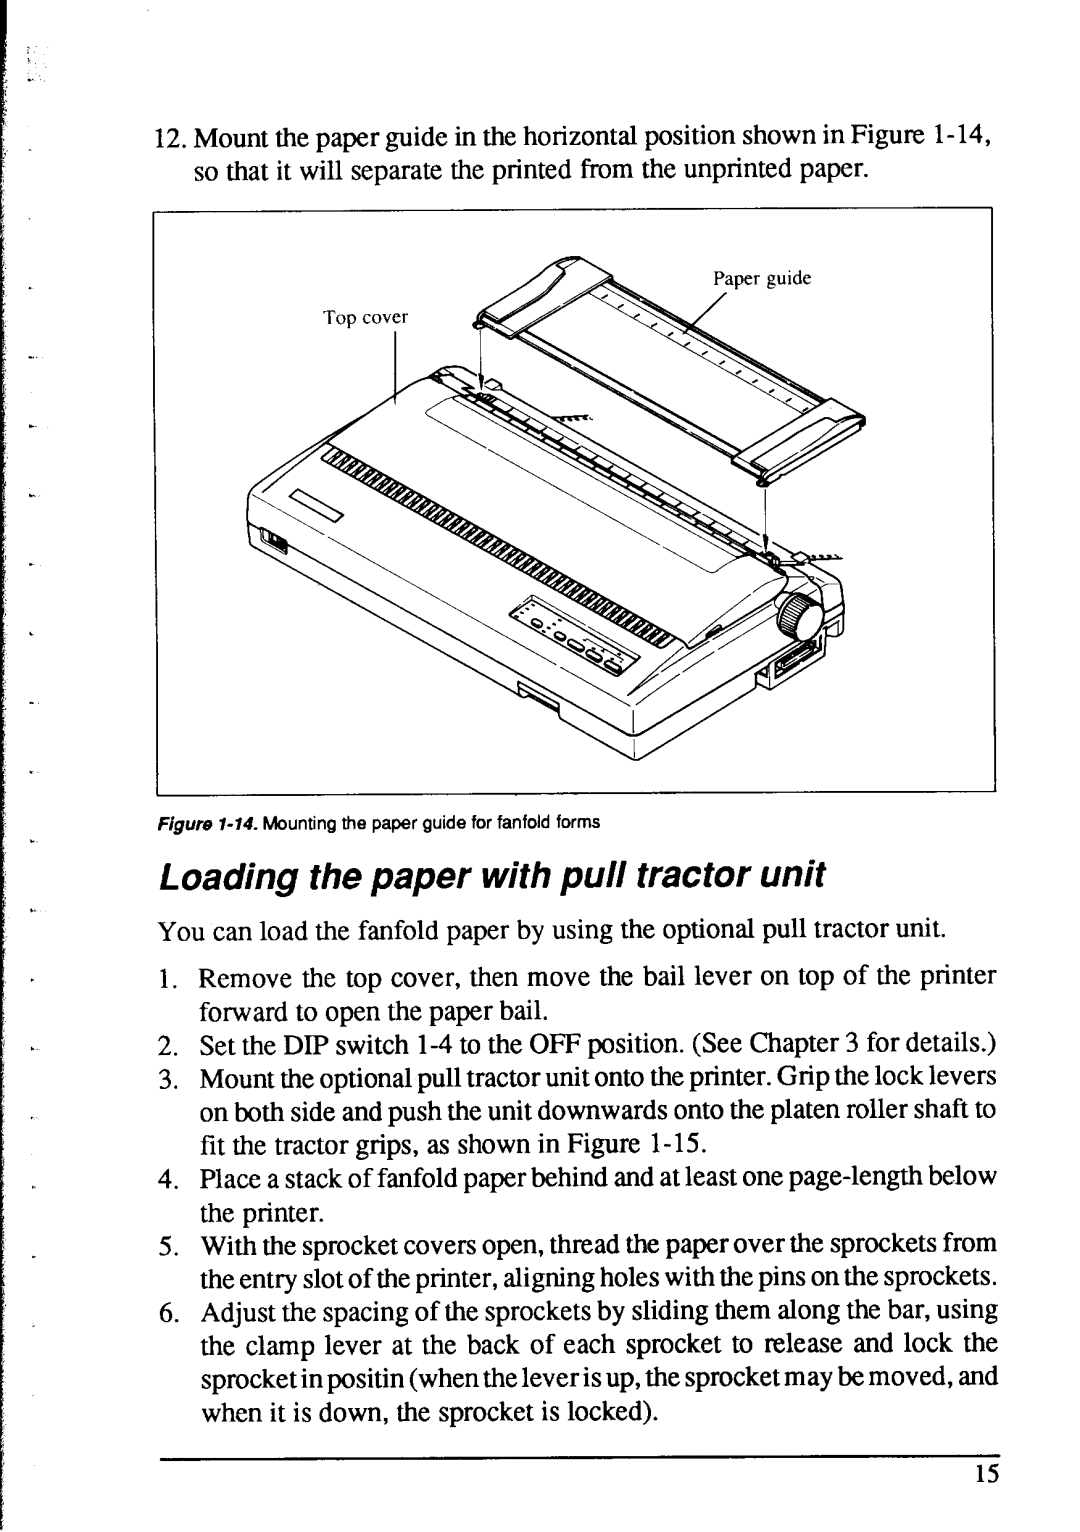
12.Mount the paper guide in the horizontal position shown in Figure
Figure l-74. Mounting the paper guide for fanfold forms
Loading the paper with pull tractor unit
You can load the fanfold paper by using the optional pull tractor unit.
1.Remove the top cover, then move the bail lever on top of the printer forward to open the paper bail.
2.Set the DIP switch
3.Mount the optional pull tractor unit onto the printer. Grip the lock levers on both side and push the unit downwards onto the platen roller shaft to fit the tractor grips, as shown in Figure
4.Place a stack of fanfold paper behind and at least one
5.With the sprocket covers open, thread the paper over the sprockets from the entry slot of the printer, aligning holes with the pins on the sprockets.
6.Adjust the spacing of the sprockets by sliding them along the bar, using the clamp lever at the back of each sprocket to release and lock the sprocket in positin (when the lever is up, the sprocket may be moved, and when it is down, the sprocket is locked).
15
