4-4 Removing/Replacing the Wiper in the “DT” Dosing Station
1.Switch the control unit “Off” with the “On/Off” switch.
2.Disconnect the power supply.
3.Empty the dosing station.
4.Open the toggle latches on the dosing
motor.
5.Remove the dosing unit from the dosing motor.
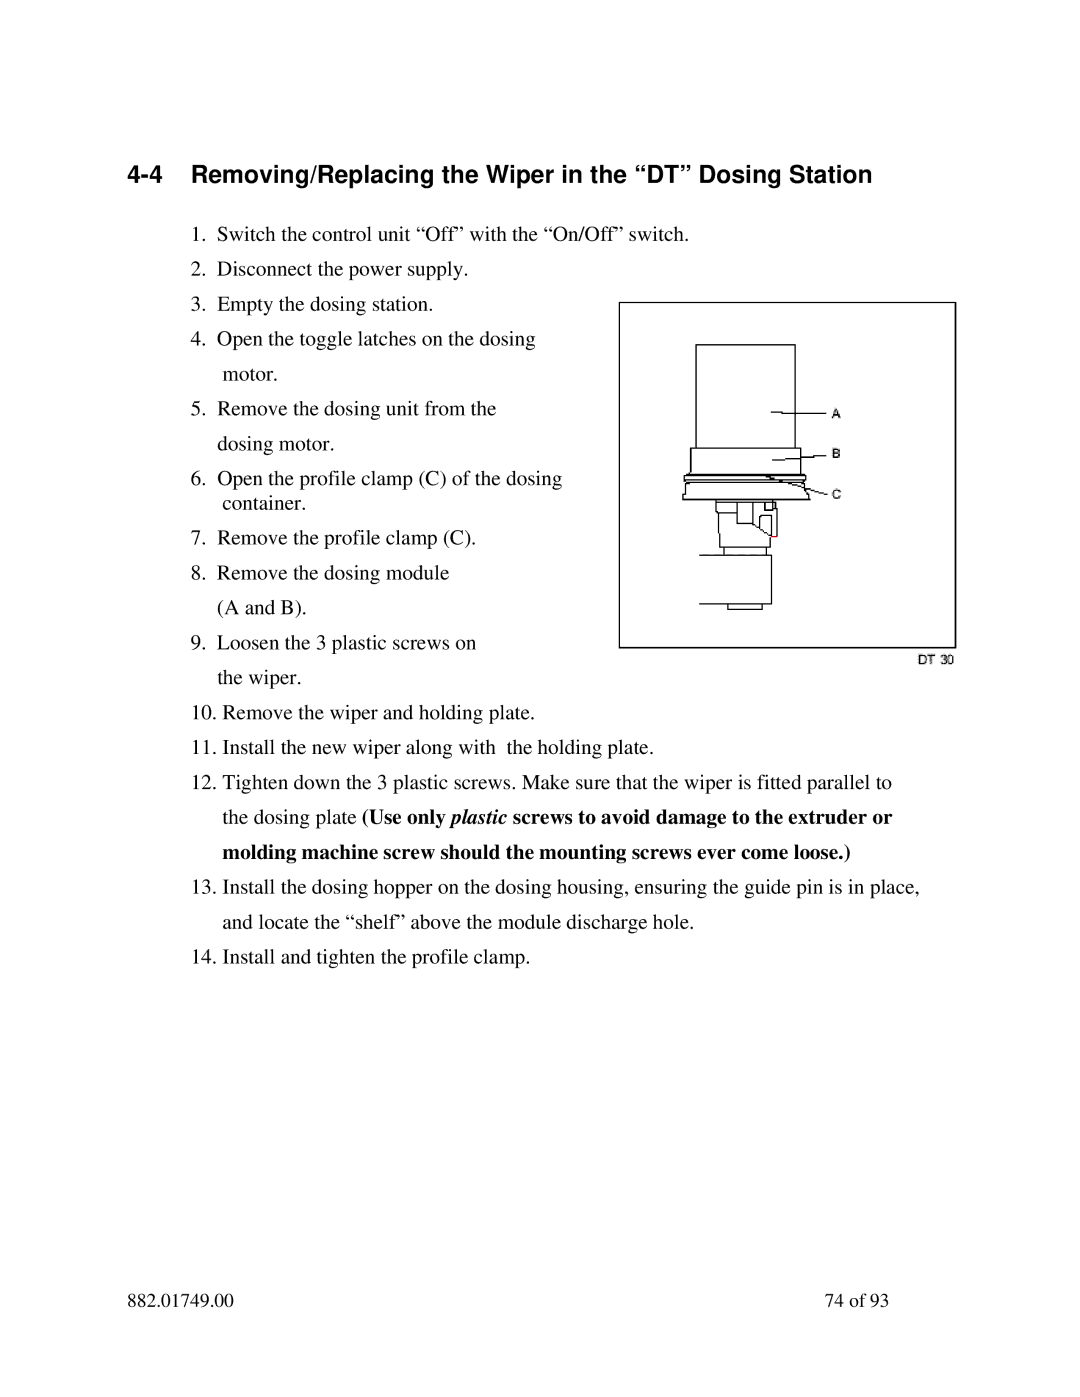
6.Open the profile clamp (C) of the dosing container.
7.Remove the profile clamp (C).
8.Remove the dosing module (A and B).
9.Loosen the 3 plastic screws on the wiper.
10.Remove the wiper and holding plate.
11.Install the new wiper along with the holding plate.
12.Tighten down the 3 plastic screws. Make sure that the wiper is fitted parallel to the dosing plate (Use only plastic screws to avoid damage to the extruder or molding machine screw should the mounting screws ever come loose.)
13.Install the dosing hopper on the dosing housing, ensuring the guide pin is in place, and locate the “shelf” above the module discharge hole.
14.Install and tighten the profile clamp.
882.01749.00 | 74 of 93 |