![]() 2
2
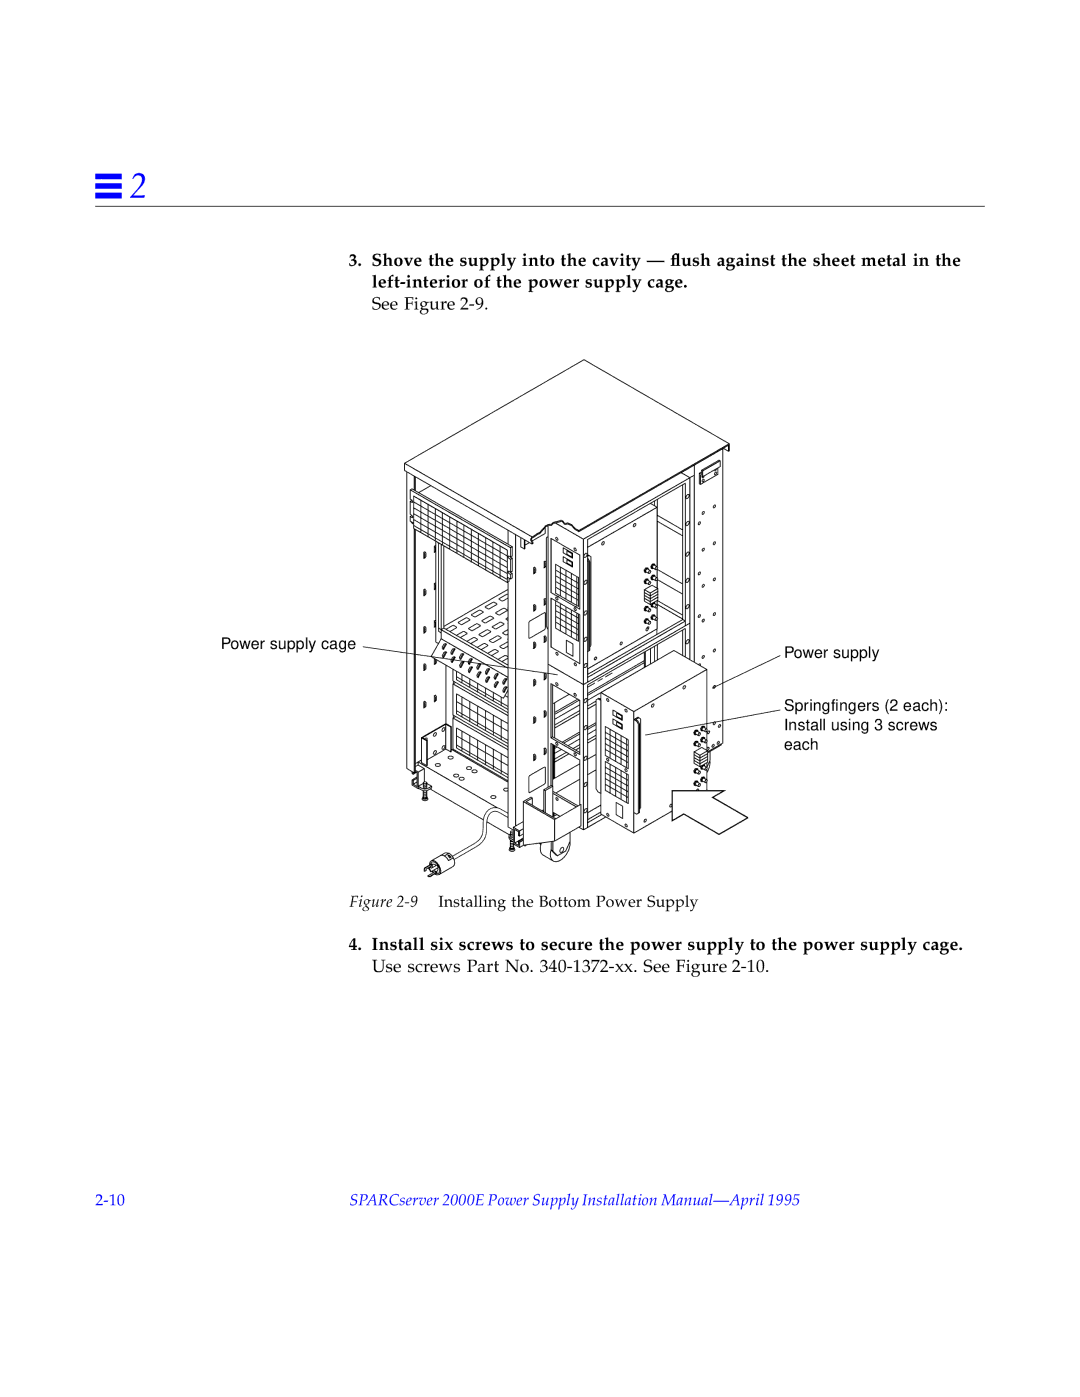
3.Shove the supply into the cavity — flush against the sheet metal in the
See Figure
Power supply cage | Power supply |
|
Springfingers (2 each): |
Install using 3 screws |
each |
Figure 2-9 Installing the Bottom Power Supply
4.Install six screws to secure the power supply to the power supply cage. Use screws Part No.
SPARCserver 2000E Power Supply Installation |