Press '.' to clear the field; |
| ||||
Press |
| ||||
Press <ENTER> and then | ^D to quit (Keep Changes) | ||||
|
| Current | Configuration | New Configuration | |
IP Address | if1 | : 192.168.128.101 |
| ||
Subnet | Mask | if1 | : 255.255.255.0 | <ENTER> | |
Gateway | IP | Address | if1: |
| <ENTER> |
|
|
|
|
|
|
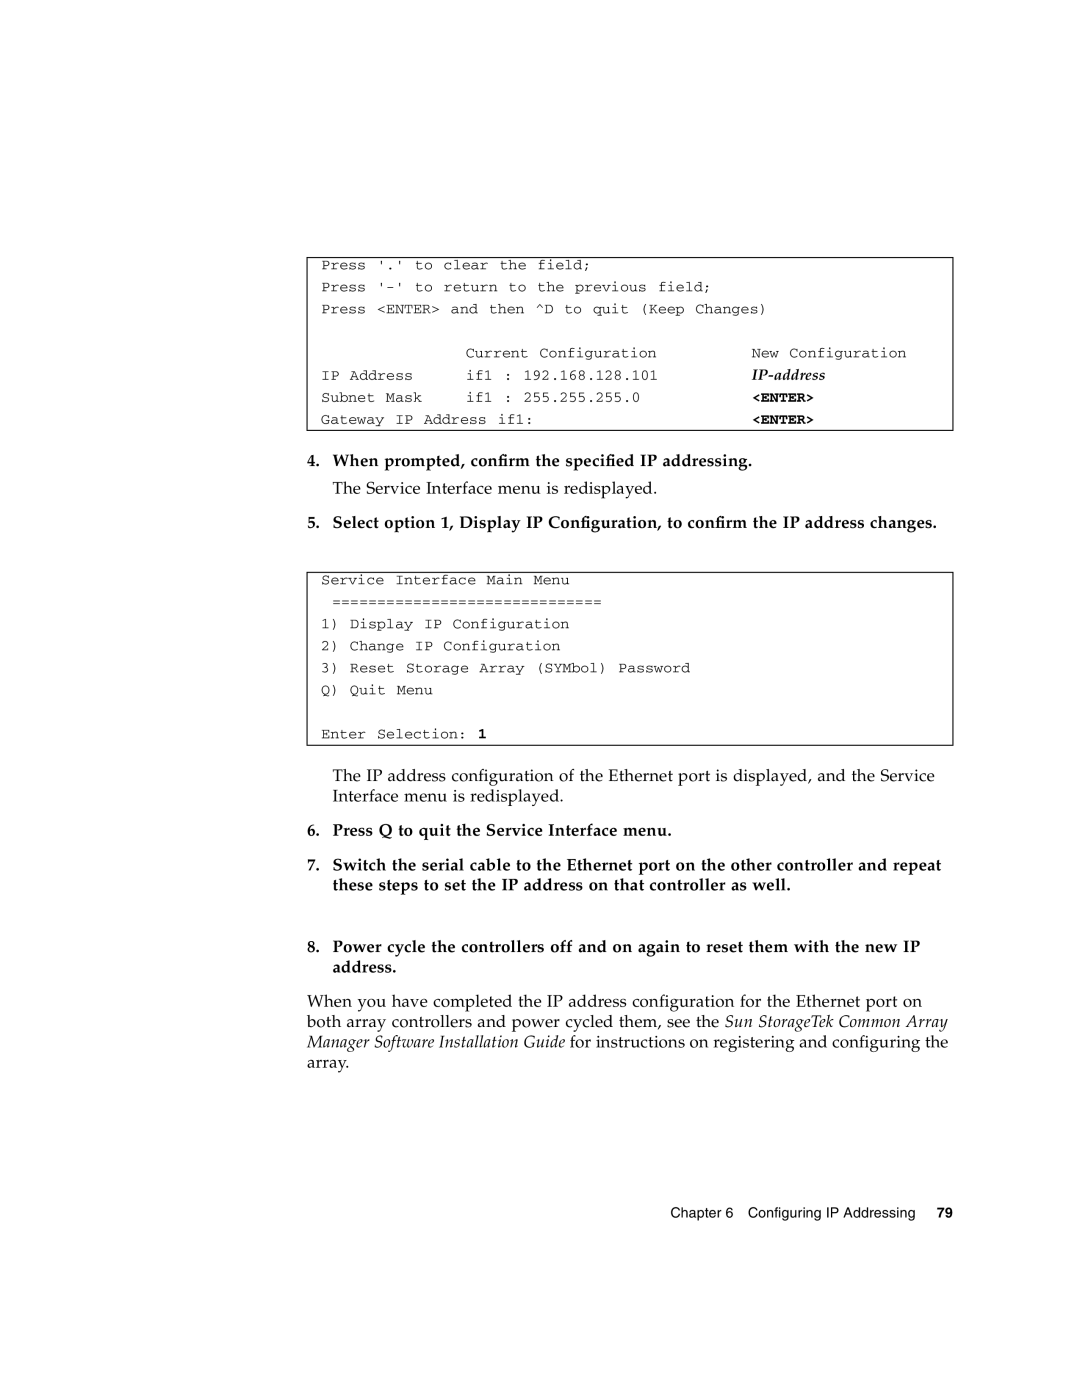
4.When prompted, confirm the specified IP addressing. The Service Interface menu is redisplayed.
5.Select option 1, Display IP Configuration, to confirm the IP address changes.
Service Interface Main Menu
==============================
1)Display IP Configuration
2)Change IP Configuration
3)Reset Storage Array (SYMbol) Password Q) Quit Menu
Enter Selection: 1
The IP address configuration of the Ethernet port is displayed, and the Service Interface menu is redisplayed.
6.Press Q to quit the Service Interface menu.
7.Switch the serial cable to the Ethernet port on the other controller and repeat these steps to set the IP address on that controller as well.
8.Power cycle the controllers off and on again to reset them with the new IP address.
When you have completed the IP address configuration for the Ethernet port on both array controllers and power cycled them, see the Sun StorageTek Common Array Manager Software Installation Guide for instructions on registering and configuring the array.
Chapter 6 Configuring IP Addressing 79
