SUPERSERVER
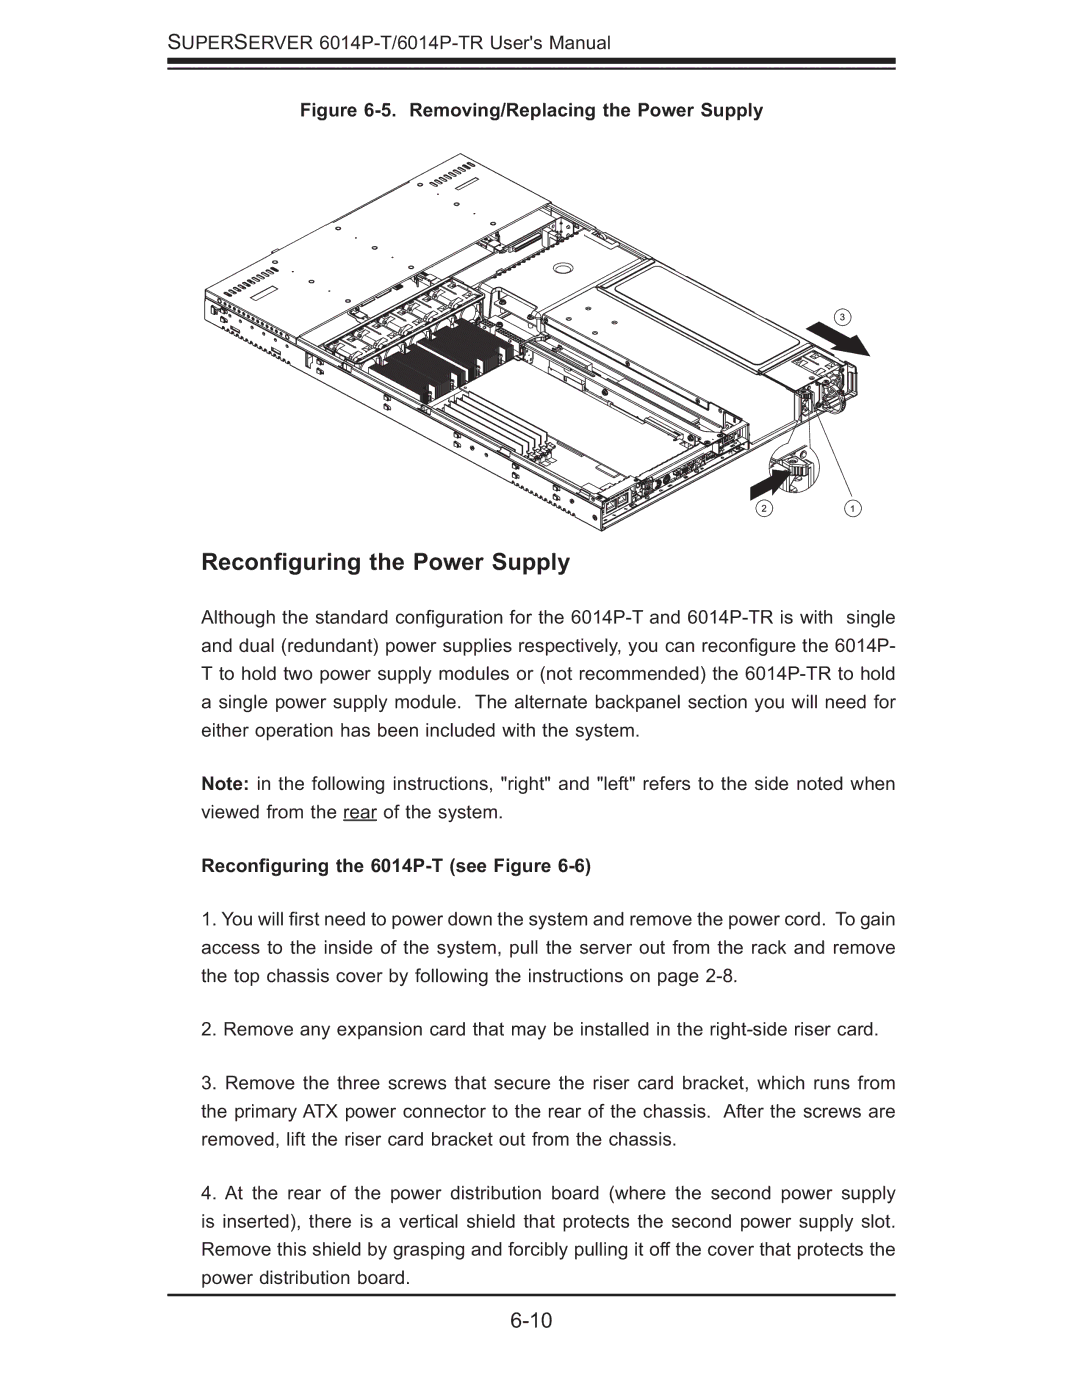
Figure 6-5. Removing/Replacing the Power Supply
Reconfiguring the Power Supply
Although the standard confi guration for the
Note: in the following instructions, "right" and "left" refers to the side noted when viewed from the rear of the system.
Reconfiguring the 6014P-T (see Figure 6-6)
1.You will fi rst need to power down the system and remove the power cord. To gain access to the inside of the system, pull the server out from the rack and remove the top chassis cover by following the instructions on page
2.Remove any expansion card that may be installed in the
3.Remove the three screws that secure the riser card bracket, which runs from the primary ATX power connector to the rear of the chassis. After the screws are removed, lift the riser card bracket out from the chassis.
4.At the rear of the power distribution board (where the second power supply is inserted), there is a vertical shield that protects the second power supply slot. Remove this shield by grasping and forcibly pulling it off the cover that protects the power distribution board.
