Advanced use | TANDBERG Videoconferencing System |
VNC Settings*
NOTE
VNC SERVER SOFTWARE SETUP
• BOTH THE PC AND THE VIDEOCONFERENCING SYSTEM MUST BE CONNECTED TO THE SAME LAN.
• A VNC SERVER MUST BE INSTALLED ON THE PC. FREE SOFTWARE CAN BE DOWNLOADED FROM HTTP:// WWW.UK.RESEARCH.ATT.COM/VNC
• INSTALL THE SOFTWARE BY RUNNING THE DOWNLOADED FILE.
• TO CONFIGURE THE VNC SERVER SOFTWARE :
• SELECT “ACCEPT SOCKET CONNECTIONS”.
• SELECT “AUTO” FOR “DISPLAY NUMBER”. ‘DISPLAY
NUMBER’ IN THE SYSTEM MUST THEN HAVE THE VALUE
0.
• ENTER A PASSWORD IN THE
CORRESPOND WITH THE ‘VNC SETTINGS’ ON YOUR
SYSTEM.
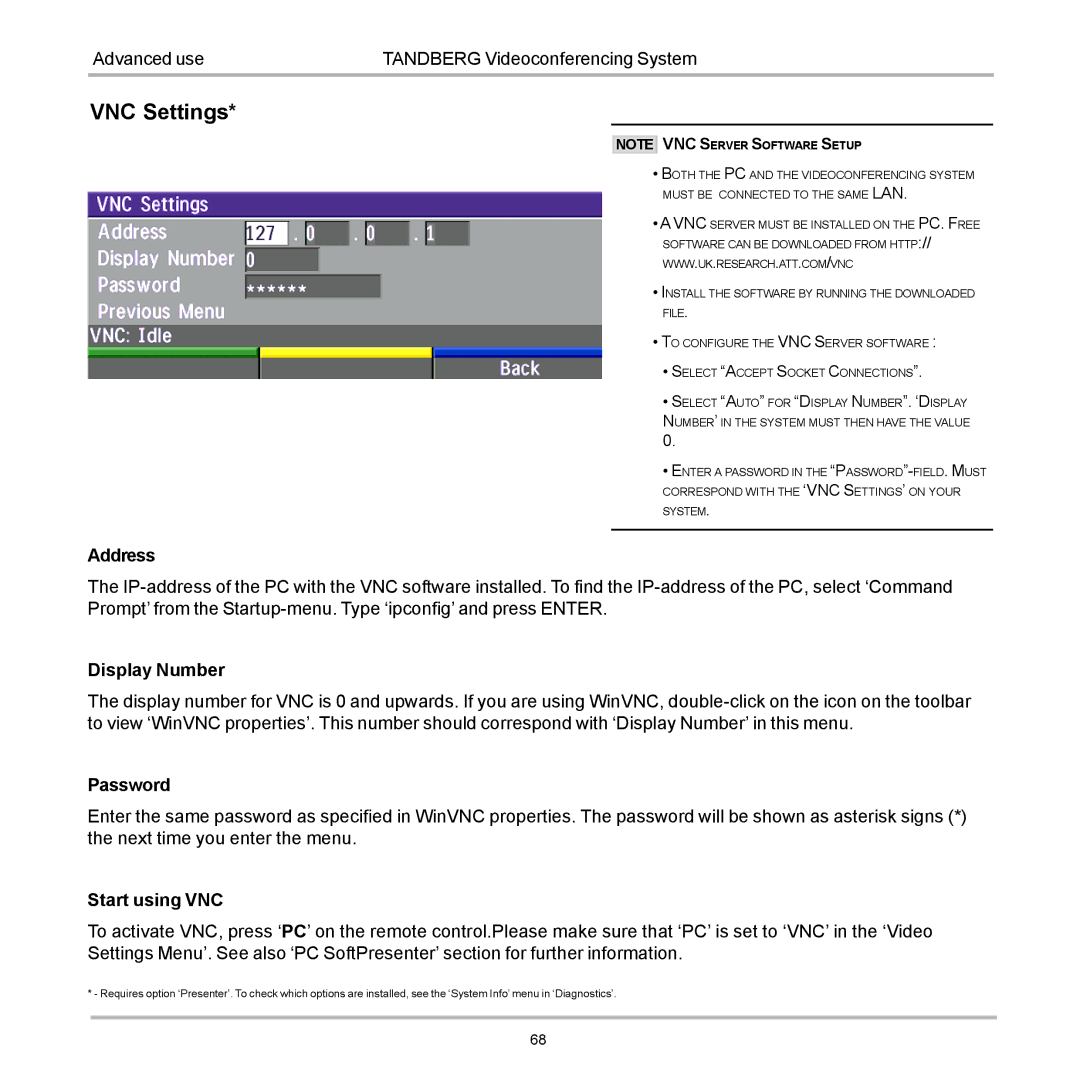
Address
The
Display Number
The display number for VNC is 0 and upwards. If you are using WinVNC,
Password
Enter the same password as specified in WinVNC properties. The password will be shown as asterisk signs (*) the next time you enter the menu.
Start using VNC
To activate VNC, press ‘PC’ on the remote control.Please make sure that ‘PC’ is set to ‘VNC’ in the ‘Video Settings Menu’. See also ‘PC SoftPresenter’ section for further information.
* - Requires option ‘Presenter’. To check which options are installed, see the ‘System Info’ menu in ‘Diagnostics’.
68