2101 Field Wizard
Section 2 Preparation and Installation
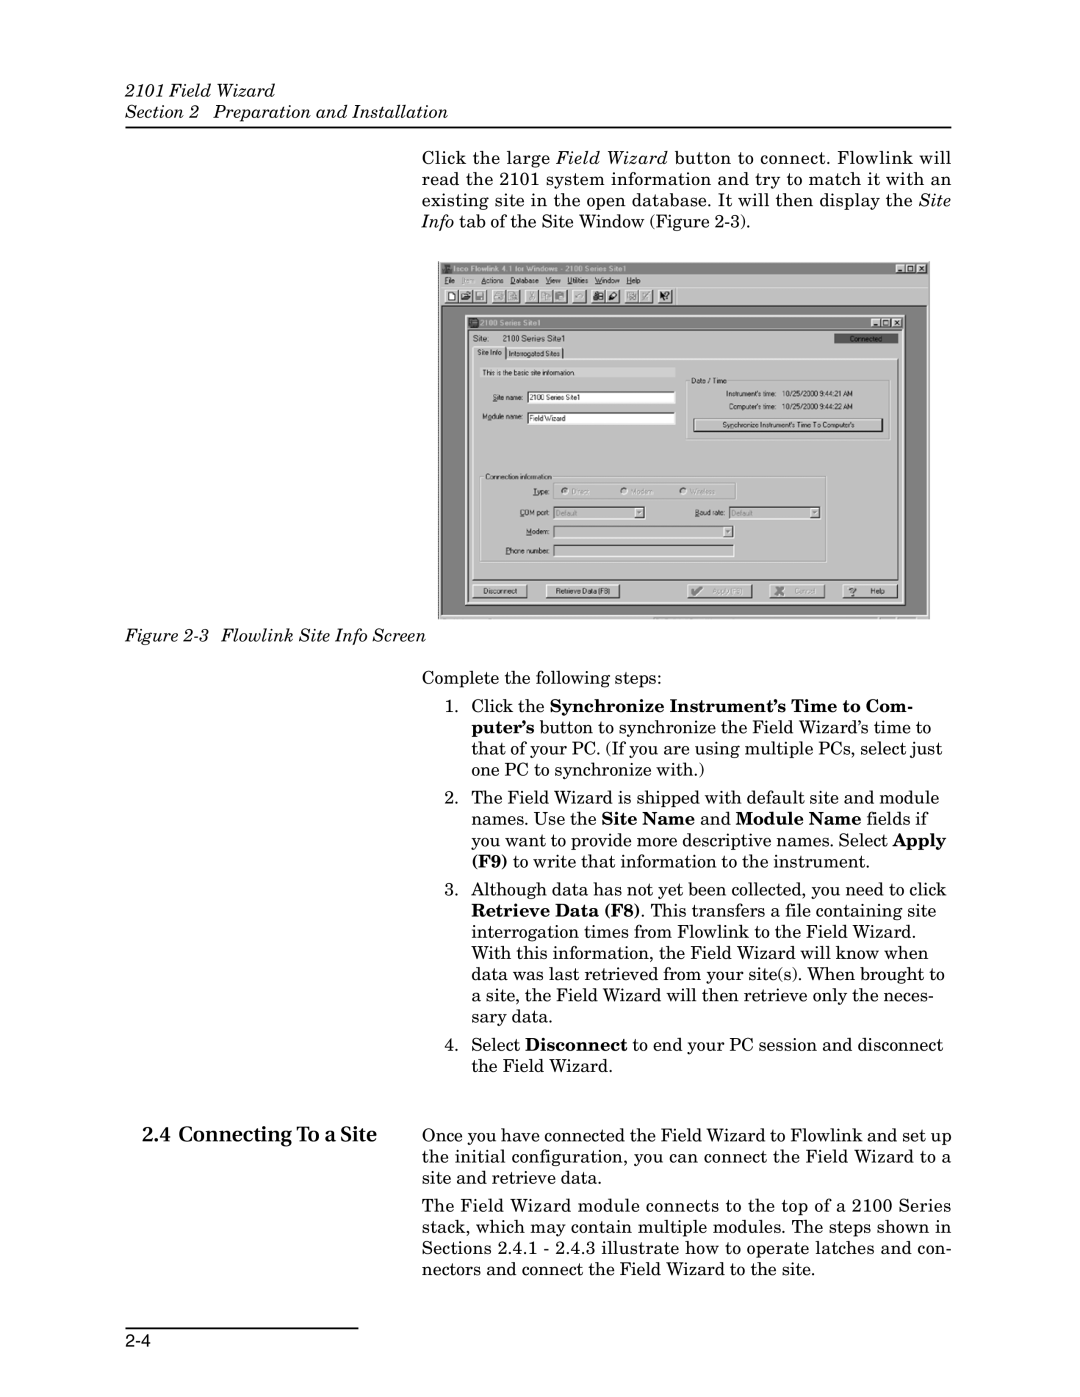
Click the large Field Wizard button to connect. Flowlink will read the 2101 system information and try to match it with an existing site in the open database. It will then display the Site Info tab of the Site Window (Figure
Figure 2-3 Flowlink Site Info Screen
Complete the following steps:
2.4 Connecting To a Site
1.Click the Synchronize Instrument’s Time to Com- puter’s button to synchronize the Field Wizard’s time to that of your PC. (If you are using multiple PCs, select just one PC to synchronize with.)
2.The Field Wizard is shipped with default site and module names. Use the Site Name and Module Name fields if you want to provide more descriptive names. Select Apply (F9) to write that information to the instrument.
3.Although data has not yet been collected, you need to click Retrieve Data (F8). This transfers a file containing site interrogation times from Flowlink to the Field Wizard. With this information, the Field Wizard will know when data was last retrieved from your site(s). When brought to a site, the Field Wizard will then retrieve only the neces- sary data.
4.Select Disconnect to end your PC session and disconnect the Field Wizard.
Once you have connected the Field Wizard to Flowlink and set up the initial configuration, you can connect the Field Wizard to a site and retrieve data.
The Field Wizard module connects to the top of a 2100 Series stack, which may contain multiple modules. The steps shown in Sections 2.4.1 - 2.4.3 illustrate how to operate latches and con- nectors and connect the Field Wizard to the site.