2. PRINTER SETUP | ENGLISH VERSION |
2.8 Loading the Ribbon
2.8Loading the Ribbon (Cont.)
NOTES:
1.Be sure to remove any slack in the ribbon when printing. Printing with a wrinkled ribbon will lower the print quality.
2.The Ribbon Sensor is mounted on the rear of the Print Head Block to detect a ribbon end. When a ribbon end is detected, “NO RIBBON” message will appear on the display and the ERROR LED will illuminate.
3.Slide the Ribbon Stoppers along the Ribbon Shafts to a position where the ribbon is centred when fitted.
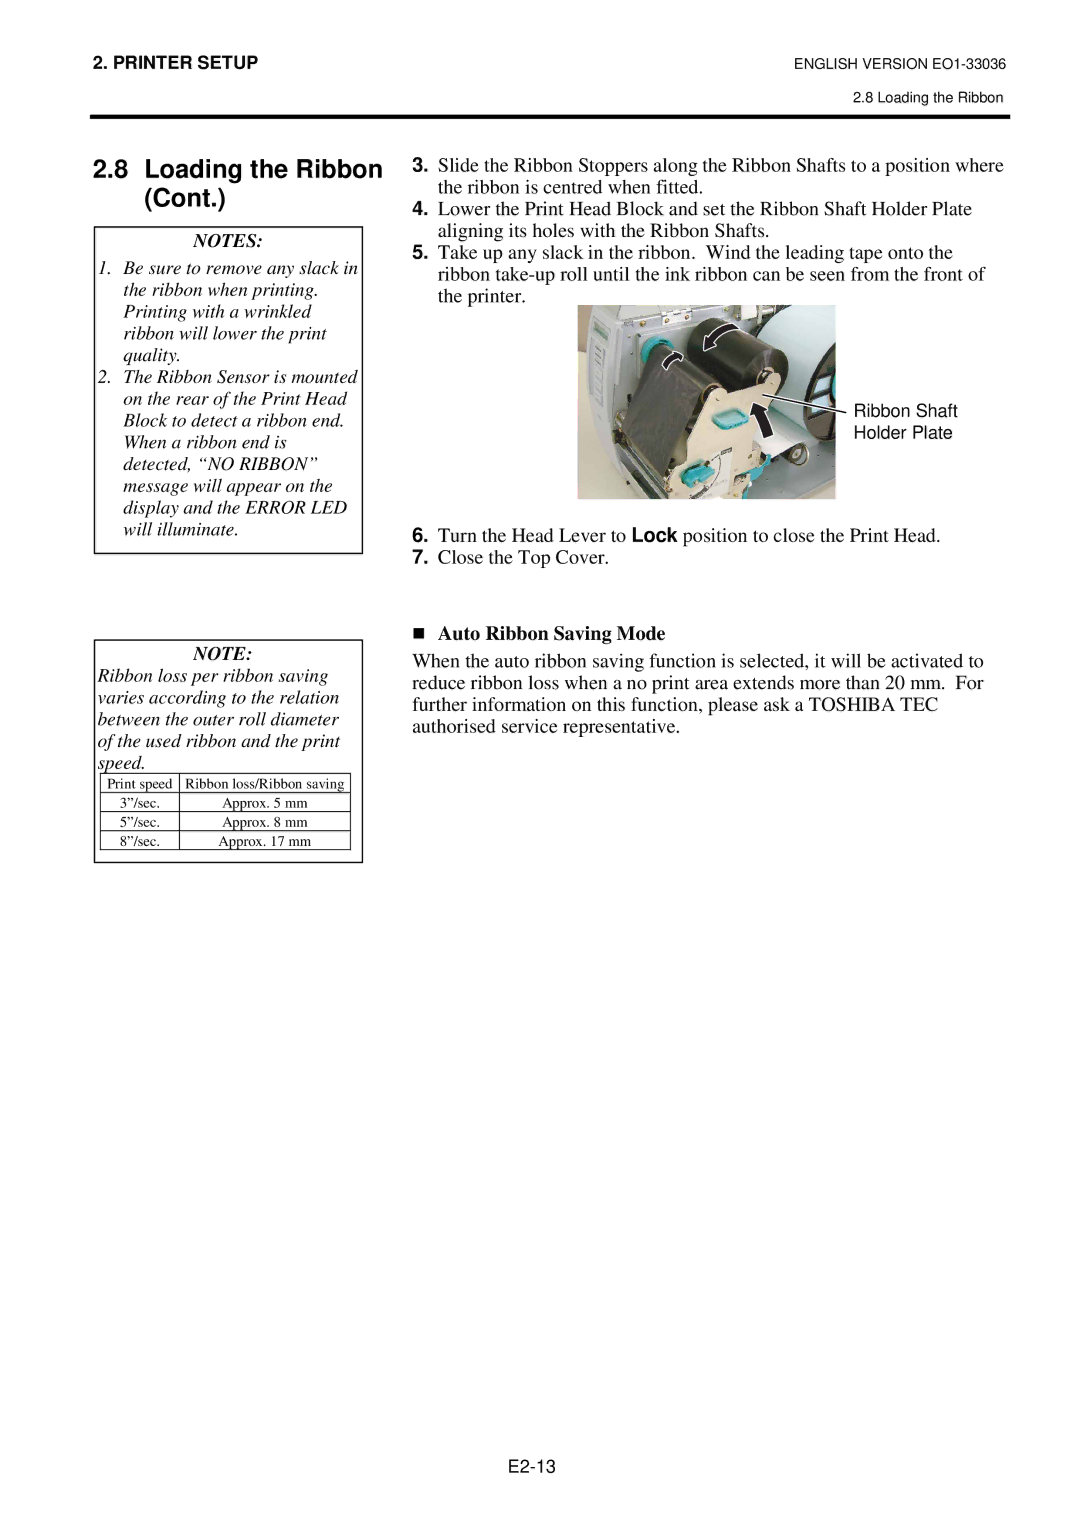
4.Lower the Print Head Block and set the Ribbon Shaft Holder Plate aligning its holes with the Ribbon Shafts.
5.Take up any slack in the ribbon. Wind the leading tape onto the ribbon
![]() Ribbon Shaft
Ribbon Shaft
Holder Plate
6.Turn the Head Lever to Lock position to close the Print Head.
7.Close the Top Cover.
NOTE:
Ribbon loss per ribbon saving varies according to the relation between the outer roll diameter of the used ribbon and the print speed.
Print speed | Ribbon loss/Ribbon saving |
3”/sec. | Approx. 5 mm |
5”/sec. | Approx. 8 mm |
8”/sec. | Approx. 17 mm |
T
Auto Ribbon Saving Mode
When the auto ribbon saving function is selected, it will be activated to reduce ribbon loss when a no print area extends more than 20 mm. For further information on this function, please ask a TOSHIBA TEC authorised service representative.