Preparation
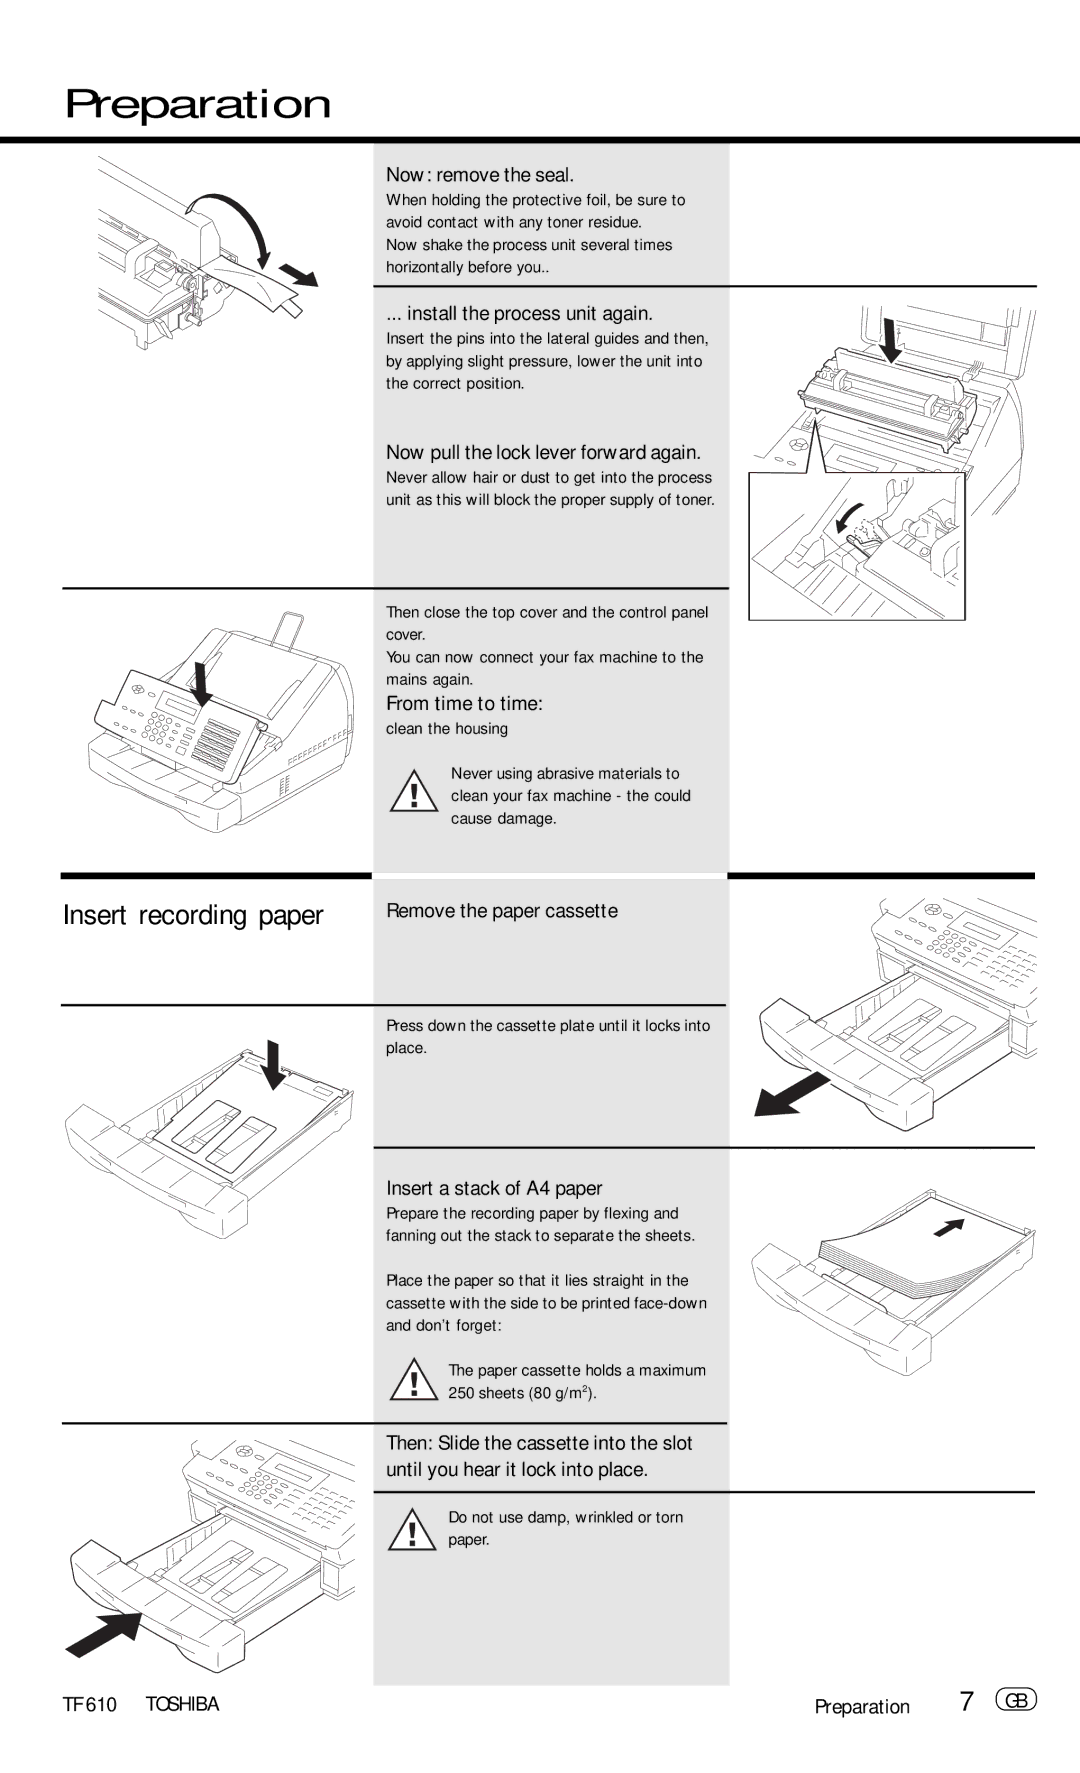
Now: remove the seal.
When holding the protective foil, be sure to avoid contact with any toner residue.
Now shake the process unit several times horizontally before you..
... install the process unit again.
Insert the pins into the lateral guides and then, by applying slight pressure, lower the unit into the correct position.
Now pull the lock lever forward again.
Never allow hair or dust to get into the process unit as this will block the proper supply of toner.
Then close the top cover and the control panel cover.
You can now connect your fax machine to the mains again.
From time to time:
clean the housing
Never using abrasive materials to clean your fax machine - the could cause damage.
Insert recording paper | Remove the paper cassette |
Press down the cassette plate until it locks into place.
Insert a stack of A4 paper
Prepare the recording paper by flexing and fanning out the stack to separate the sheets.
Place the paper so that it lies straight in the cassette with the side to be printed
The paper cassette holds a maximum 250 sheets (80 g/m2).
Then: Slide the cassette into the slot until you hear it lock into place.
Do not use damp, wrinkled or torn paper.
TF 610 TOSHIBA | Preparation | 7 GB |