FULL MENU adjustments and settings – Picture (continued)
CONTENTS | 56 |
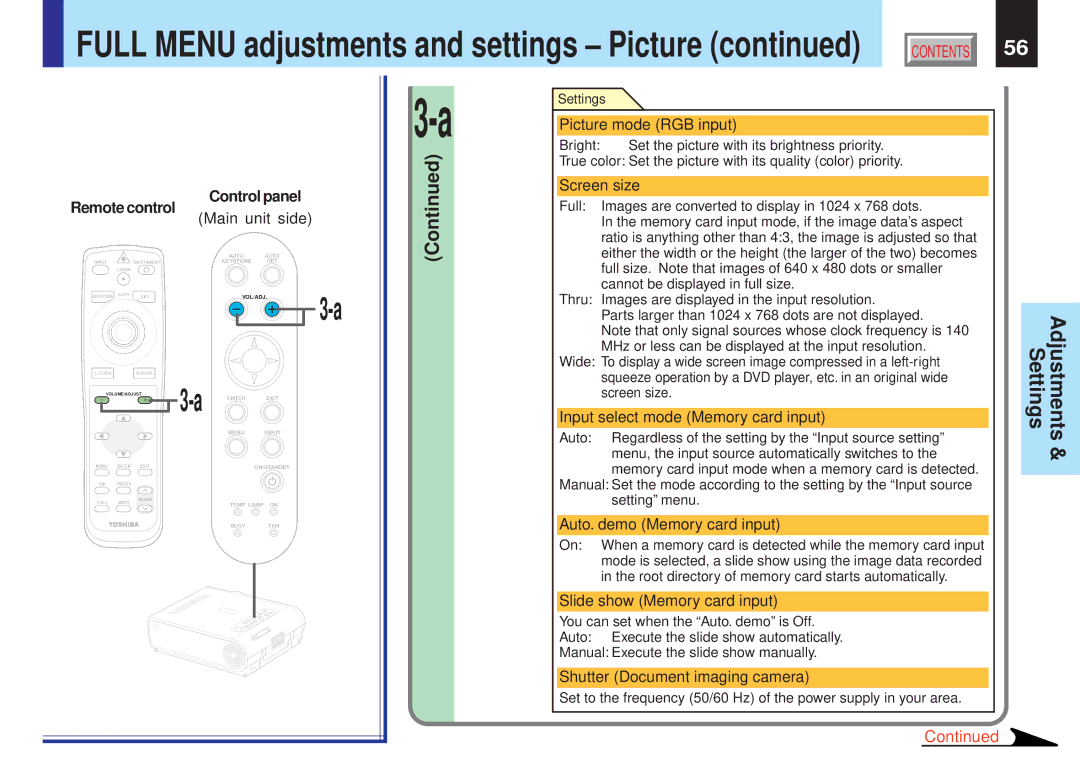
Remote control |
| Control panel |
| |||
(Main unit side) |
| |||||
|
|
|
| |||
|
|
|
| AUTO | AUTO |
|
INPUT |
| ON/STANDBY |
| KEYSTONE | SET |
|
| LASER |
|
|
|
|
|
KEYSTONE | AUTO | SET |
| VOL/ADJ. | ||
|
| |||||
|
|
|
|
|
| |
|
|
|
| |||
VOLUME/ADJUST | ENTER | EXIT |
| |||
|
|
|
|
| ||
|
|
|
| MENU | INPUT |
|
MENU | ENTER EXIT |
|
| ON/STANDBY |
| |
PIP | FREEZE |
|
|
|
|
|
CALL | MUTE | RESIZE |
| TEMP LAMP ON |
| |
|
|
| ||||
|
|
|
|
| ||
|
|
|
| BUSY | FAN |
|
(Continued)
Settings
Picture mode (RGB input)
Bright: Set the picture with its brightness priority.
True color: Set the picture with its quality (color) priority.
Screen size
Full: Images are converted to display in 1024 x 768 dots.
In the memory card input mode, if the image data’s aspect ratio is anything other than 4:3, the image is adjusted so that either the width or the height (the larger of the two) becomes full size. Note that images of 640 x 480 dots or smaller cannot be displayed in full size.
Thru: Images are displayed in the input resolution.
Parts larger than 1024 x 768 dots are not displayed.
Note that only signal sources whose clock frequency is 140 MHz or less can be displayed at the input resolution.
Wide: To display a wide screen image compressed in a
Input select mode (Memory card input)
Auto: Regardless of the setting by the “Input source setting” menu, the input source automatically switches to the memory card input mode when a memory card is detected.
Manual: Set the mode according to the setting by the “Input source setting” menu.
Auto. demo (Memory card input)
On: When a memory card is detected while the memory card input mode is selected, a slide show using the image data recorded in the root directory of memory card starts automatically.
Slide show (Memory card input)
You can set when the “Auto. demo” is Off.
Auto: Execute the slide show automatically.
Manual: Execute the slide show manually.
Shutter (Document imaging camera)
Set to the frequency (50/60 Hz) of the power supply in your area.
Continued
Settings | Adjustments |
| & |
|
|