TL-WR740N
Wireless Lite N Router
2)In Domain Name field, enter the domain name in the blank. You can enter 4 domain names.
3.Click the Save button.
Click the Delete All button to delete all the entries in the table.
Click the Next button to go to the next page, or click the Previous button return to the previous page.
For example: If you desire to restrict the internet activities of host with MAC address
1.Click Add New… button in Figure
2.In Mode field, select Domain Name from the
3.In Target Description field, create a unique description for the target (e.g. Target_1).
4.In Domain Name field, enter www.google.com.
5.Click Save to complete the settings.
Then you will go back to the Target Settings page and see the following list,
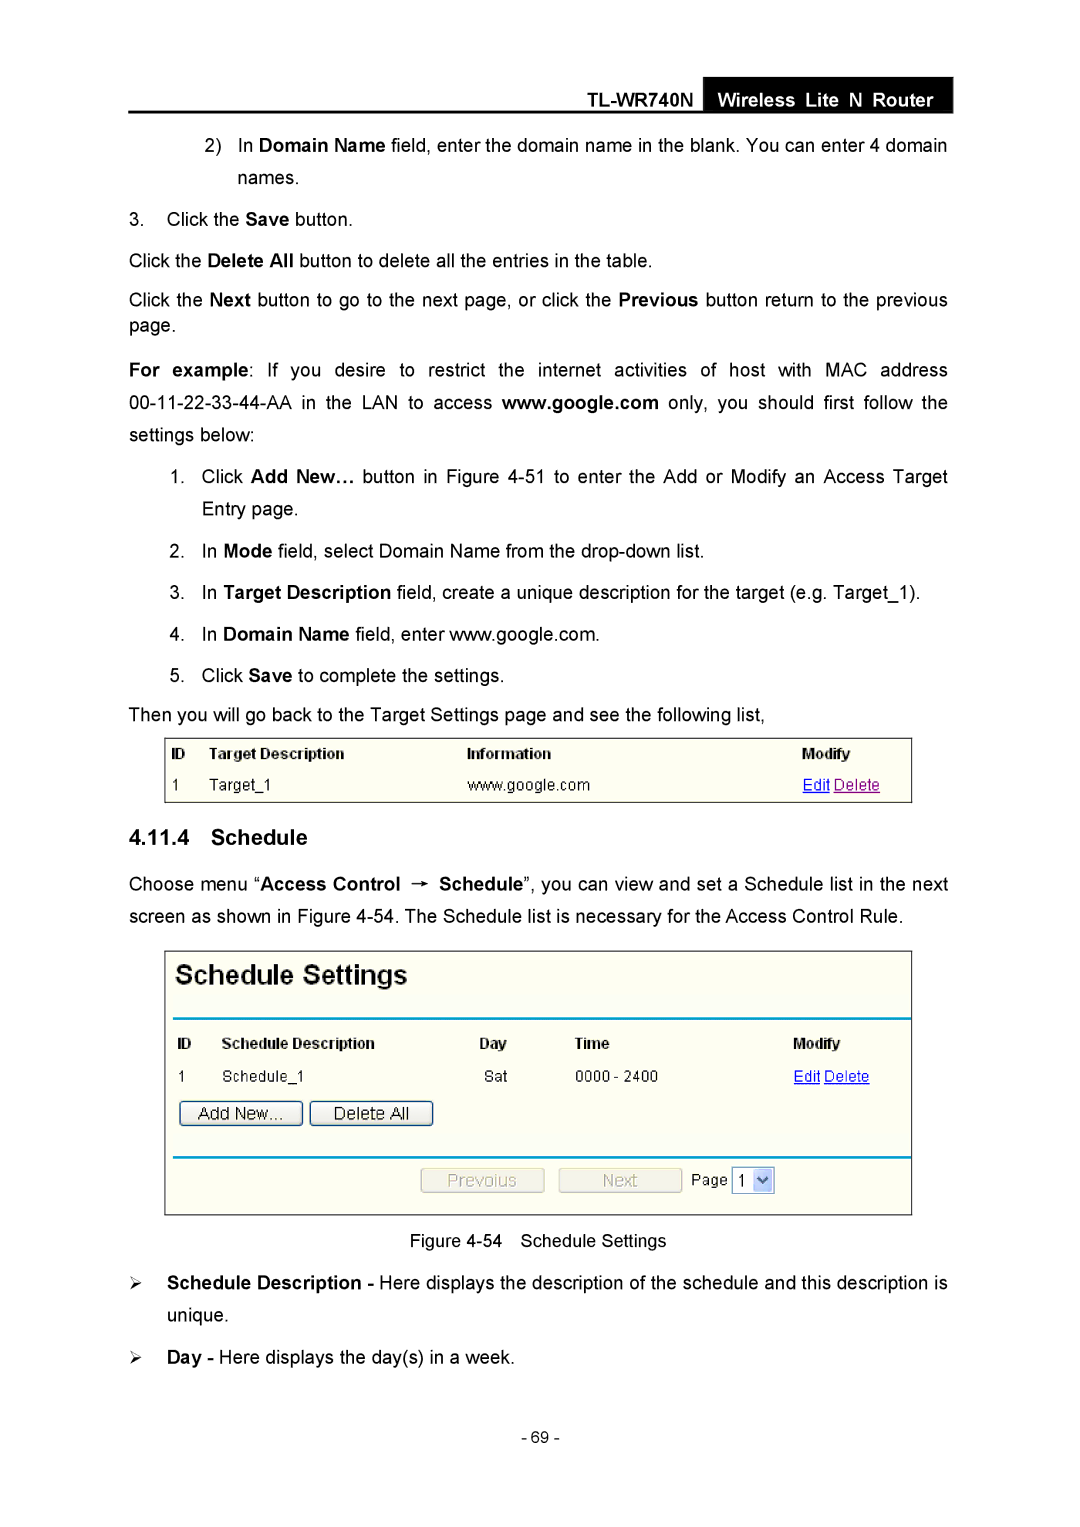
4.11.4 Schedule
Choose menu “Access Control → Schedule”, you can view and set a Schedule list in the next screen as shown in Figure
Figure 4-54 Schedule Settings
¾Schedule Description - Here displays the description of the schedule and this description is unique.
¾Day - Here displays the day(s) in a week.
- 69 -