Installation
Adjusting the Geometry:
1.Input an anamorphic
2.Loosen the three Lens Rotation Set Screws (shown in Figure
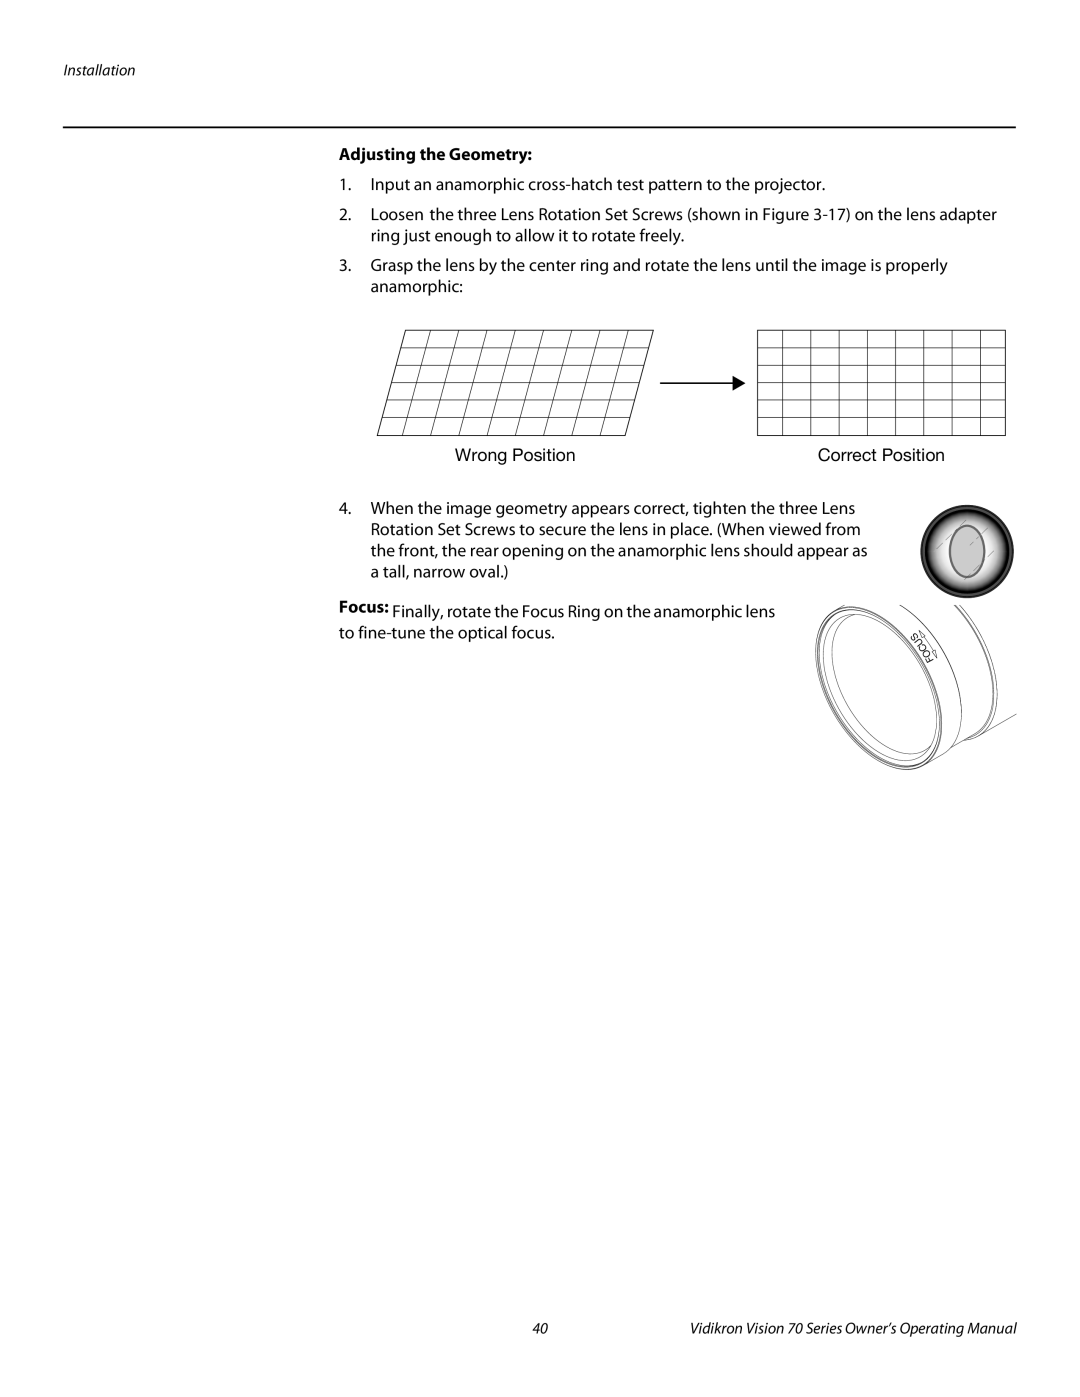
3.Grasp the lens by the center ring and rotate the lens until the image is properly anamorphic:
Wrong Position | Correct Position |
4.When the image geometry appears correct, tighten the three Lens Rotation Set Screws to secure the lens in place. (When viewed from the front, the rear opening on the anamorphic lens should appear as a tall, narrow oval.)
Focus: Finally, rotate the Focus Ring on the anamorphic lens |
|
to | S |
U
C
O
F
40 | Vidikron Vision 70 Series Owner’s Operating Manual |