Installation
1.Use the
2.Place the lens with the brackets installed on top of (or under, if the projector is inverted) the Base Plate (item #2), so that the two threaded posts at the bottom of the brackets pass through the corresponding slots on the base plate.
3.Secure the lens assembly to the base plate with the
To avoid clipping the corners of the image, position the anamorphic lens
Tip | as close as possible to the primary lens. |
|
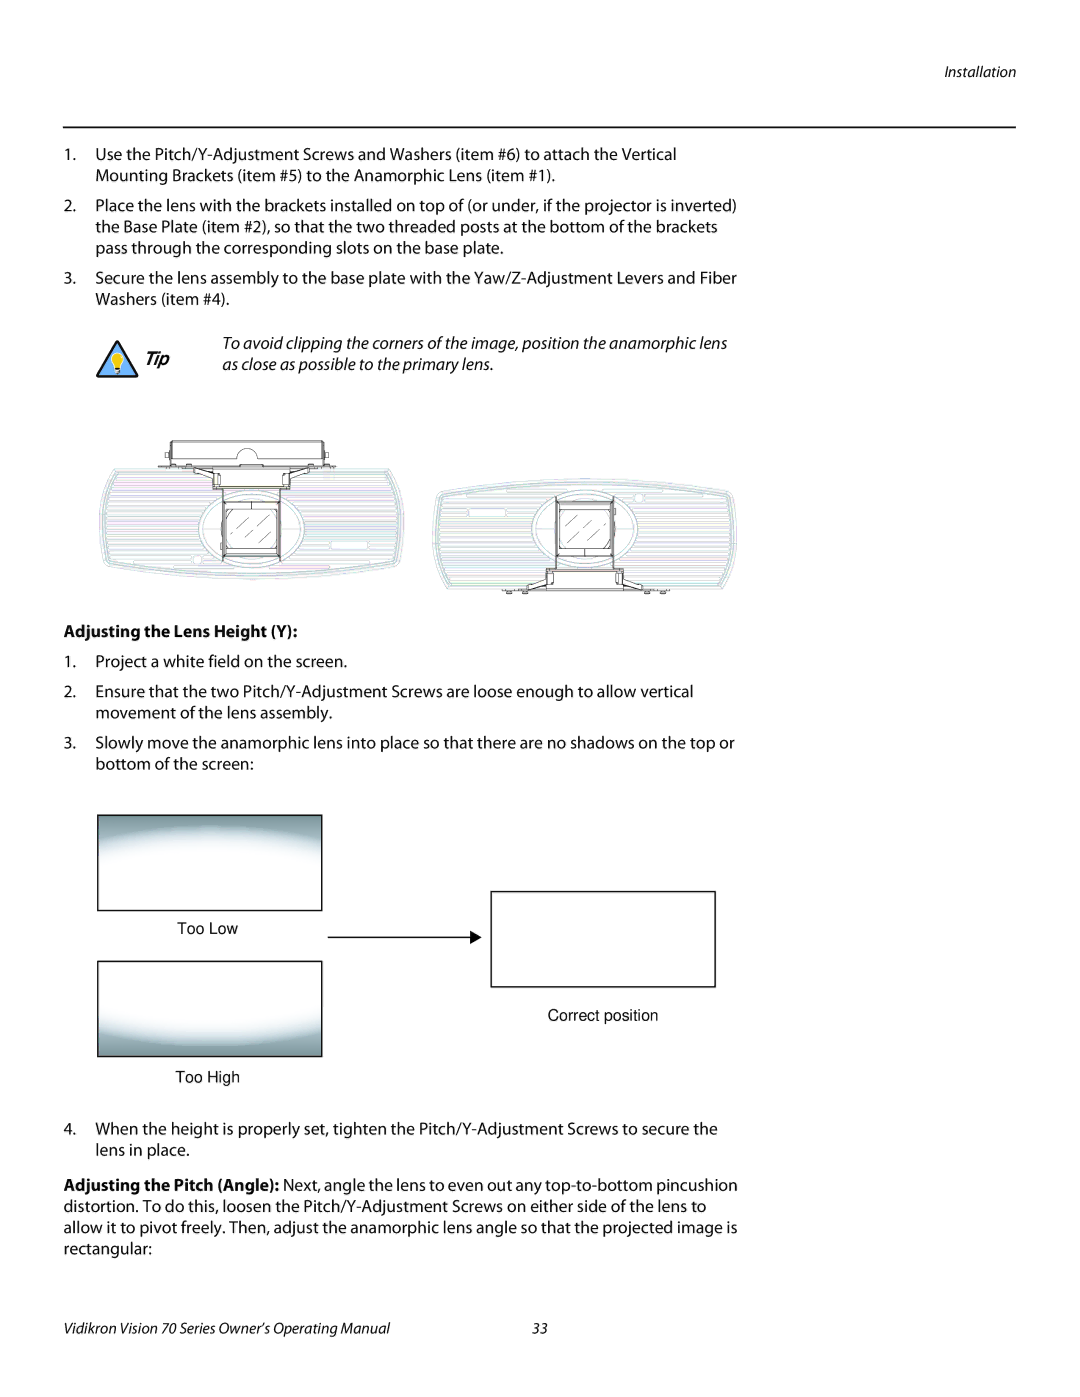
Adjusting the Lens Height (Y):
1.Project a white field on the screen.
2.Ensure that the two
3.Slowly move the anamorphic lens into place so that there are no shadows on the top or bottom of the screen:
Too Low
Correct position
Too High
4.When the height is properly set, tighten the
Adjusting the Pitch (Angle): Next, angle the lens to even out any
Vidikron Vision 70 Series Owner’s Operating Manual | 33 |