Table |
|
Components and Hardware Needed: | Qty |
Trunnion Support Bracket | 1 |
Table | 1 |
Hex Bolts | 2 |
Lock Washers 8mm | 2 |
Knobs | 2 |
To install the table: |
|
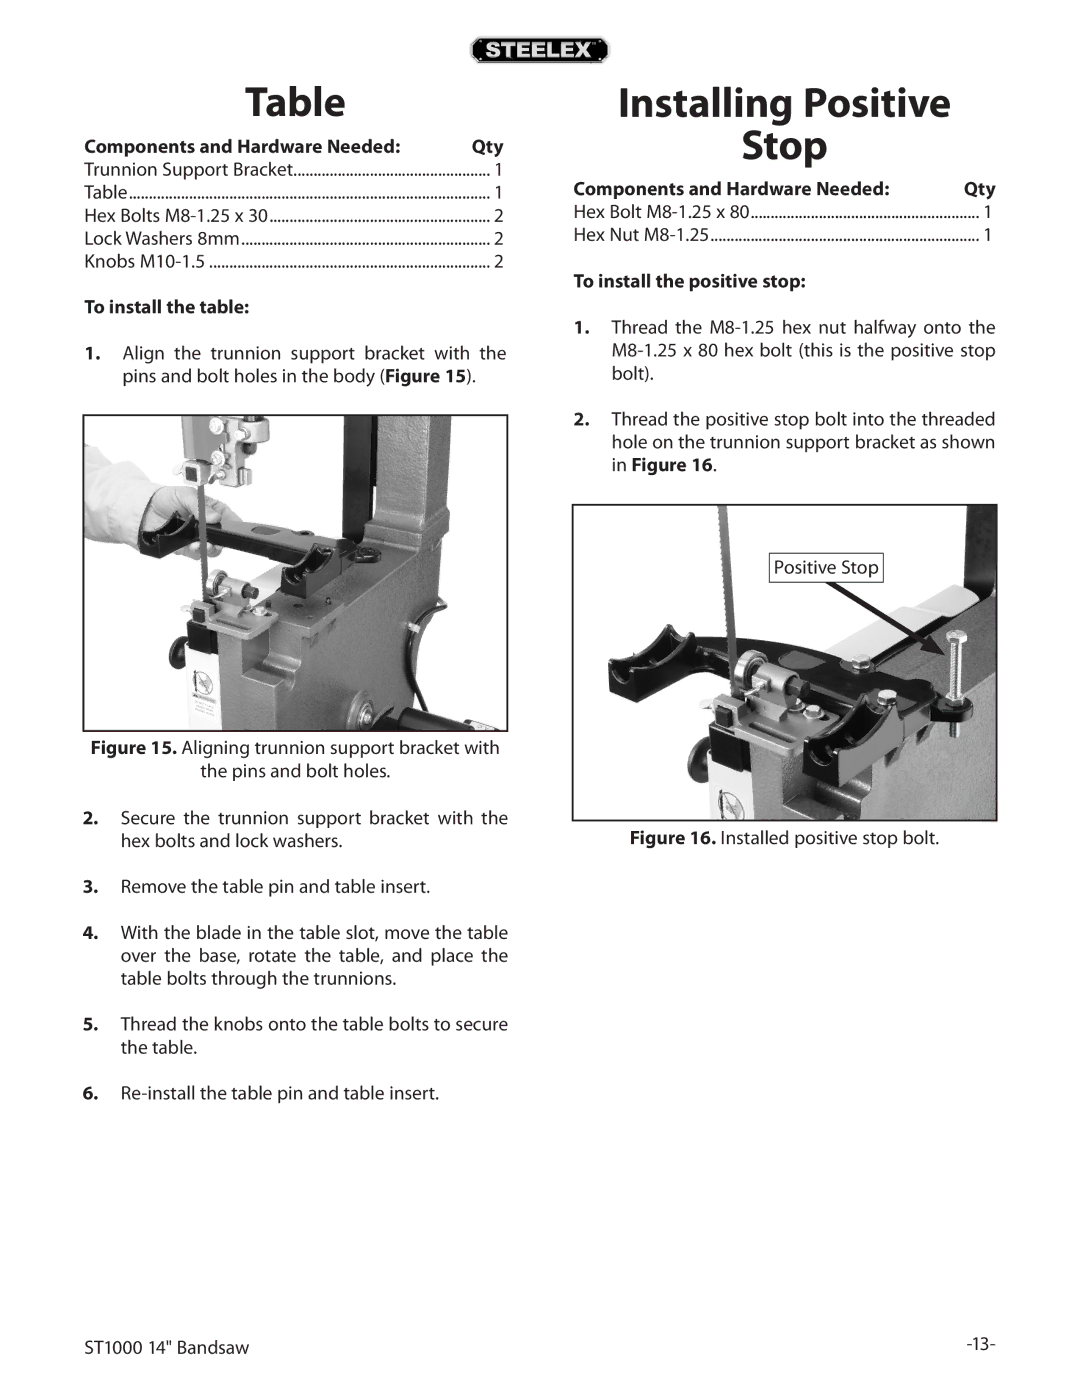
1.Align the trunnion support bracket with the pins and bolt holes in the body (Figure 15).
Figure 15. Aligning trunnion support bracket with
the pins and bolt holes.
2.Secure the trunnion support bracket with the hex bolts and lock washers.
3.Remove the table pin and table insert.
4.With the blade in the table slot, move the table over the base, rotate the table, and place the table bolts through the trunnions.
5.Thread the knobs onto the table bolts to secure the table.
6.Re-install the table pin and table insert.
Installing Positive
Stop
Components and Hardware Needed: | Qty |
Hex Bolt | 1 |
Hex Nut | 1 |
To install the positive stop: |
|
1.Thread the
2.Thread the positive stop bolt into the threaded hole on the trunnion support bracket as shown in Figure 16.
Positive Stop
Figure 16. Installed positive stop bolt.
ST1000 14" Bandsaw |