Assembling Stand
Components and Hardware Needed: | Qty |
Carriage Bolts | 34 |
Hex Nuts | 34 |
Base Plate | 1 |
Legs | 4 |
Side Leg Braces | 2 |
Front/Rear Leg Braces | 2 |
Support Braces | 2 |
To assemble the stand: |
|
1.Place the base plate upside down on a flat surface, and loosely attach the legs to the base plate with the carriage bolts and hex nuts.
Note: Install the carriage bolts with the round end facing out.
2.Loosely attach the front/rear leg braces and side braces to the legs, then turn the stand right side up. Make sure it sits level, then tighten all the hex nuts.
3.Place the support braces on the underside of the base plate, making sure the hole patterns match and are properly aligned.
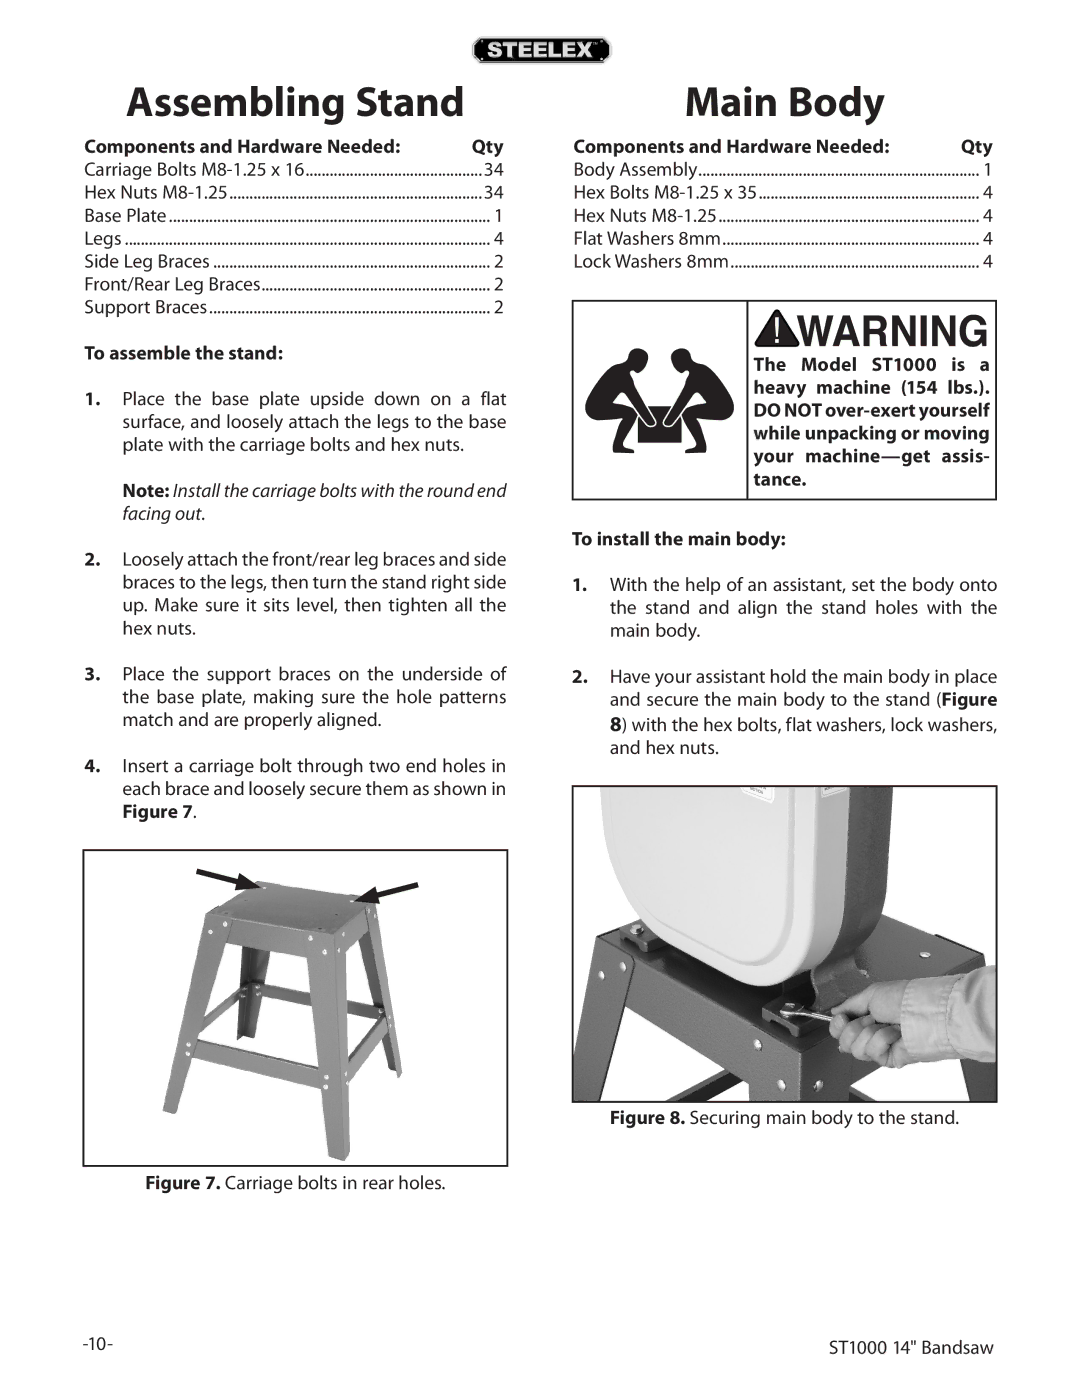
4.Insert a carriage bolt through two end holes in each brace and loosely secure them as shown in Figure 7.
Figure 7. Carriage bolts in rear holes.
Main Body |
|
Components and Hardware Needed: | Qty |
Body Assembly | 1 |
Hex Bolts | 4 |
Hex Nuts | 4 |
Flat Washers 8mm | 4 |
Lock Washers 8mm | 4 |
The Model ST1000 is a heavy machine (154 lbs.). DO NOT
To install the main body:
1.With the help of an assistant, set the body onto the stand and align the stand holes with the main body.
2.Have your assistant hold the main body in place and secure the main body to the stand (Figure 8) with the hex bolts, flat washers, lock washers, and hex nuts.
Figure 8. Securing main body to the stand.
ST1000 14" Bandsaw |