Woodstock ST1000 Motor & Switch, To install the motor and switch, Components and Hardware Needed

Models: ST1000

1 52
Download 52 pages 41.89 Kb
Page 13
Image 13
Motor & Switch

Motor & Switch


Components and Hardware Needed:

Qty

Motor

1

Switch

1

Cap Screws M8-1.25 x 25

2

Flat Washers 8mm

2

Lock Washers 8mm

2

Phillips Head Screws M5-.8 x 12

2

Phillips Head Screws M5-.8 x 15

2

External Tooth Lock Washers 5mm

2

Phillips Head Screw M5-.8 x 6

1

Star Washer 5mm

1

Metal Cord Clamp

1

Plastic Cord Clamp

1

To install the motor and switch:


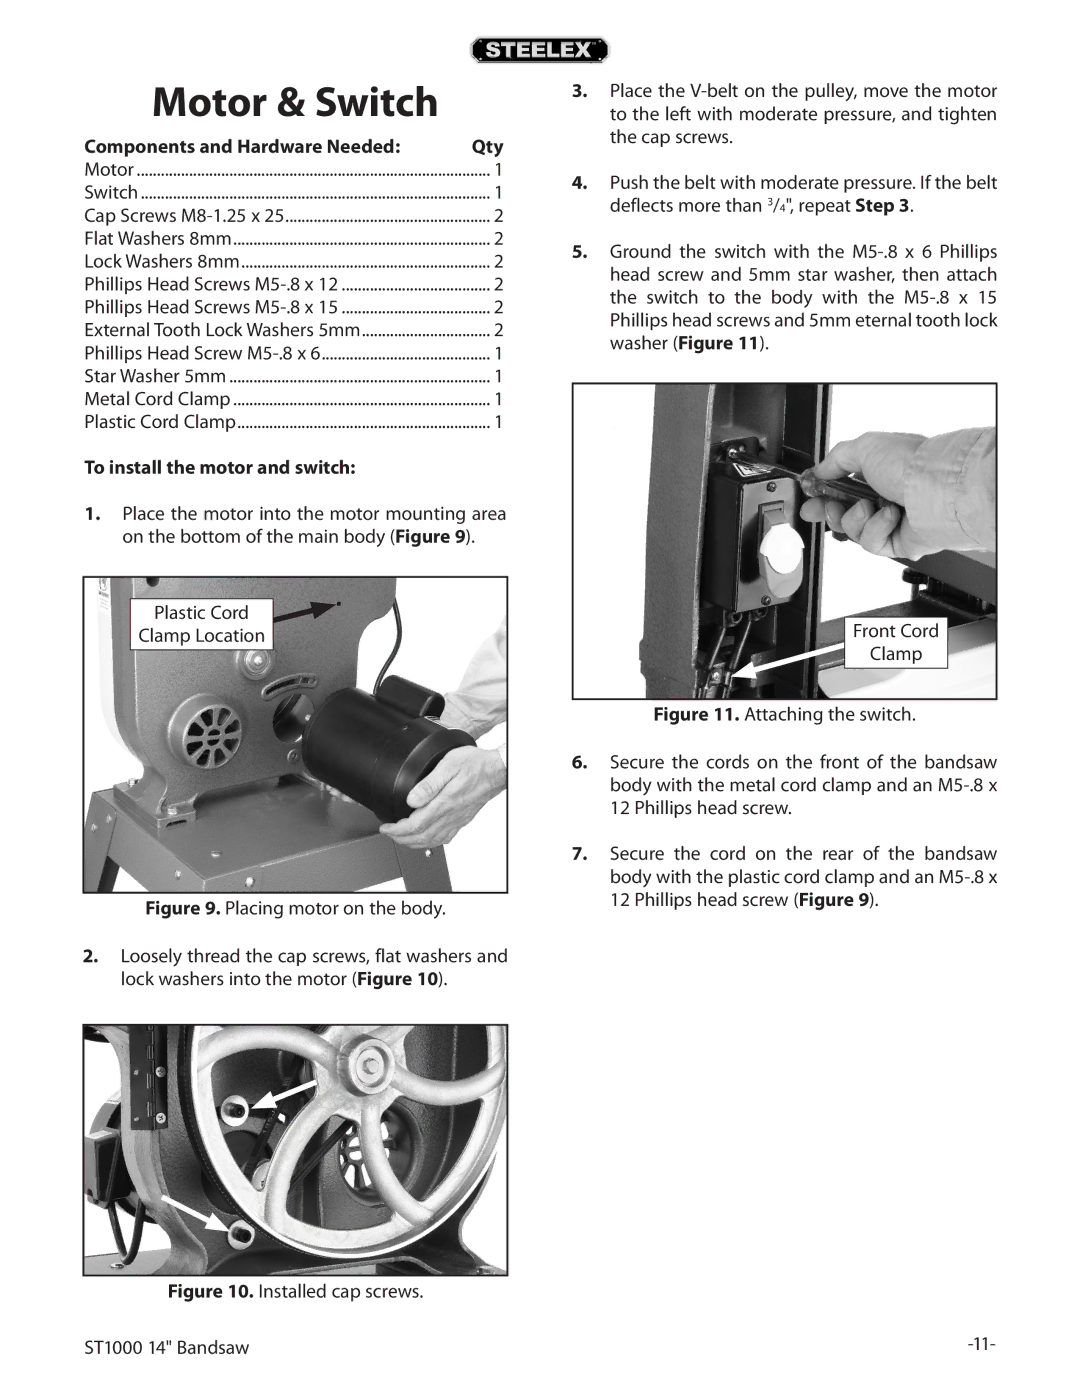
1.Place the motor into the motor mounting area on the bottom of the main body (Figure 9).

Plastic Cord

Clamp Location

Figure 9. Placing motor on the body.

2.Loosely thread the cap screws, flat washers and lock washers into the motor (Figure 10).

Figure 10. Installed cap screws.

ST1000 14" Bandsaw

3.Place the V-belt on the pulley, move the motor to the left with moderate pressure, and tighten the cap screws.

4.Push the belt with moderate pressure. If the belt deflects more than 3/4", repeat Step 3.

5.Ground the switch with the M5-.8 x 6 Phillips head screw and 5mm star washer, then attach the switch to the body with the M5-.8 x 15 Phillips head screws and 5mm eternal tooth lock washer (Figure 11).

Front Cord

Clamp

Figure 11. Attaching the switch.

6.Secure the cords on the front of the bandsaw body with the metal cord clamp and an M5-.8 x 12 Phillips head screw.

7.Secure the cord on the rear of the bandsaw body with the plastic cord clamp and an M5-.8 x 12 Phillips head screw (Figure 9).

-11-

Page 13
Image 13
Woodstock ST1000 owner manual Motor & Switch, To install the motor and switch, Components and Hardware Needed