Aligning Table
To ensure cutting accuracy when the table is first installed, the table should be aligned so that the miter slot is parallel to the bandsaw blade. This pro- cedure works best with a 3⁄4" blade.
To align the miter slot parallel to the bandsaw blade:
1.Make sure that the blade is tracking properly and that it is correctly tensioned.
2.UNPLUG THE BANDSAW!
3.Loosen the trunnion bolts that secure the trun- nions to the table.
4.Place an accurate straightedge along the blade. The straightedge should lightly touch both the front and back of the blade.
Note: Make sure the straightedge does not go across a tooth.
5.Use a fine ruler to gauge the distance between the blade and the miter slot. The distance you measure should be the same at both the front and the back of the table.
6.Adjust the table as needed for proper align- ment.
7.Tighten the trunnion bolts.
Note: Refer to the Blade Lead instructions on Page 25 for more table alignment adjustments.
Aligning Fence
To ensure cutting accuracy when the fence is first installed, the fence should be aligned with the miter slot.
To align the fence parallel with the miter slot:
1.If the fence is mounted on the
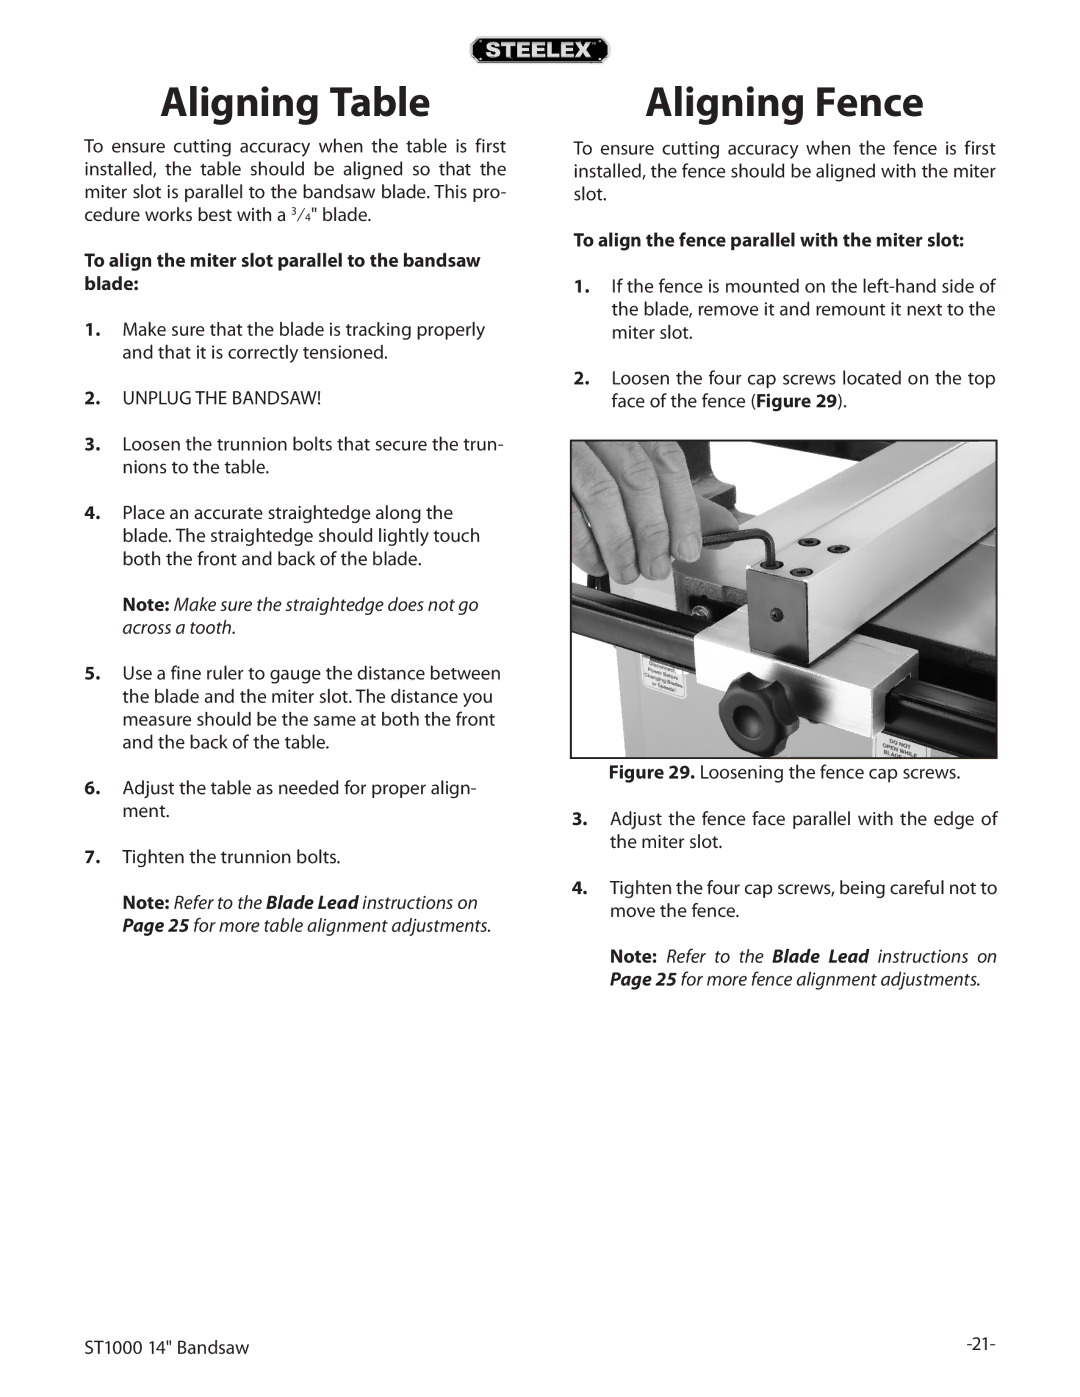
2.Loosen the four cap screws located on the top face of the fence (Figure 29).
Figure 29. Loosening the fence cap screws.
3.Adjust the fence face parallel with the edge of the miter slot.
4.Tighten the four cap screws, being careful not to move the fence.
Note: Refer to the Blade Lead instructions on Page 25 for more fence alignment adjustments.
ST1000 14" Bandsaw |