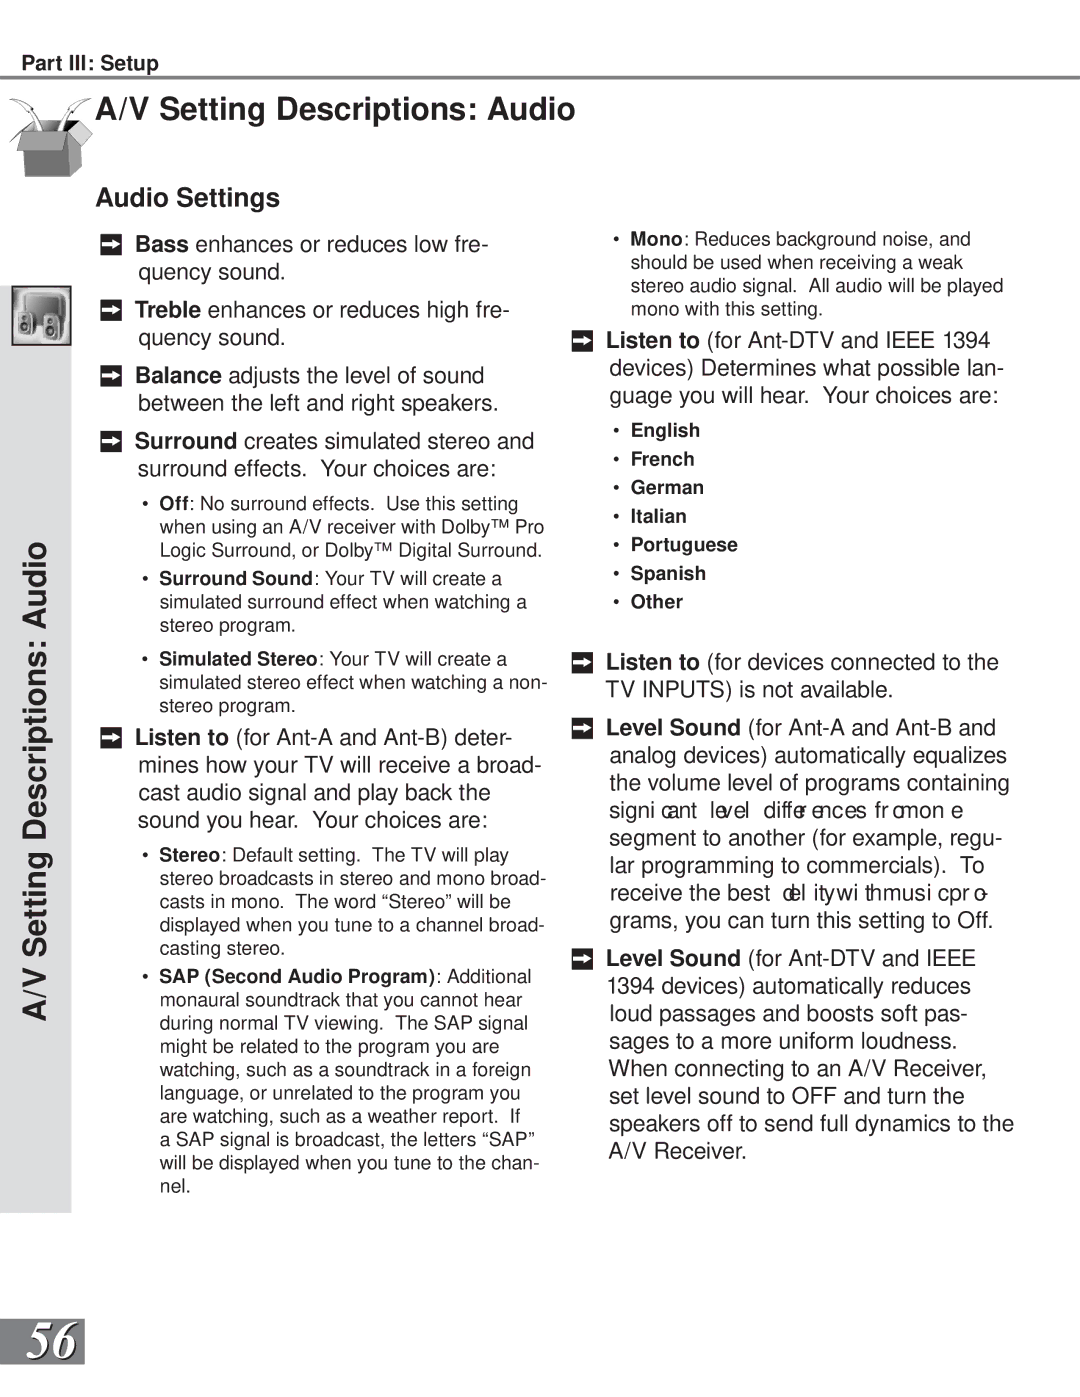
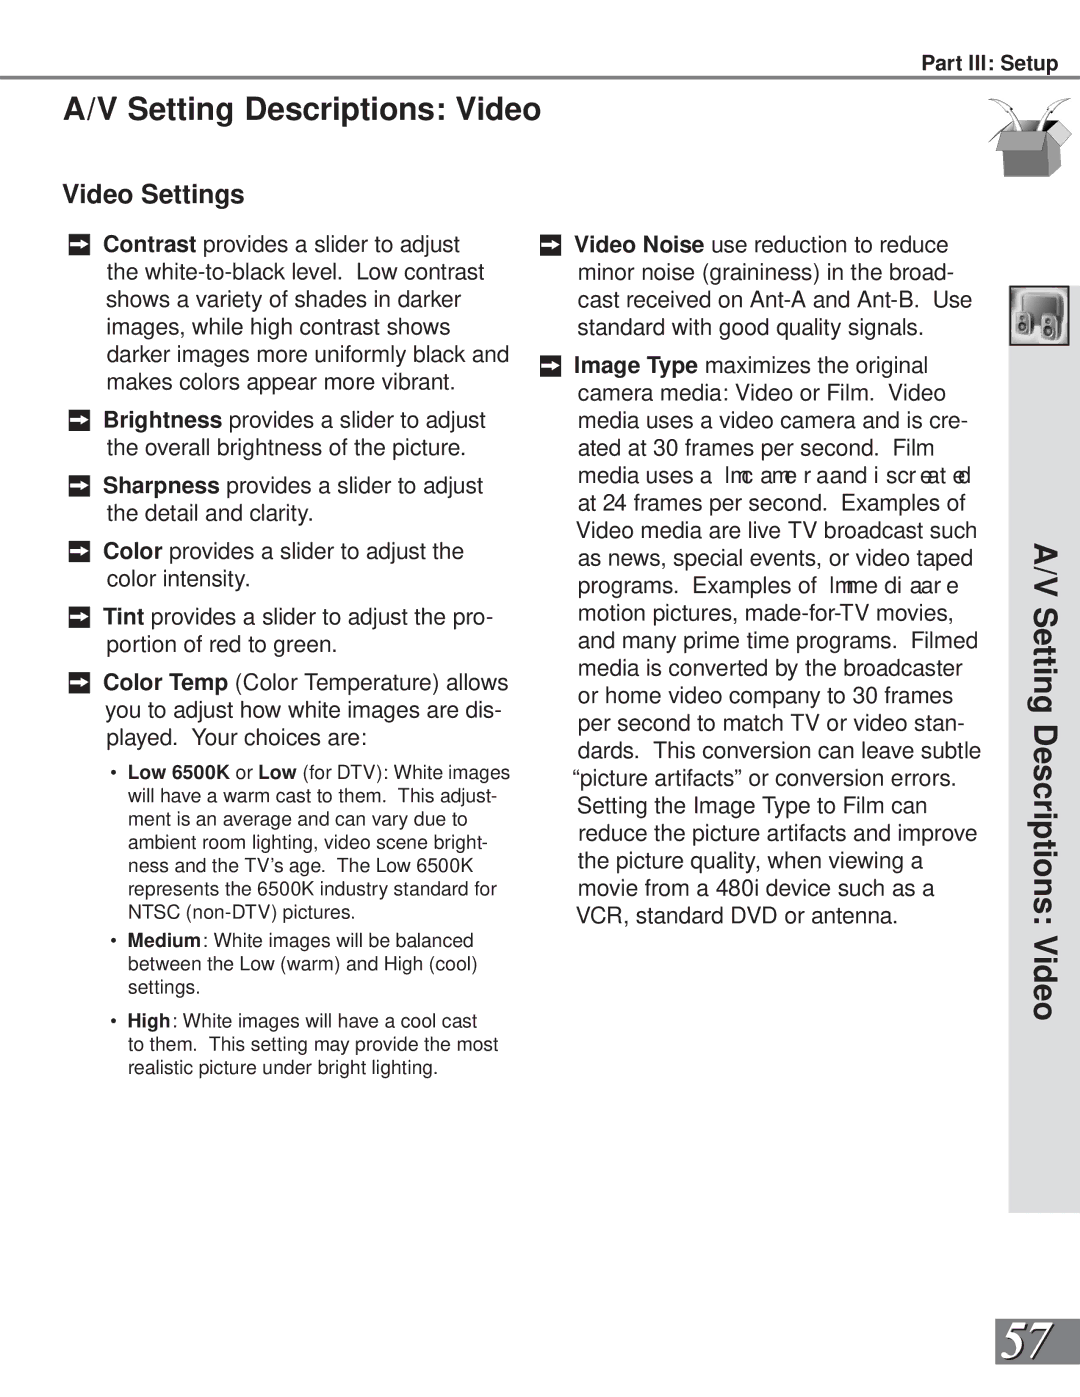
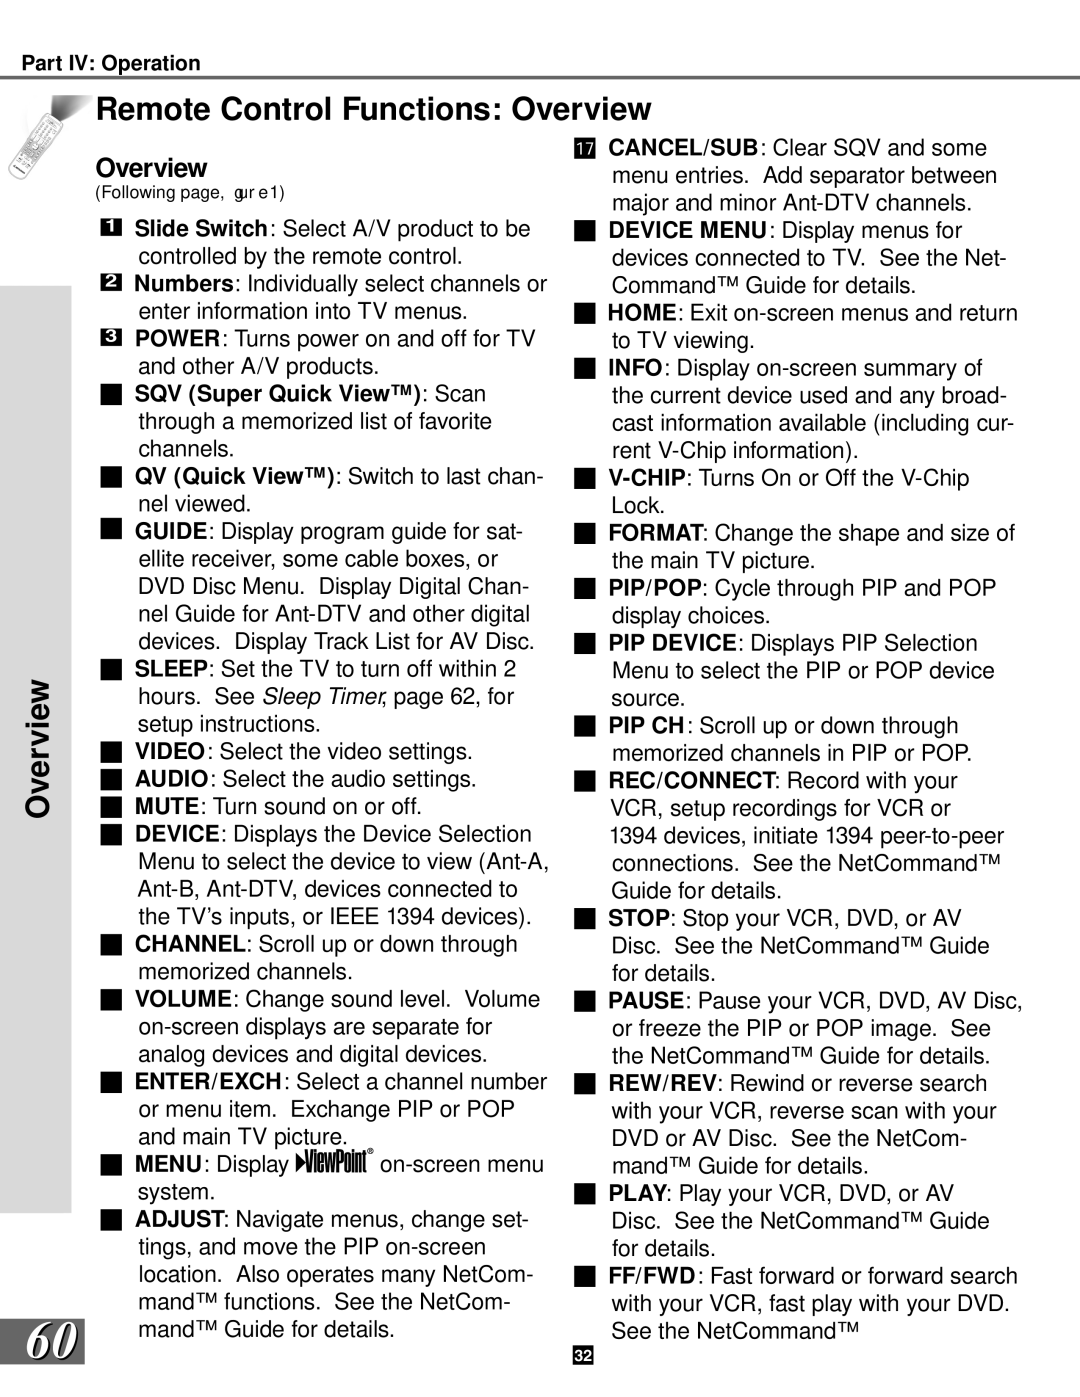
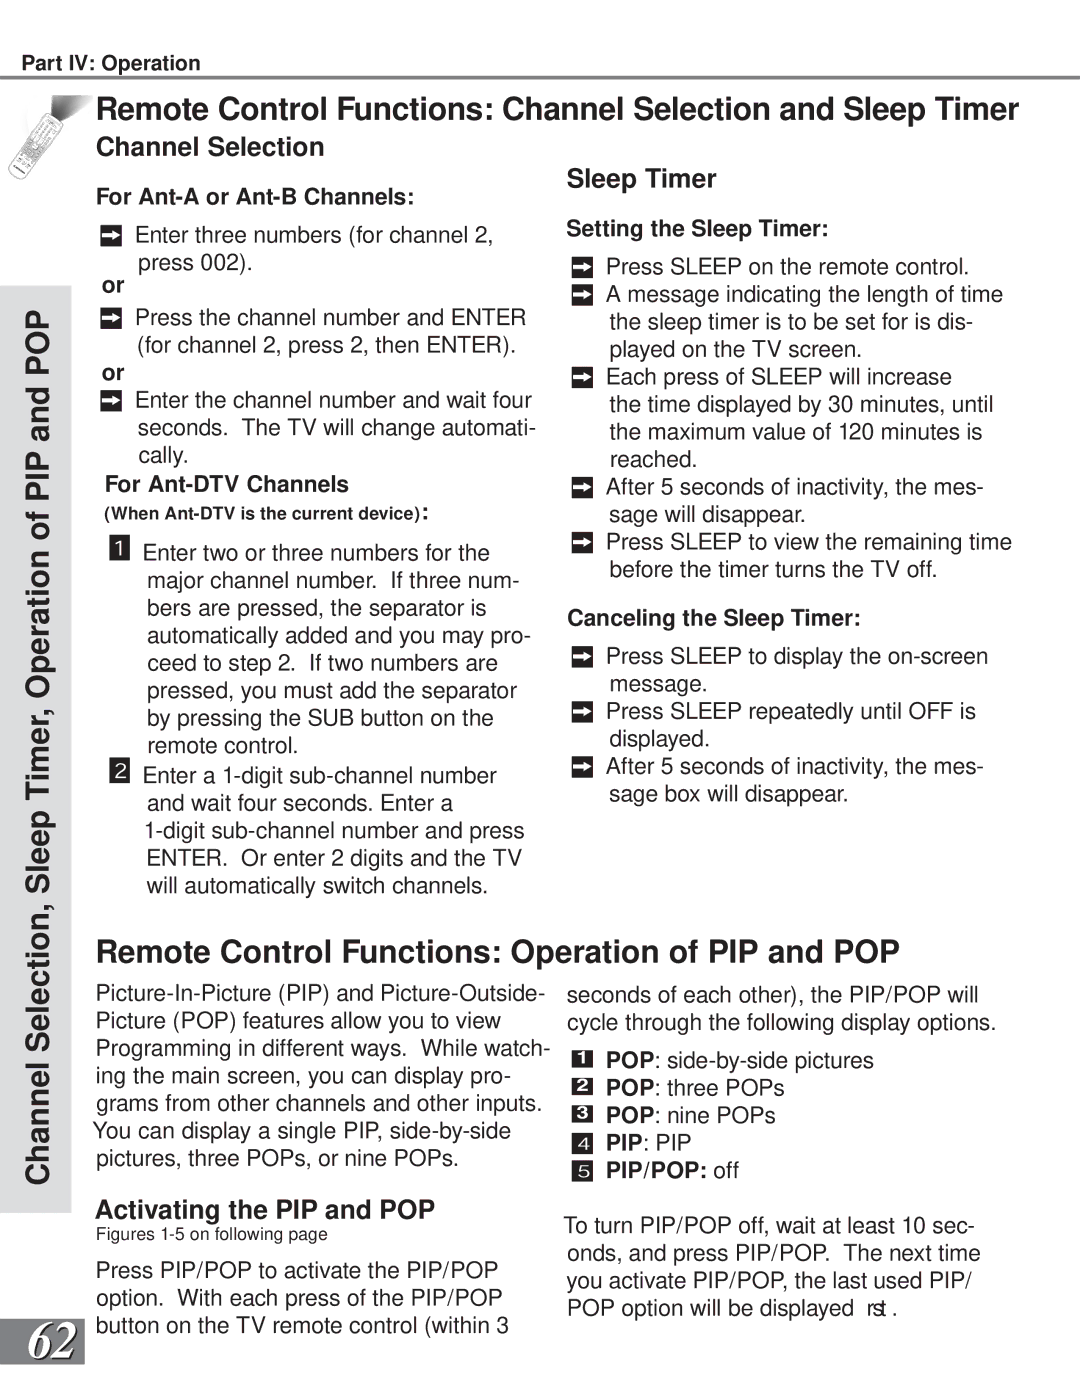
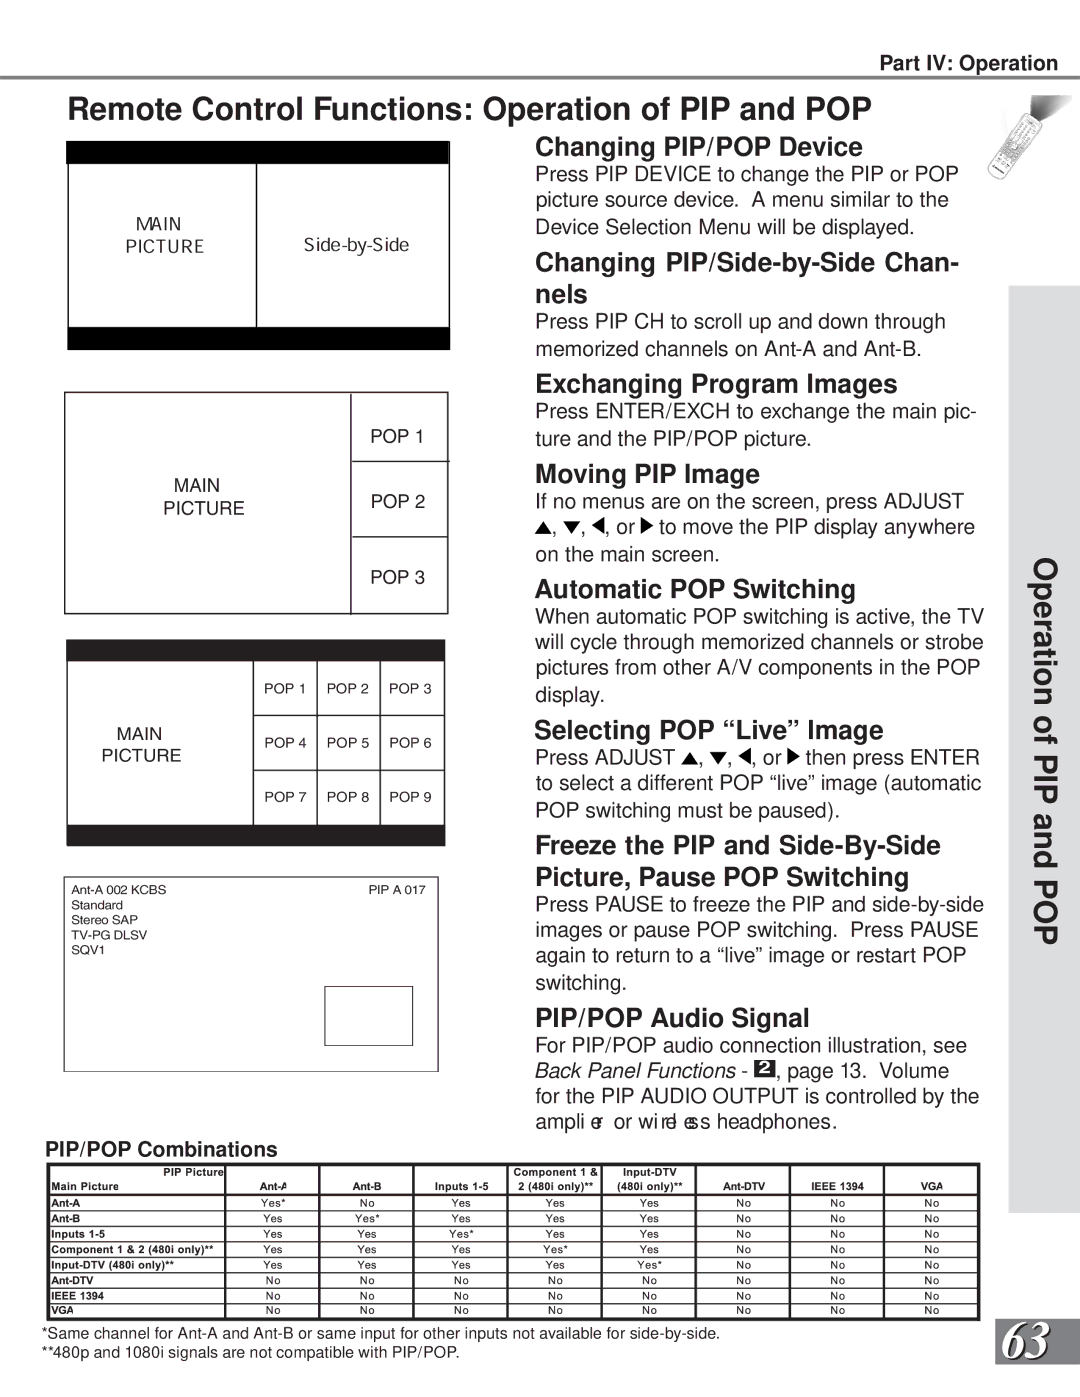
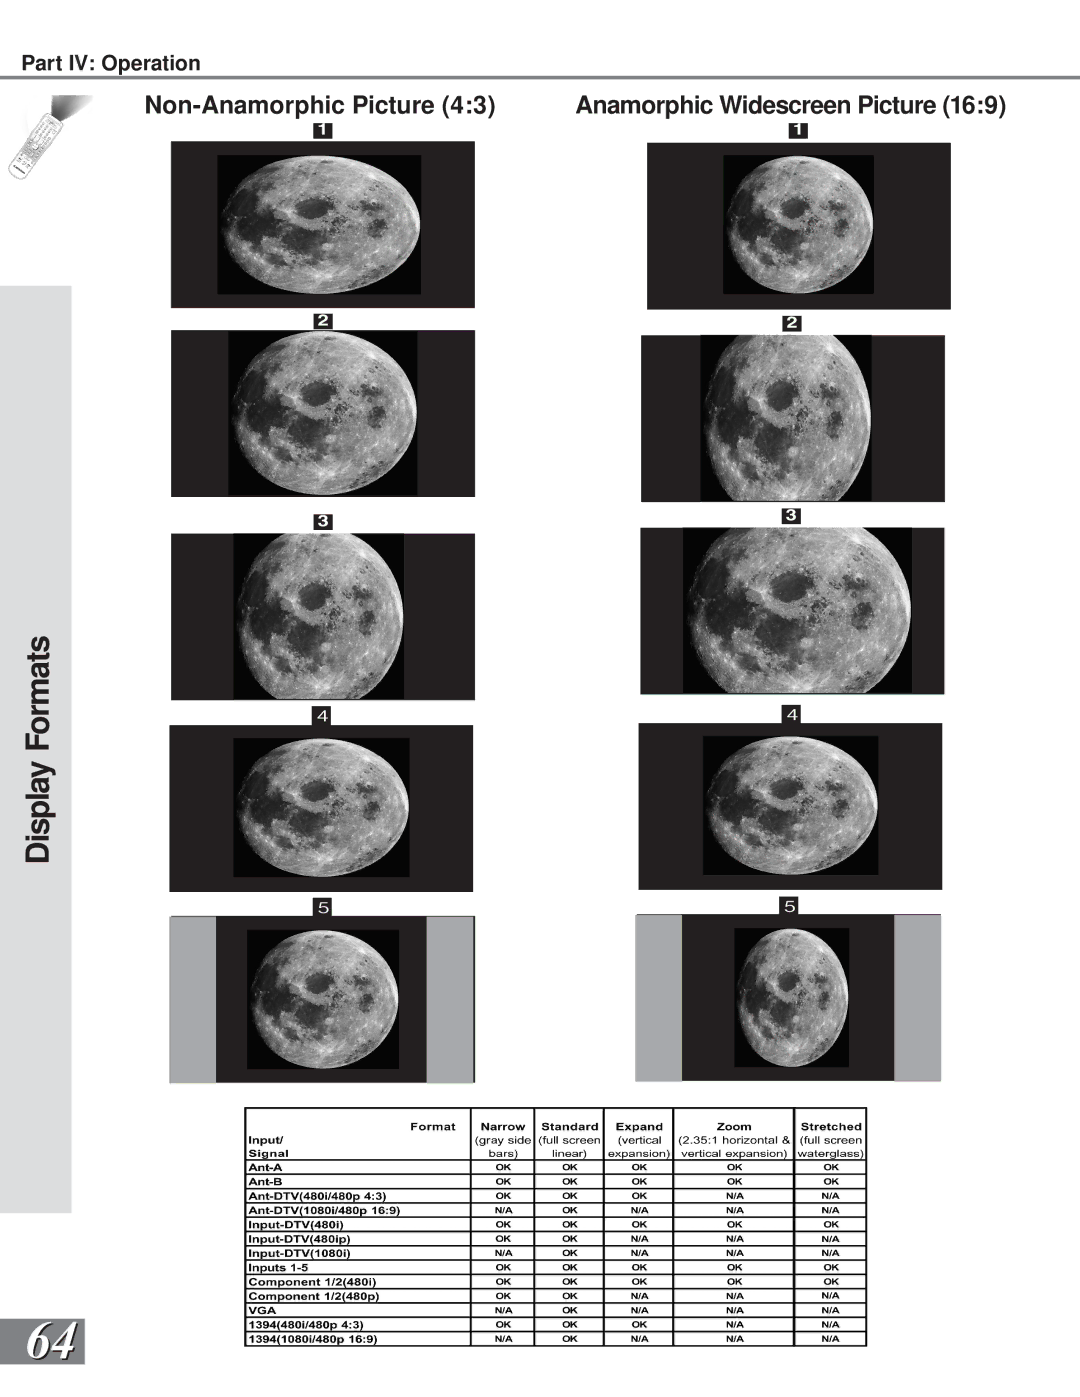
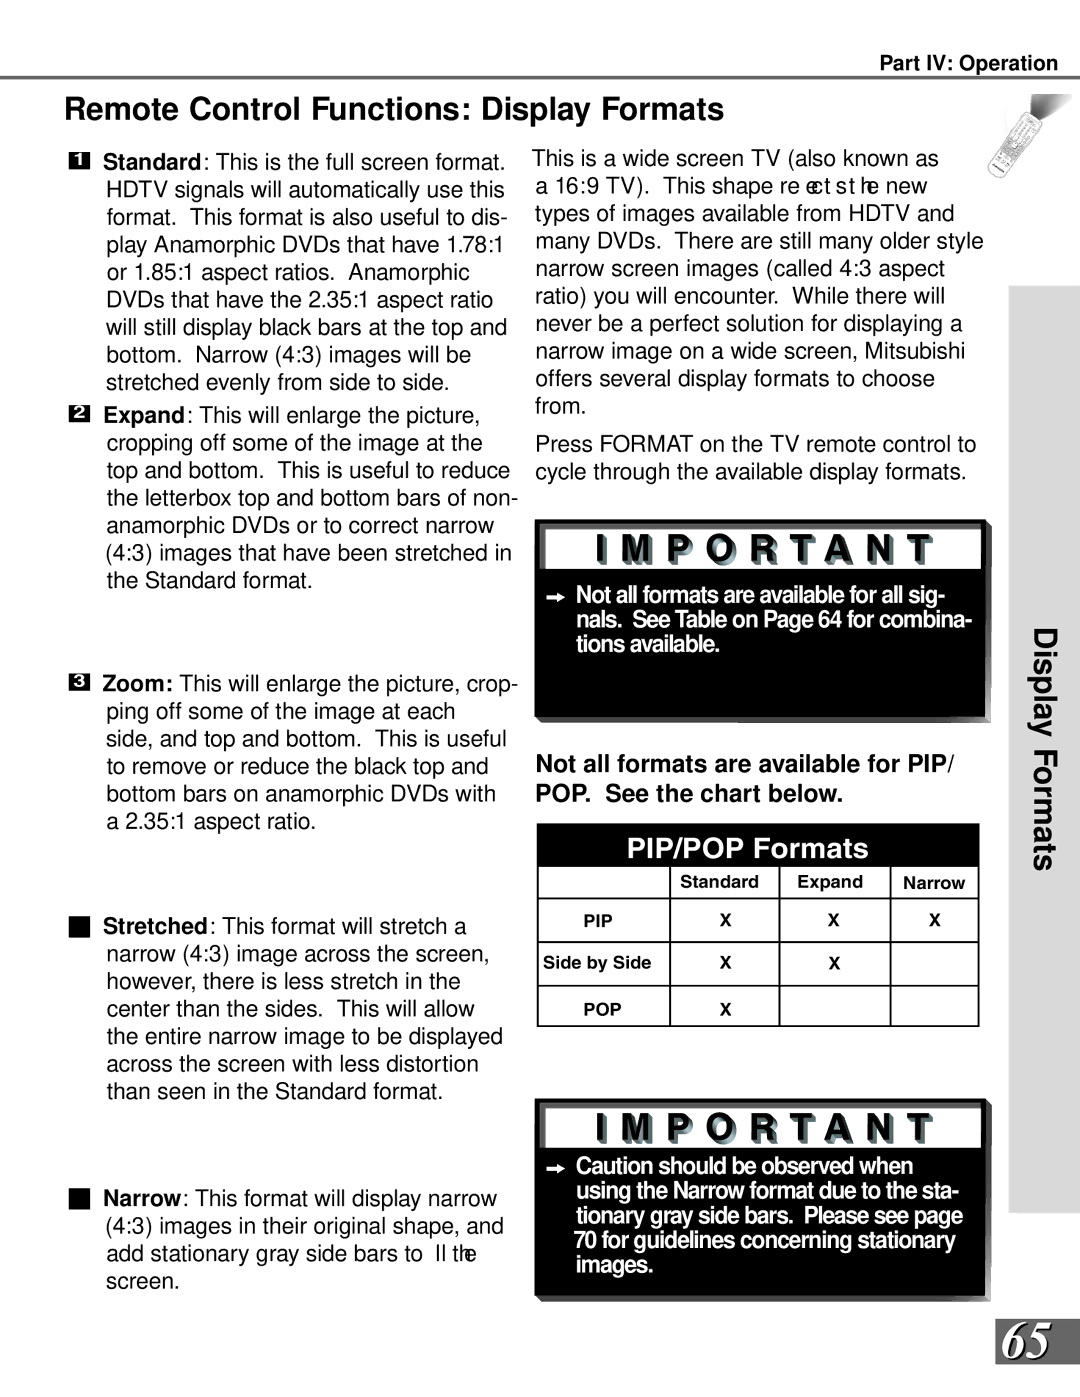
Mitsubishi Electronics WS-73909, WS-65909, WS-65869, WS-55859, WS-55909 manual Chip Lock Menu Passcode

Page 50

Part III: Setup

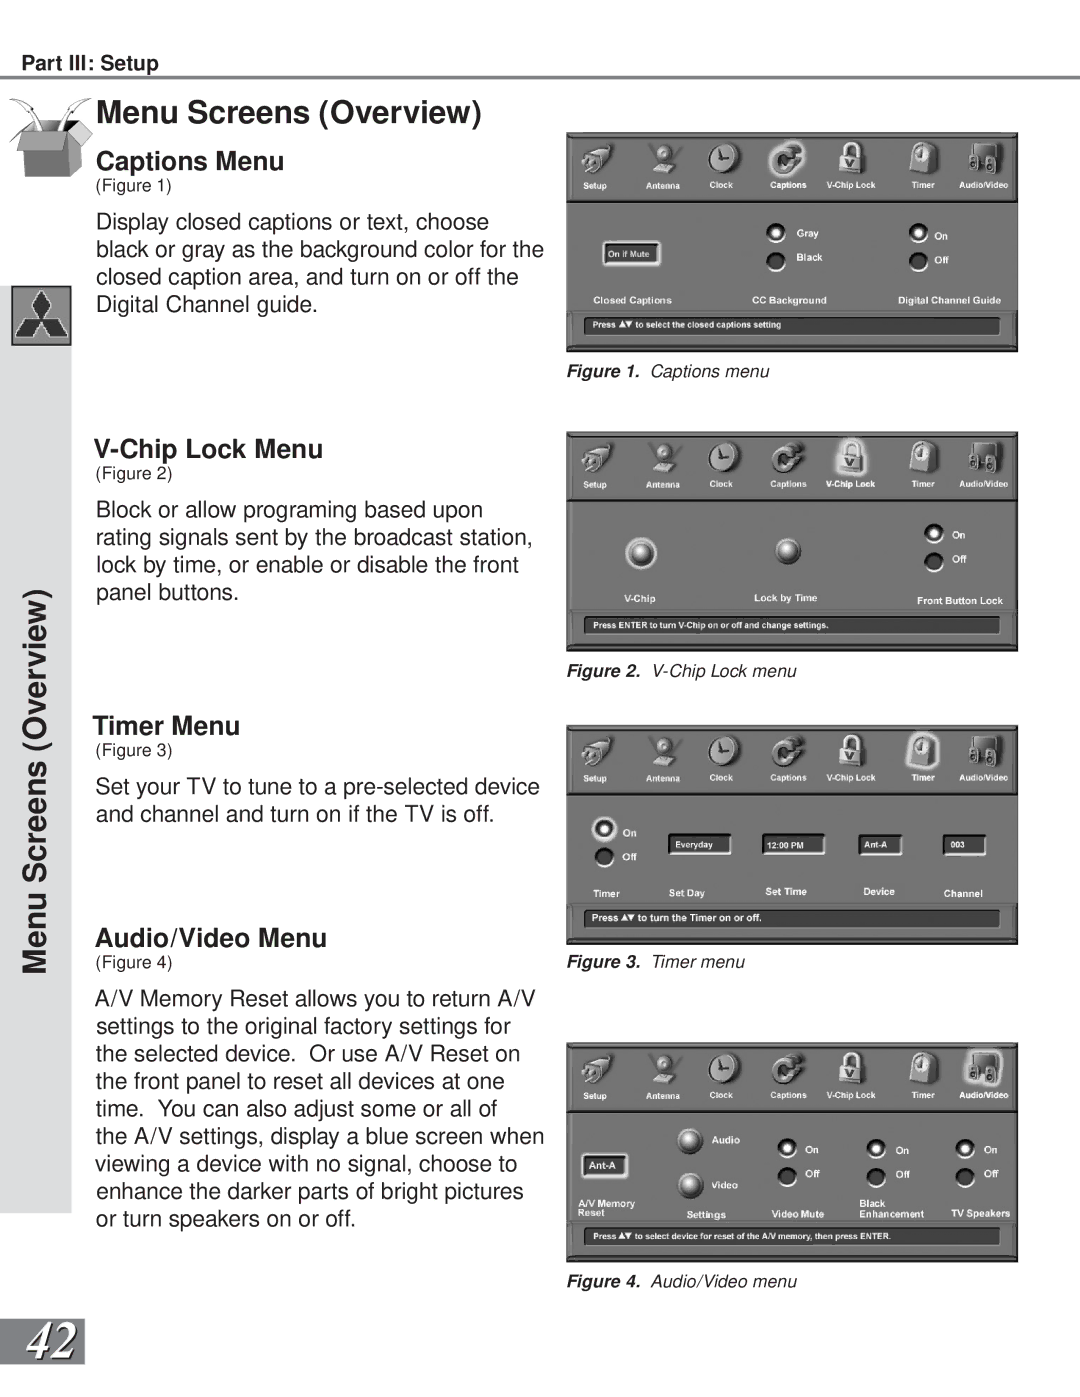
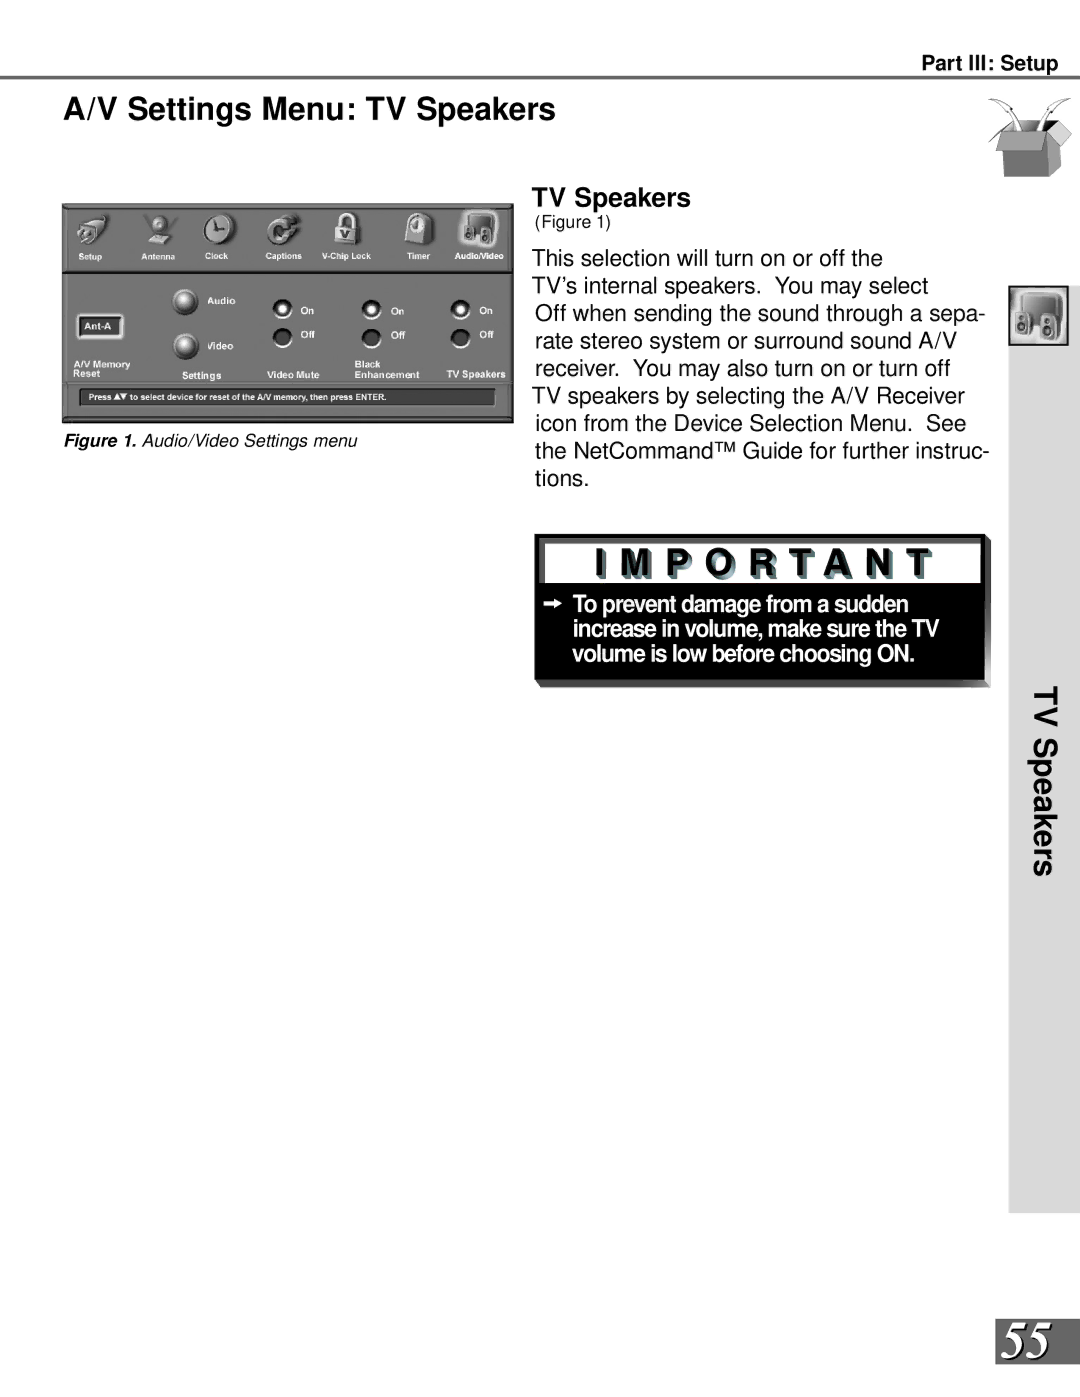
V-Chip Lock Menu: Passcode

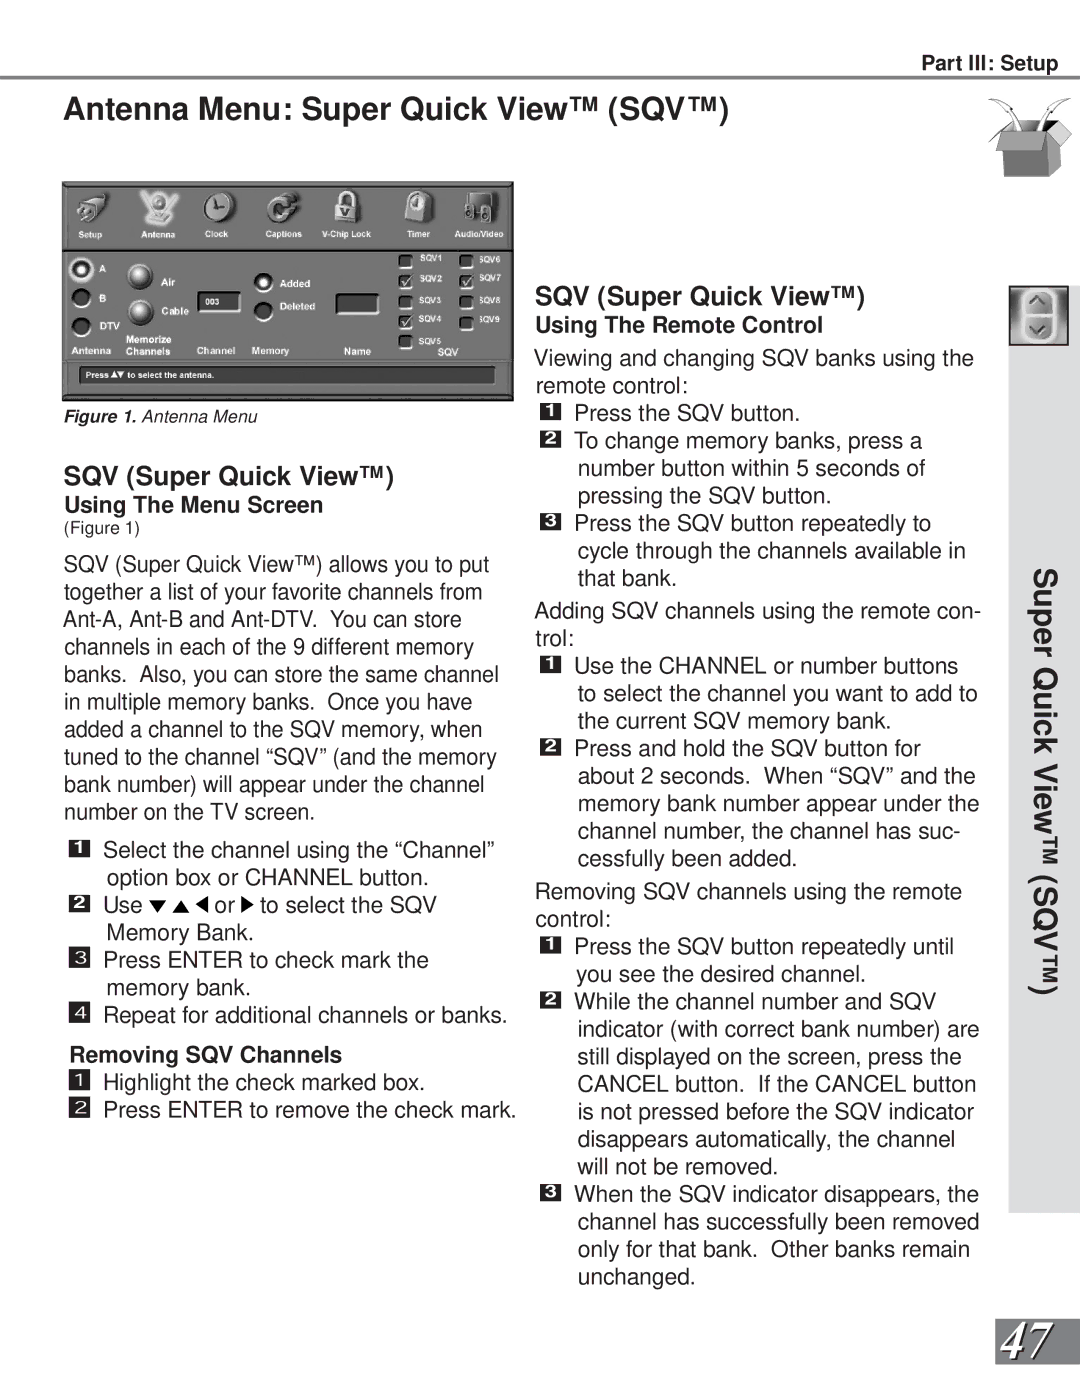
Entry

(Figures 1)

The rst time you sel ect V- Ch i pLock f rom the MAIN menu, or after you have canceled your passcode you will see the screen shown in gur e 1. Af ter set ting a passcode, the next time you select V-Chip Lock from the MAIN menu, you will see “a new” replaced by “your.” Use the number buttons on the remote control to input a four-digit passcode, then press ENTER. You can delete a number and move back one space by pressing CANCEL. You can exit without inputting a passcode by pressing MENU or HOME.


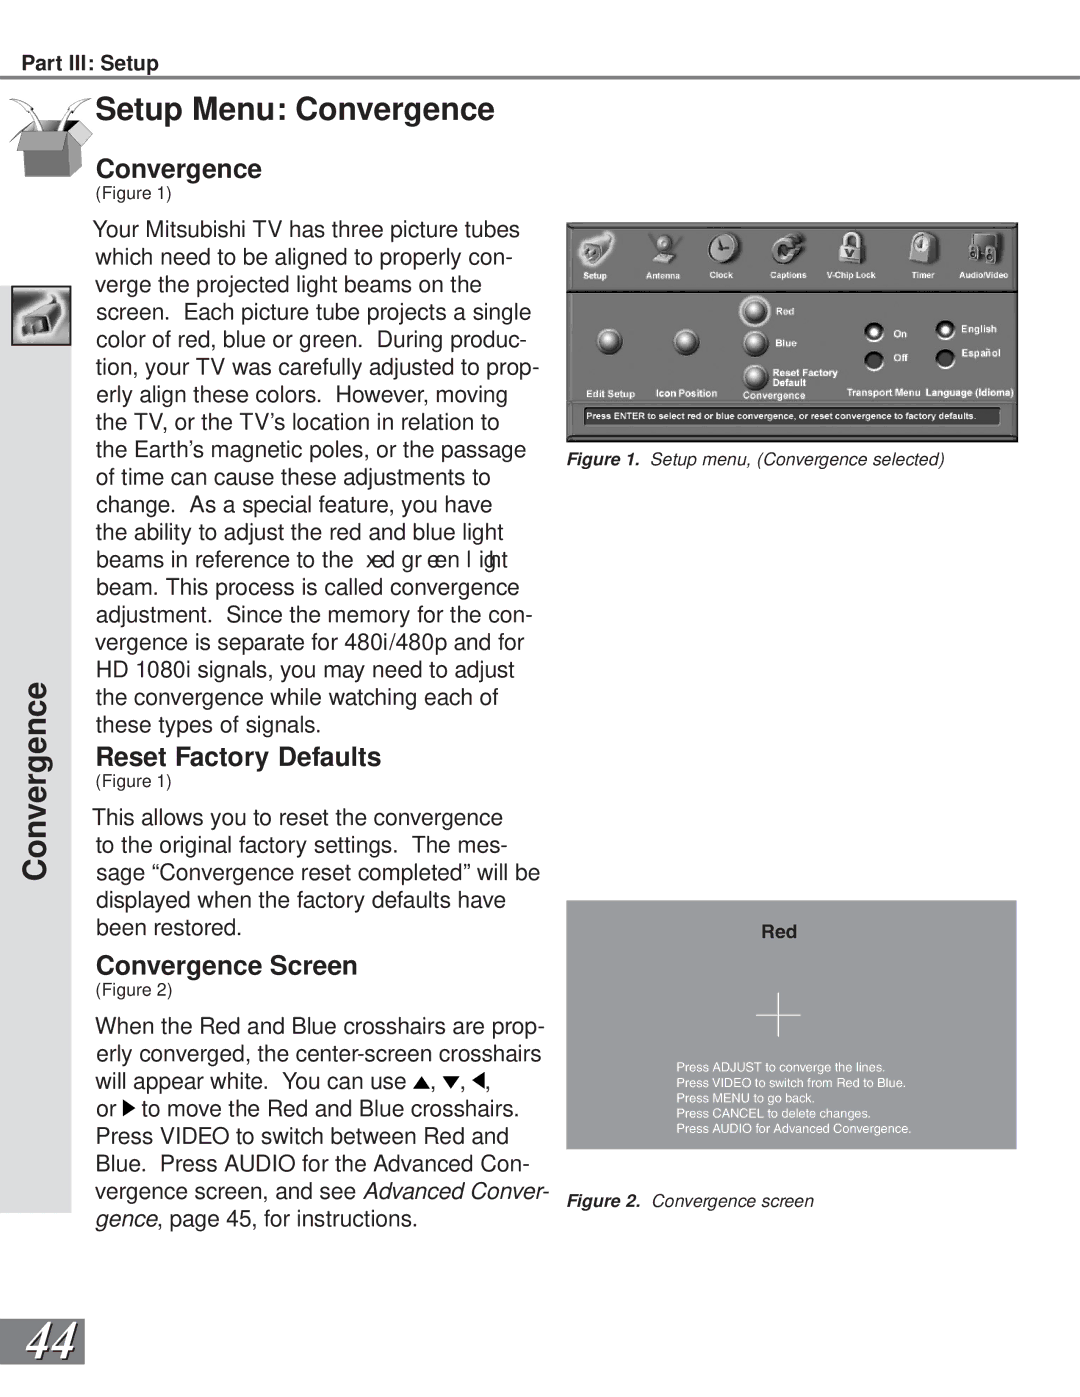
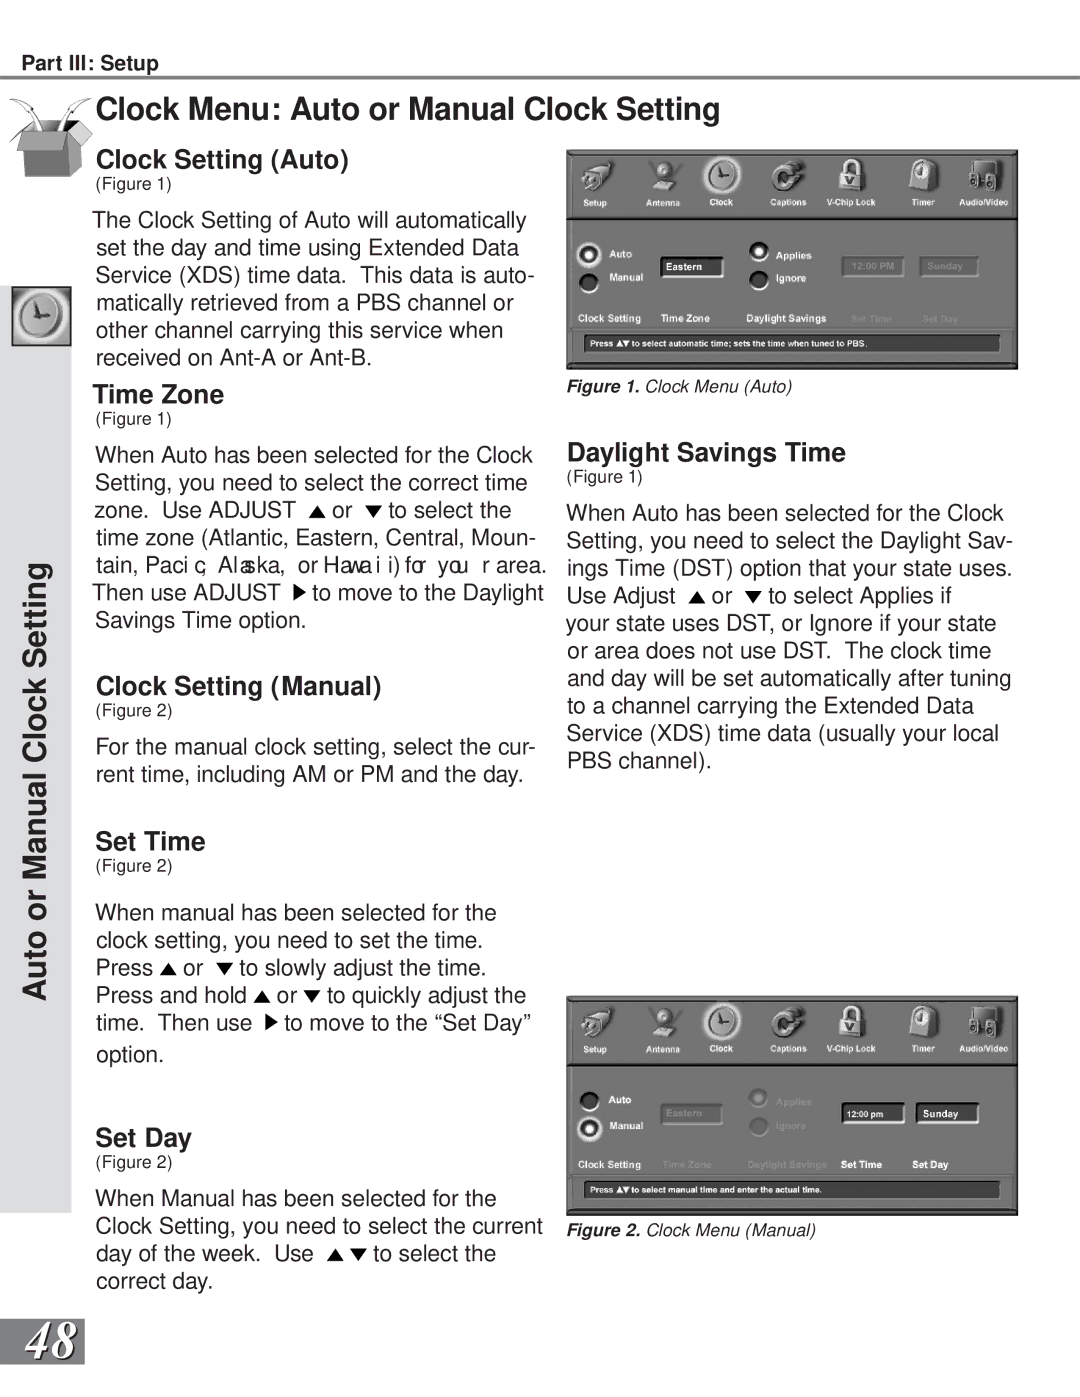
Passcode Screen


(Figure 2)


To view a V-Chip blocked program or to


watch the program during a scheduled lock

Lock

time, you must enter your 4-digit passcode

or change the channel to an unlocked pro-

gram. Once you have entered the passcode,

Chip

the V-Chip block or Lock by Time will remain

released until the TV is powered off and

then on again.

V-

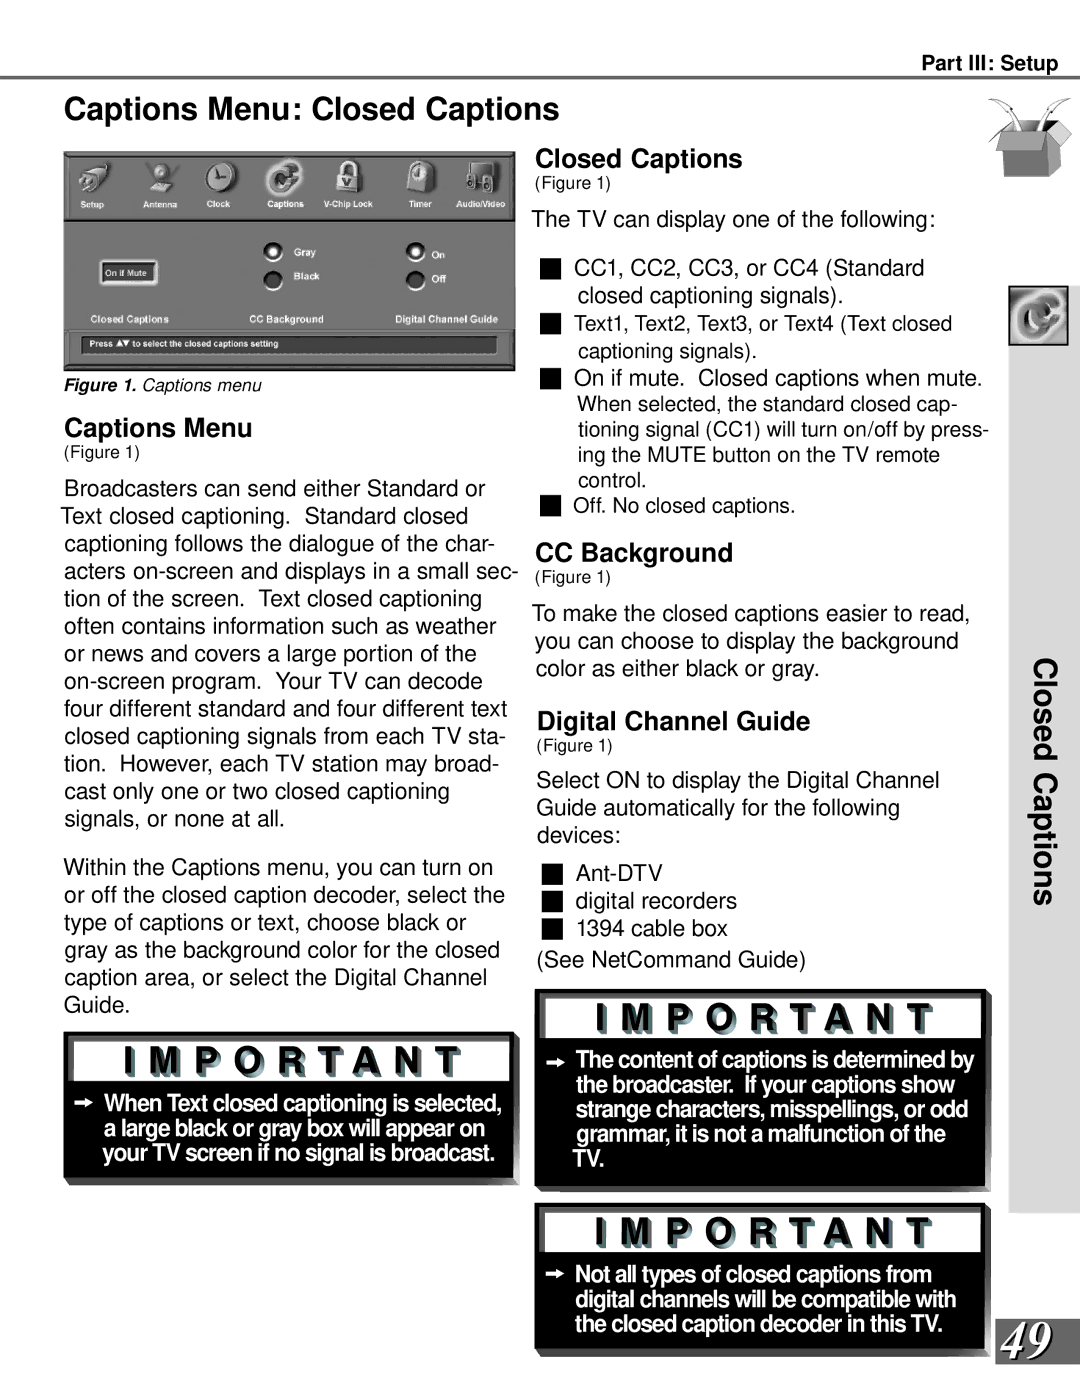
V-Chip


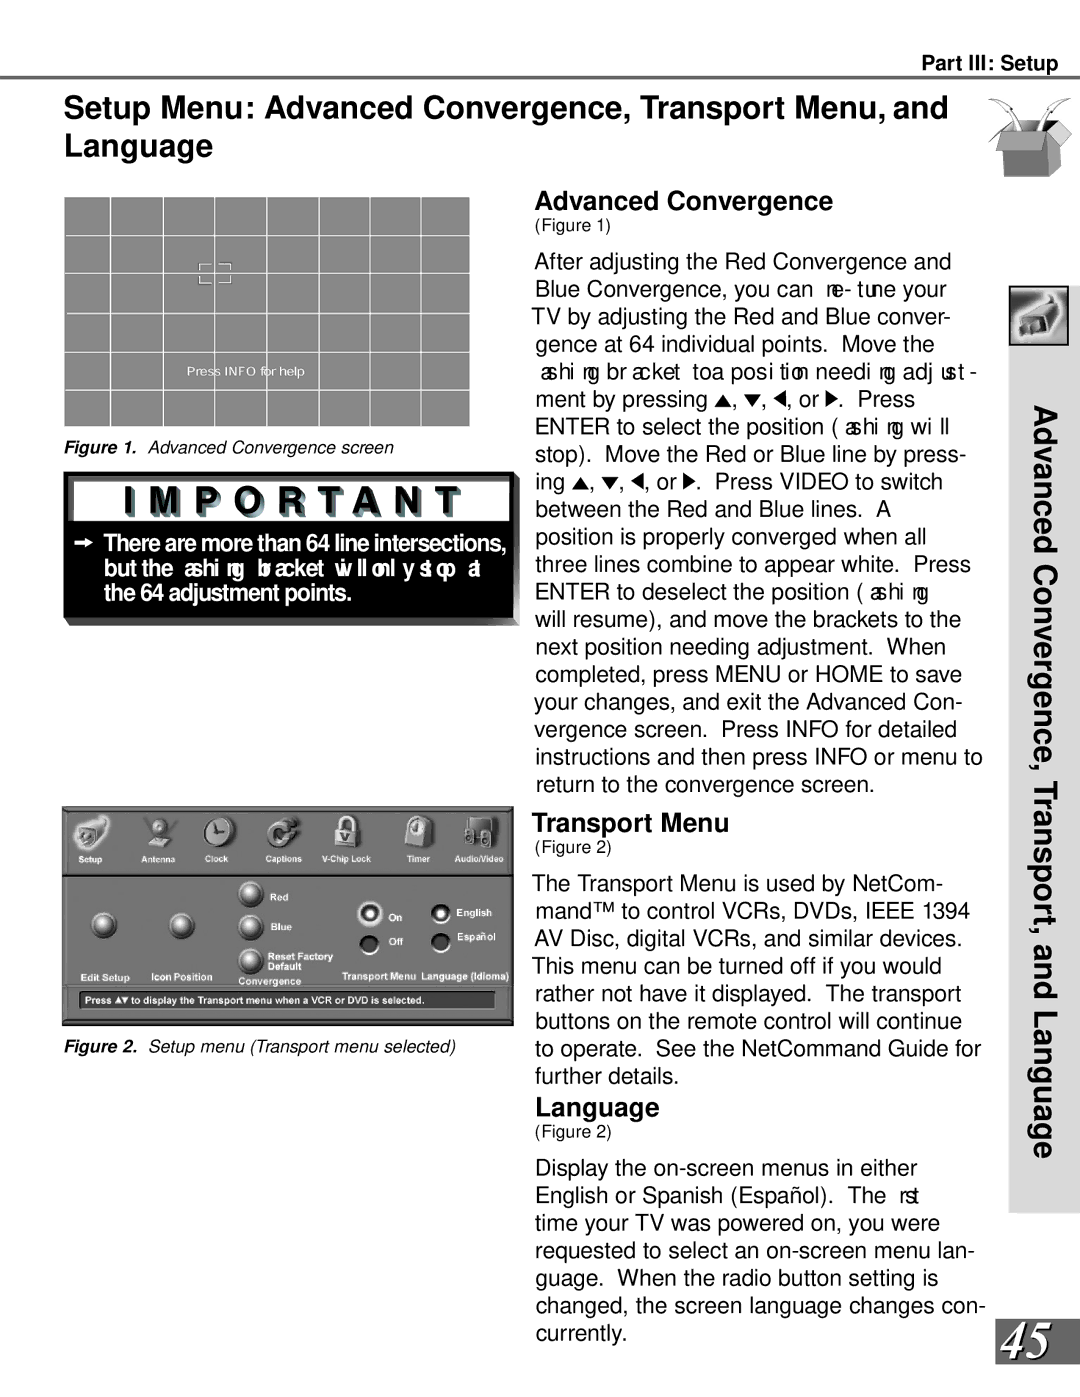
(Figure 3)

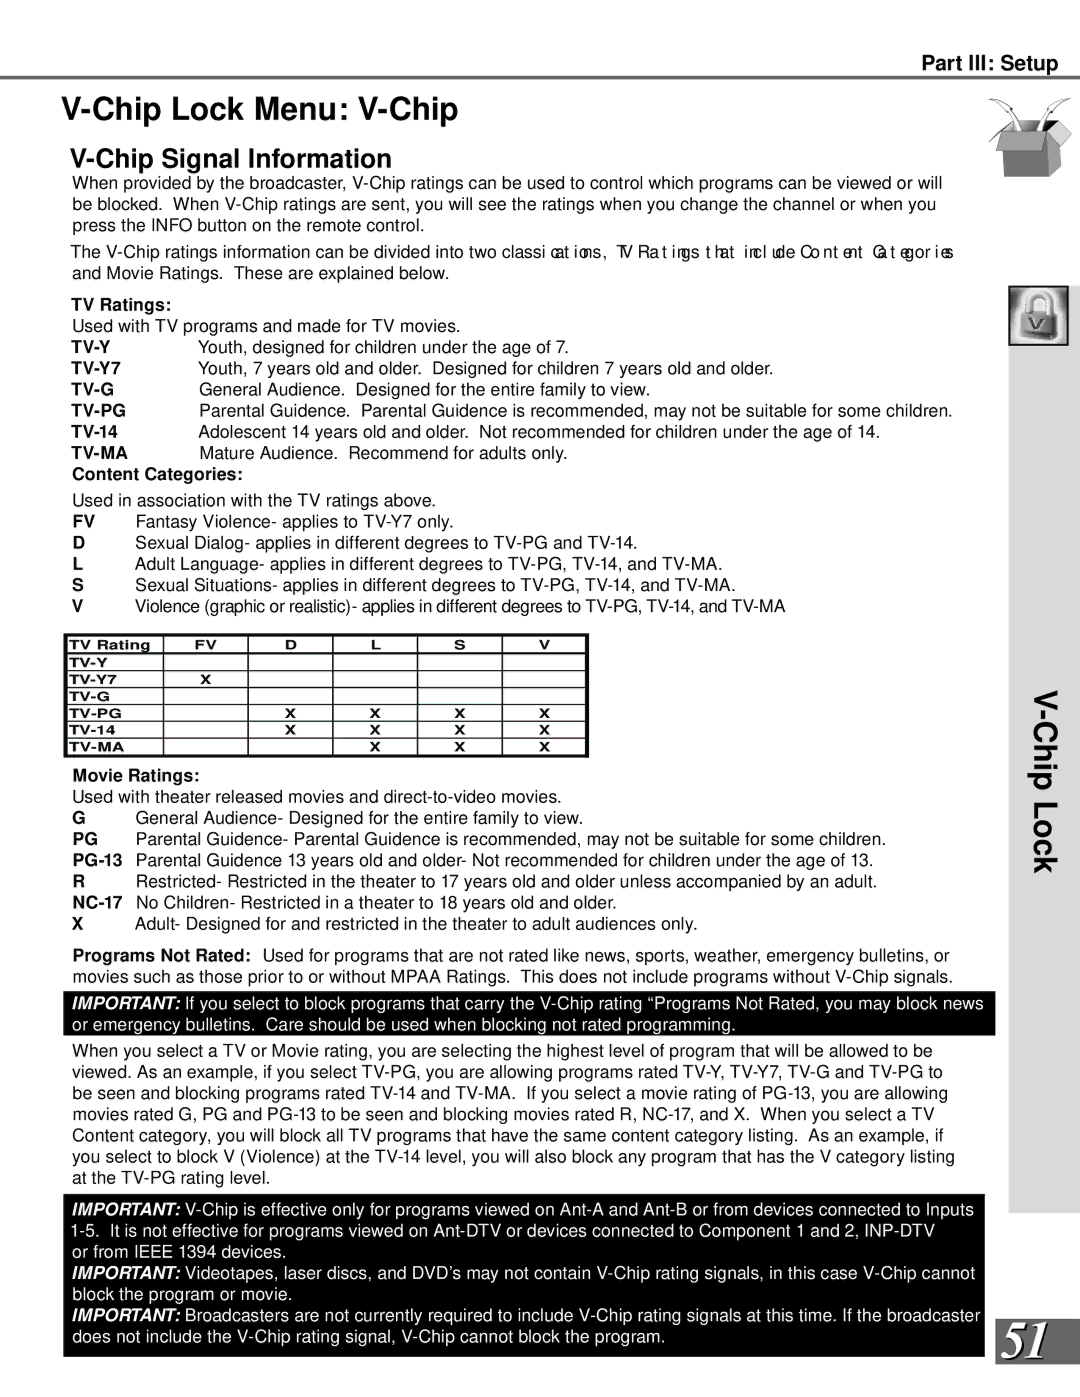
V-Chip allows you to Block or Allow pro- grams based upon rating signals sent by the broadcasting station. The TV comes from the factory with the V-Chip in the Off setting. You can turn the V-Chip on within the V-Chip Menu or you can use the V-CHIP button on the remote control to conveniently turn the V-Chip on or off. The factory preset is TV-PG for TV ratings or PG for movie ratings, allowing only programs rated TV-PG/PG or lower. You can change the blocking level

to various TV ratings and lettered categories or movie ratings. After changing channels or devices, there may be up to a 5 second

50 delay before the V-Chip lock takes effect.

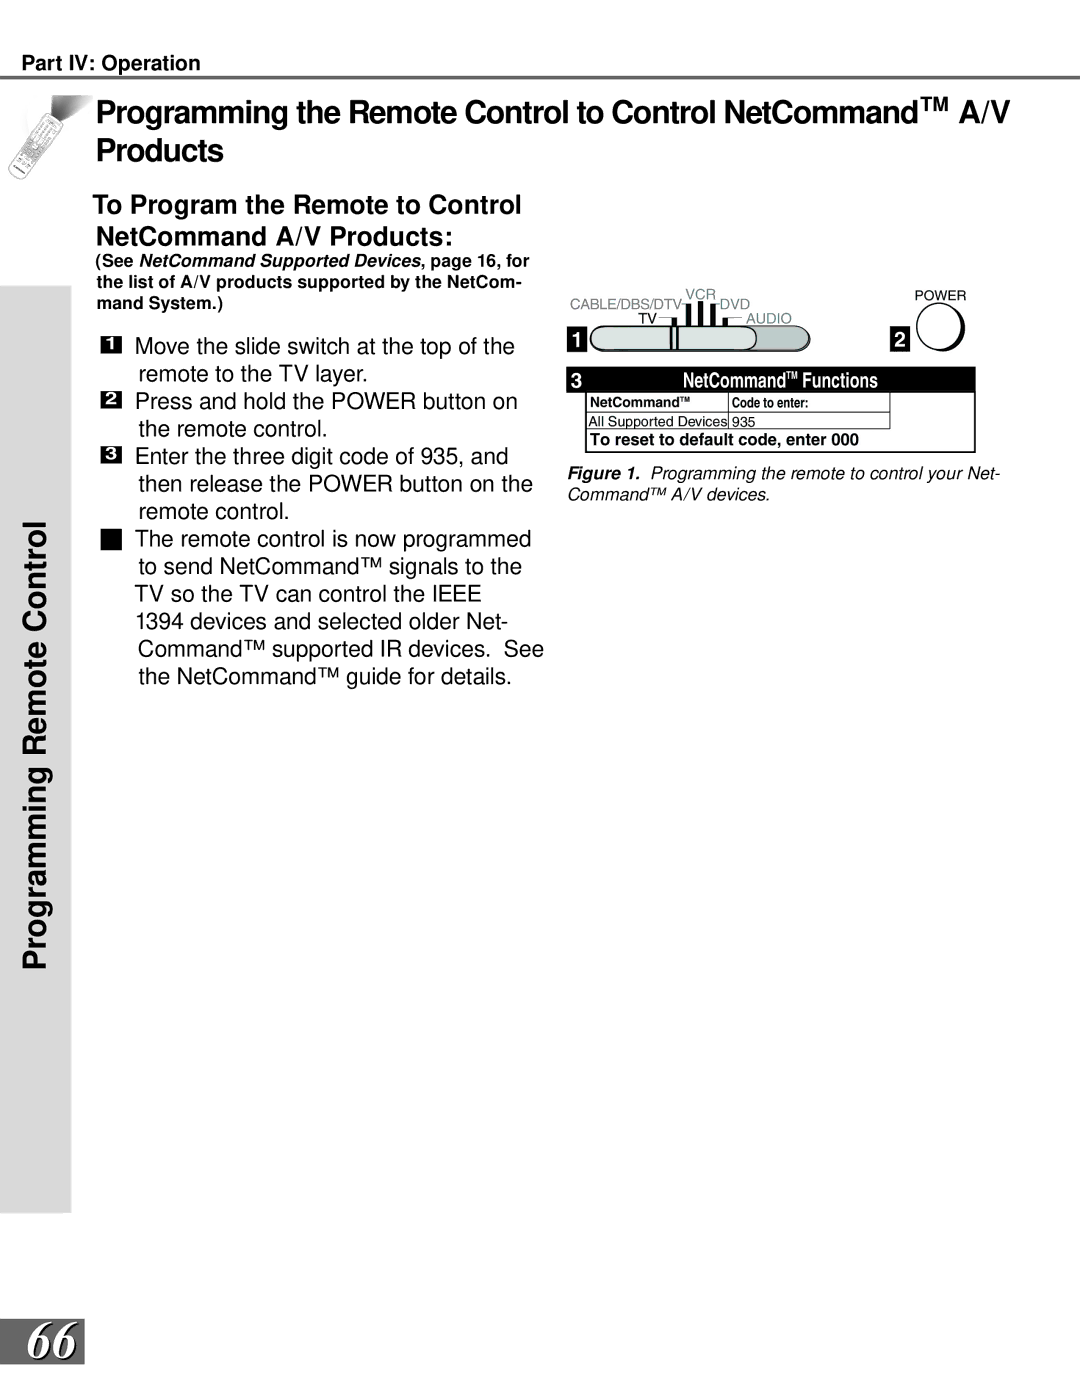
Figure 1. V-Chip Entry Screen

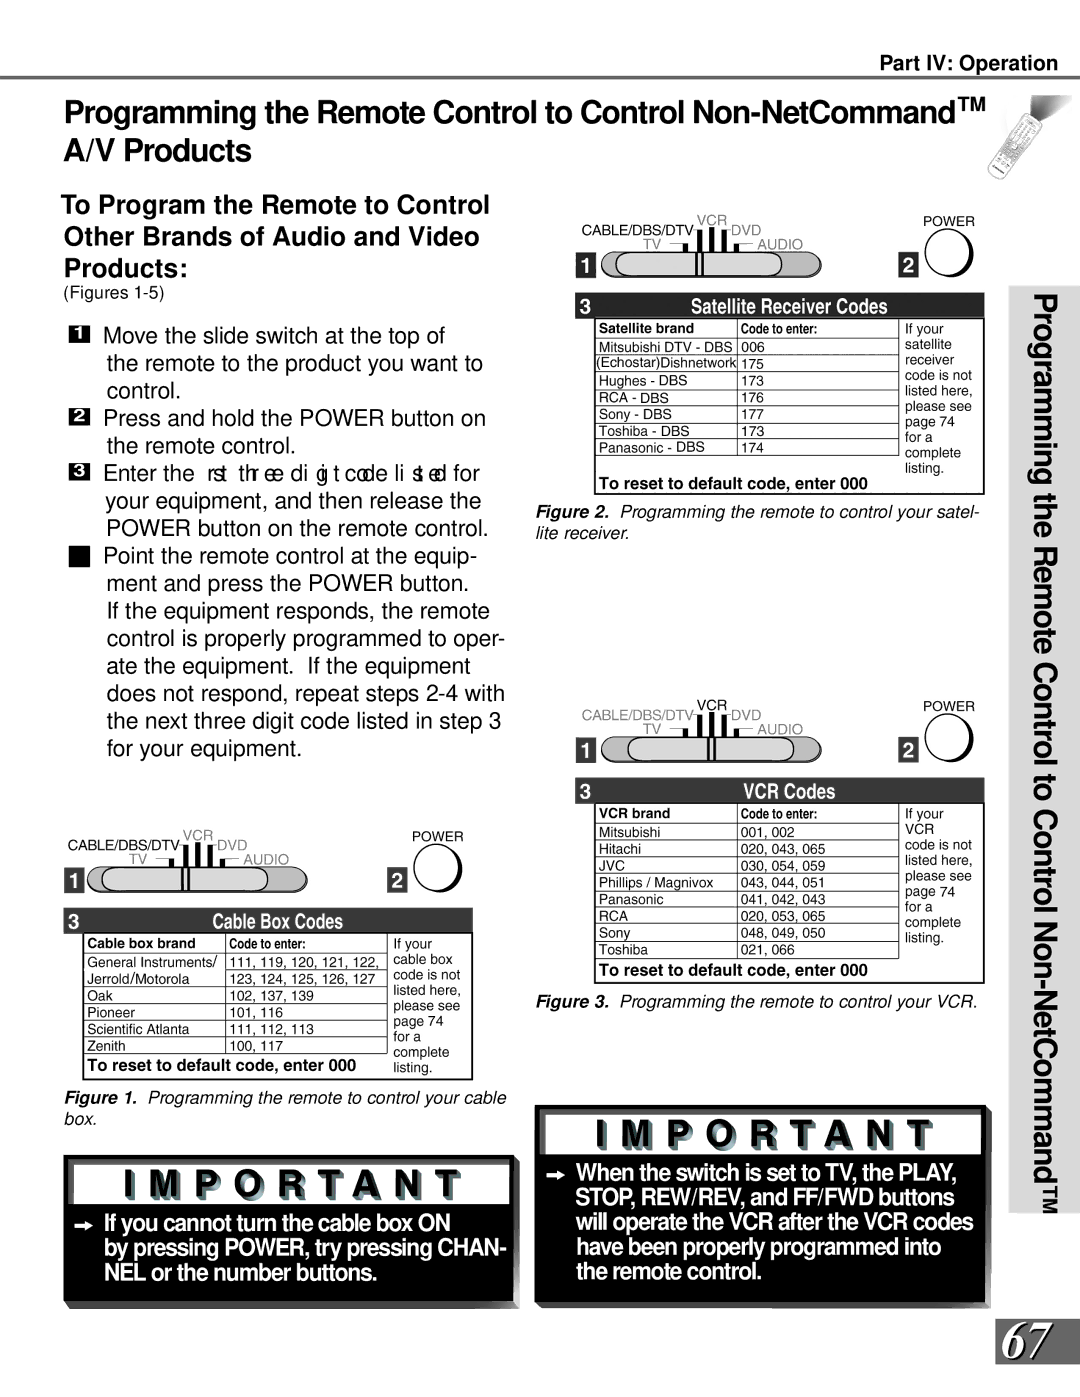
Figure 2. V-Chip Blocked Channel passcode screen

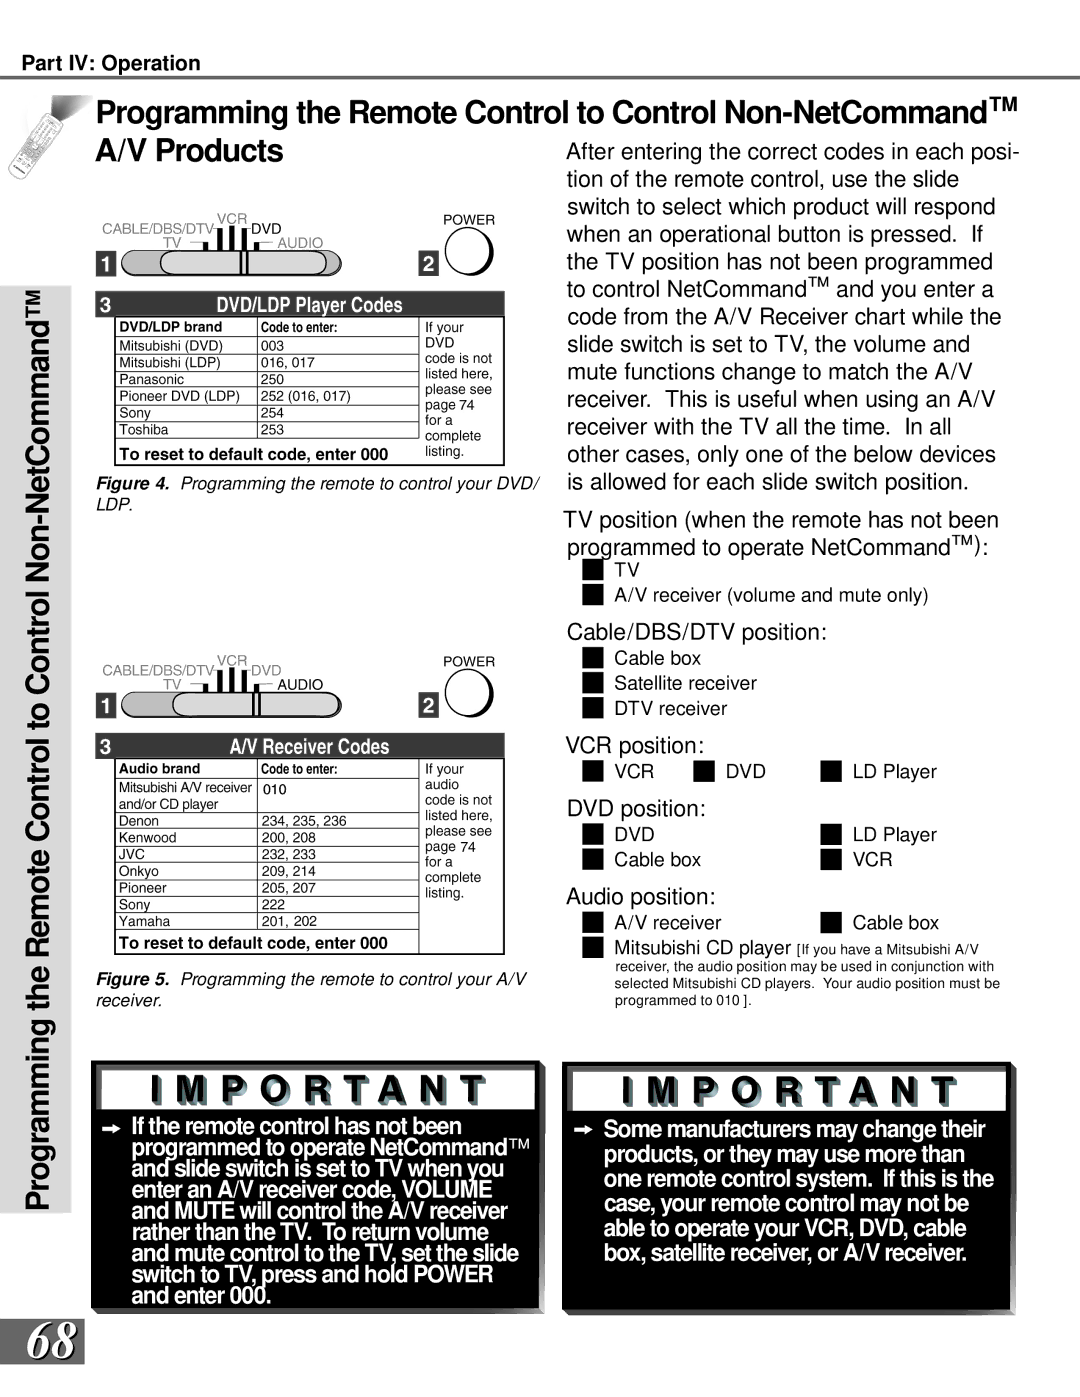
Figure 3. V-Chip menu

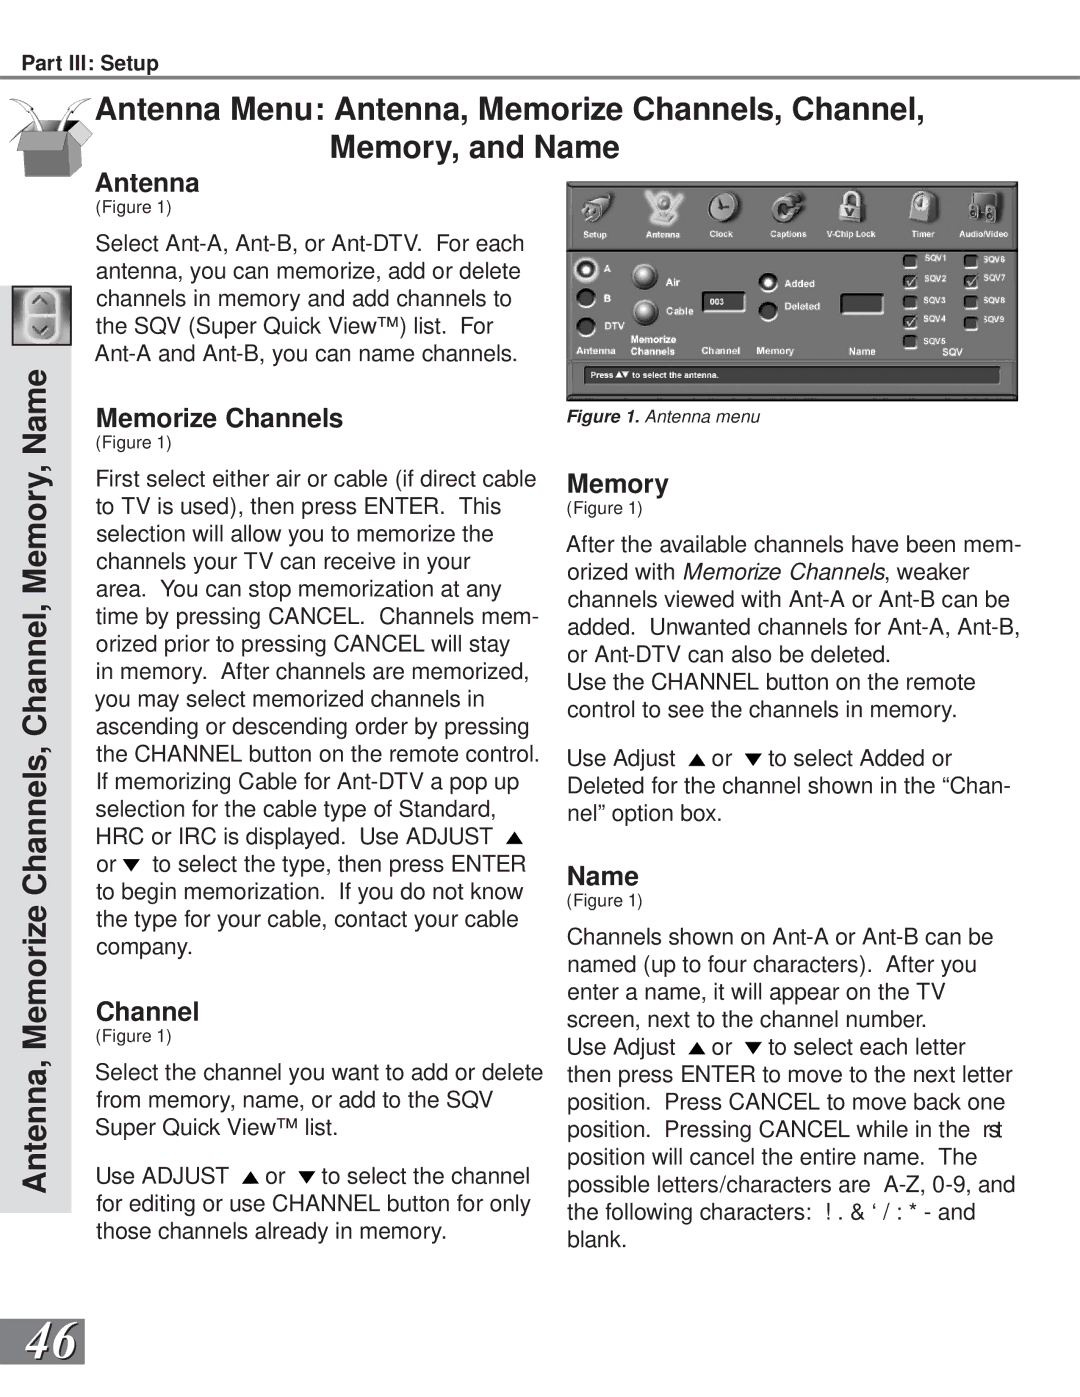
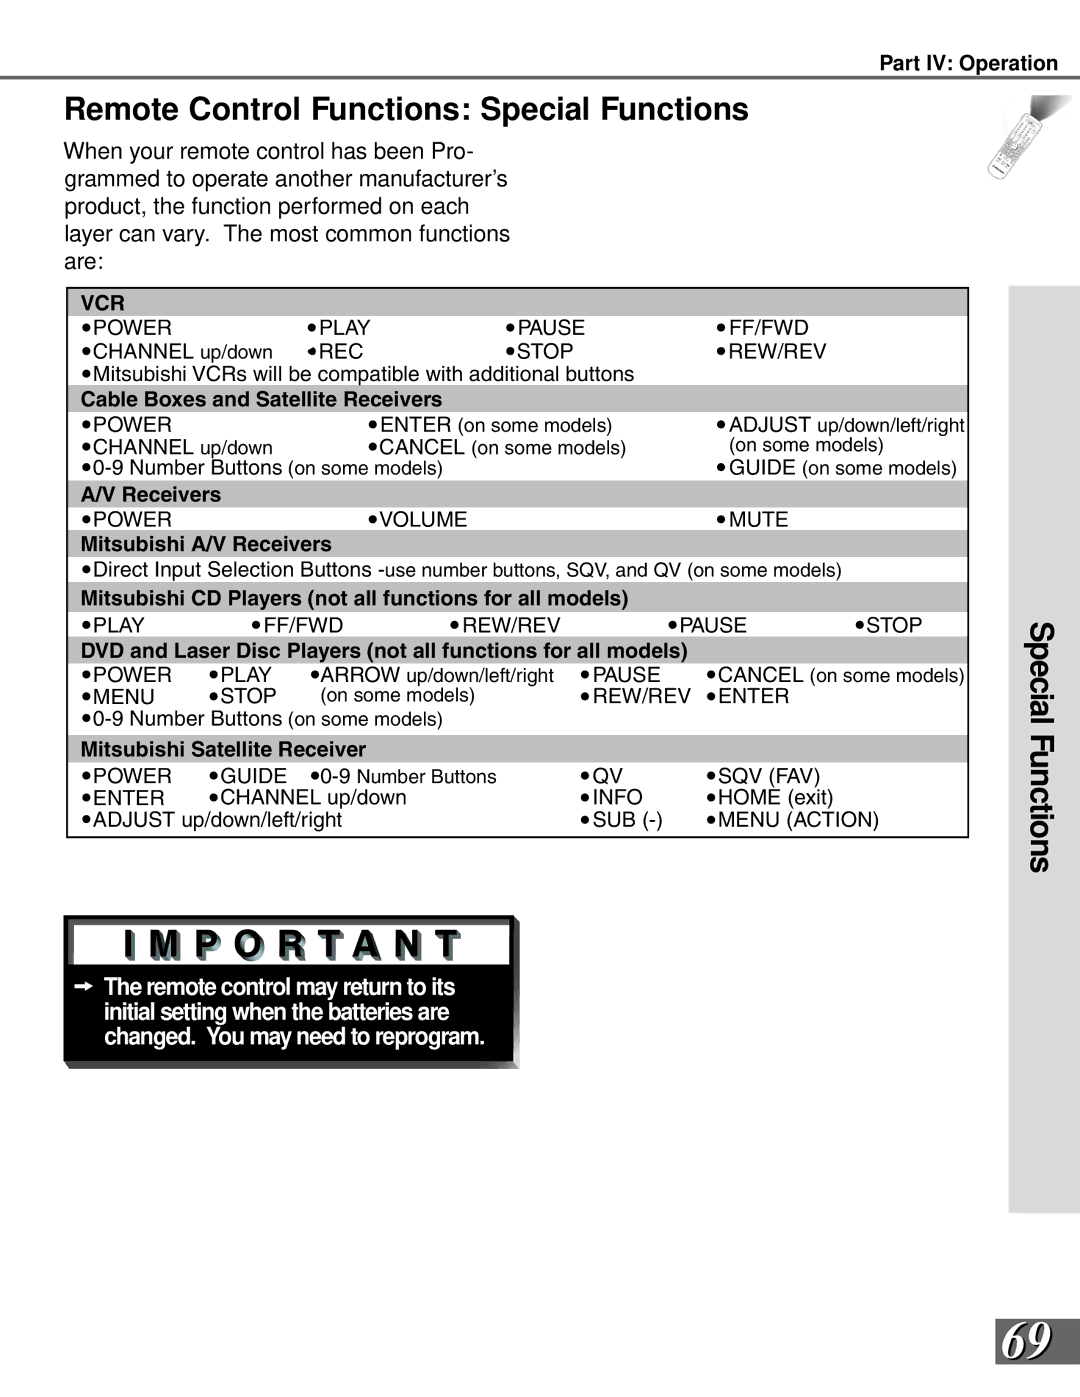
V-Chip Start Time and V-Chip Stop Time

(Figure 2)

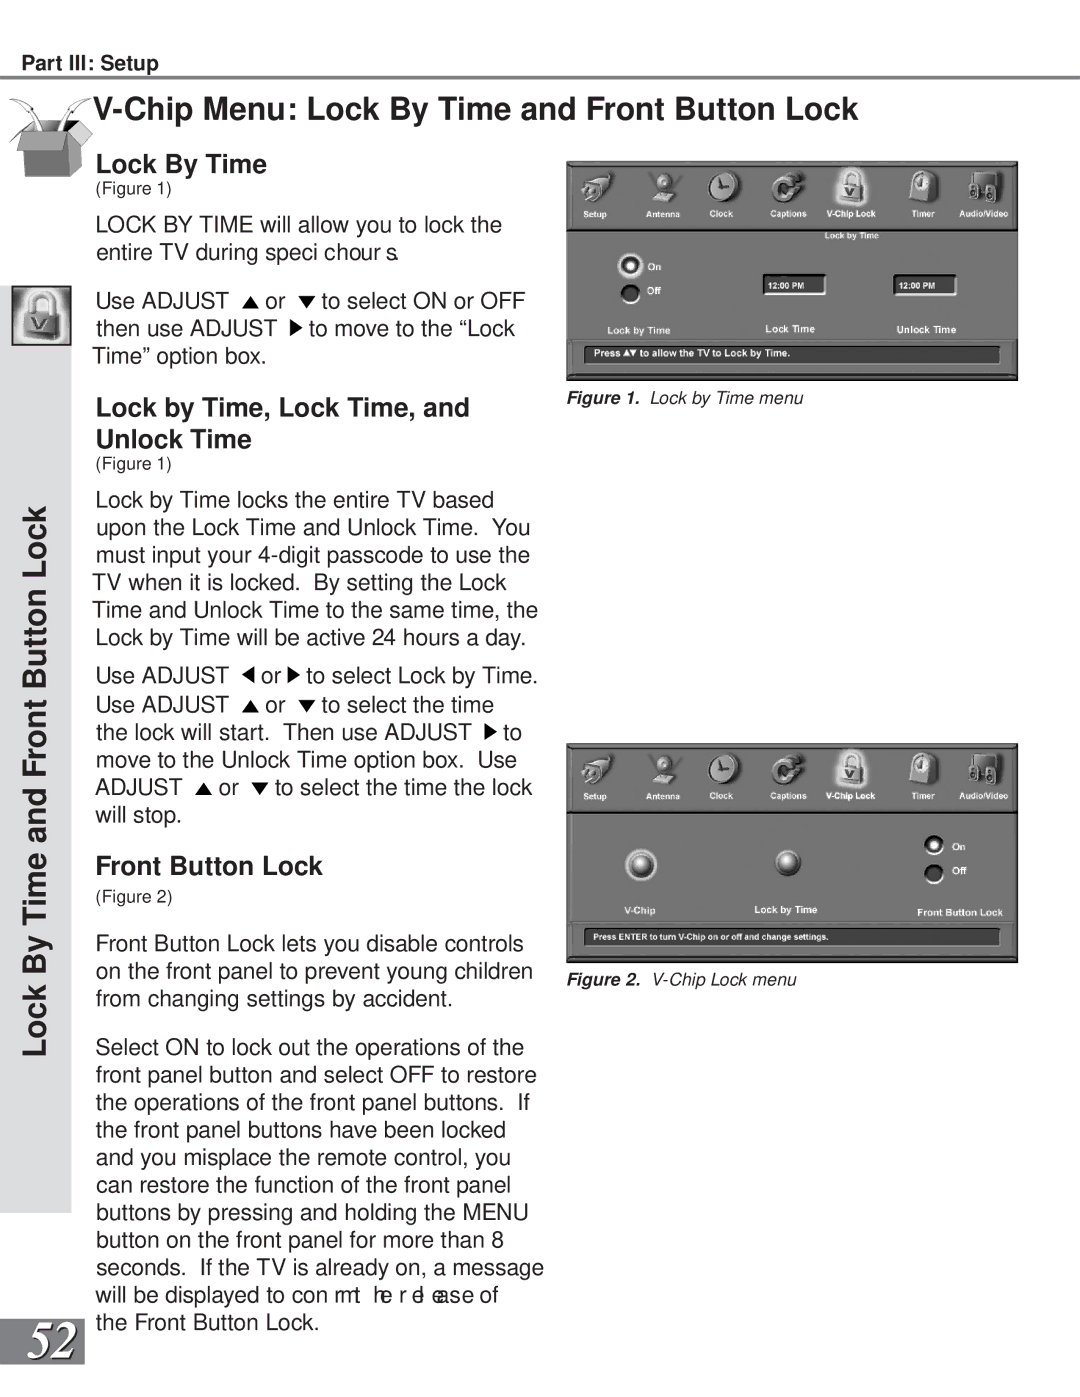
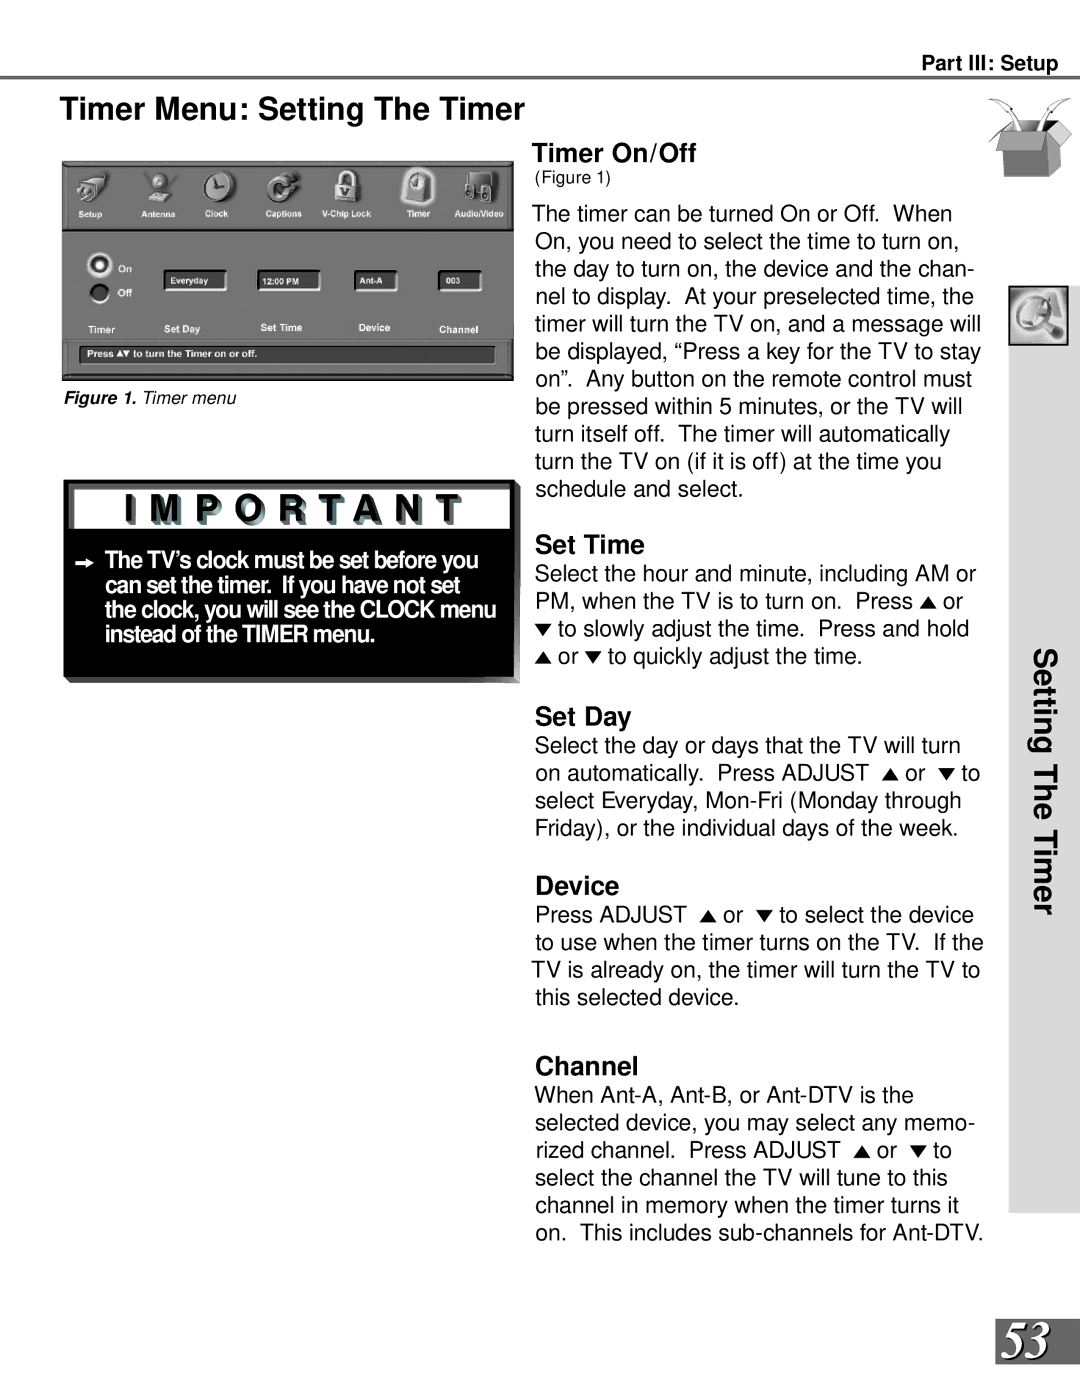
Select the times you would like the V-Chip to be Active. By setting the V-Chip Start Time and V-Chip Stop Time to the same time, the V-Chip will be active 24 hours a day.

Press or to slowly adjust the time. Press and hold or to quickly adjust the time.

If you forget your four-digit passcode, see Appendix A, page 71.

Image 50
Contents W. m i t s u b i s h i t v. c o m Risk of Electric Shock Do not Open Table of Contents Important Safeguards Important SafeguardsImportant Safeguards SafeguardsMDEAservice@bigscreen . mea . com Thank You We at Mitsubishi Would Like to Thank You Your Special FeaturesUnpacking Your New TV Page Installation Reset System ResetTimer Front Control Panel Front Control Panel FunctionsBack Panel Back Panel FunctionsBack Panel Back Panel Functions Installation Con gur at ions & Ne t Co mma ndS e t up NetCommand Supported Devices NetCommand Compatible Legacy DevicesAntenna or Wall Outlet Cable for Digital Broadcasts Connect the incoming cable to ANT-DTV on the TV back panelSeparate UHF and VHF Antennas Connecting an Analog Antenna, Cable, orCable Box Antenna or Wall Outlet Cable for Analog BroadcastsAdding Composite Video or Video with Audio Connections Connecting an Analog VCRAnalog Antennas or Wall Outlet Cable Surround Sound Receiver Connecting an Audio/Video Surround Sound ReceiverConnecting an A/V Receiver DVD Player with Component Video Connecting a DVD PlayerSatellite Video VCR or Satellite ReceiverExternal DTV Receiver with Compo- nent Video Connections Connecting an External DTV ReceiverDTV Connectors and Adaptors External DTV Receiver with RGB Video Connections Connecting an ExternalReceiver Connecting a Computer Connecting a Computer with a VGA Monitor OutputConnecting the IR-Home Theater Control and IR Repeater Important Notes Buttons Initial SetupCancel Button Back ButtonThis page has been intentionally left blank Con gur at ion Sc r een NetCommand Setup Setup ScreensLanguage Screen VCR & VCR2 Screens Receiver ScreenCable Box Screen Camcorder Screen DBS ScreenDVD Screen Review Screen Finish ScreenAdd NetCommand Setup Edit Setup ScreensEdit Setup Screen ChangeReview NetCommand Setup Edit ScreensDelete InitialName Screens NetCommand Setup Edit ScreensNetCommand Setup Edit ConnectionInput-DTV Connection Monitor Out to AVR or VCRAVR to VCR Connection Page Setup 3D Graphical Menu System Menu SystemDevice Selection Menu PIP Selection Menu Selecting Device for PIPAntenna Menu Setup MenuMenu Screens Overview Clock MenuChip Lock Menu Timer MenuCaptions Menu Audio/Video MenuEdit Setup Button Setup Menu Edit Setup and Icon PositionSetup and Icon Position EditConvergence Convergence Setup Menu ConvergenceReset Factory Defaults Convergence ScreenTransport Menu Advanced Convergence, Transport, and LanguageAdvanced Convergence LanguageMemory AntennaMemorize Channels SQV Super Quick View Antenna Menu Super Quick View SQVSuper Quick View SQV Auto or Clock Menu Auto or Manual Clock SettingManual Clock Setting Closed Captions Captions Menu Closed CaptionsClosed Captions CC BackgroundChip Chip Lock Menu PasscodeLock Chip Lock Chip Signal InformationChip Lock Menu V-Chip Lock By Time Front Button LockTimer On/Off Timer Menu Setting The TimerSetting The Timer DeviceAudio/Video Settings Menu TV Speakers Settings Menu TV SpeakersTV Speakers Setting Descriptions Audio Audio SettingsSetting Descriptions Video Video SettingsPage Operation Remote Control Functions Overview OverviewRemote Control Functions Care and Operation OperationRemote Control Functions Operation of PIP and POP Remote Control Functions Channel Selection and Sleep TimerSleep Timer, Operation of PIP and POP Channel Selection Sleep TimerOperation of PIP and POP Display Formats Remote Control Functions Display Formats To Program the Remote to Control NetCommand A/V Products Programming the Remote Control to Control Non-NetCommand To Control Non-NetCommand Programming the Remote ControlRemote Control Functions Special Functions Special FunctionsOther stationary or repetitive computer style images Bypassing the V-Chip Lock Bypassing Front Button LockThis page has been intentionally left blank VGA Input Input Levels and Timing When Used With RGB Video SignalsComponent-1 and Component-2 Inputs Input Connection CompatibilityDVD Players Appendix C Remote Control Programming CodesReceivers Satellite ReceiversCleaning Appendix D Cleaning and ServiceService Diamond Shield Installation Appendix E Diamond Shield Installation WS-55909, and, WS-73909Appendix F Cabinet Separation for Model WS-65869 For Problem Possible Solution Appendix G TroubleshootingAppendix G Troubleshooting Problem Possible Solution TV will not turn on after being pluggedIndex Index S-W Stationary PictureMitsubishi Projection TV Limited Warranty Mitsubishi Projection TV Limited WarrantyPage Page Mitsubishi Digital Electronics America, Inc 871D330B10