Digital Still Camera menu (continued)
 Using the date stamp
Enabling the date stamp will print the date of shooting on the picture. To enable the date stamp:
1.While in Digital Still Camera mode, press the Menu/OK (![]() ) button.
) button.
Advanced
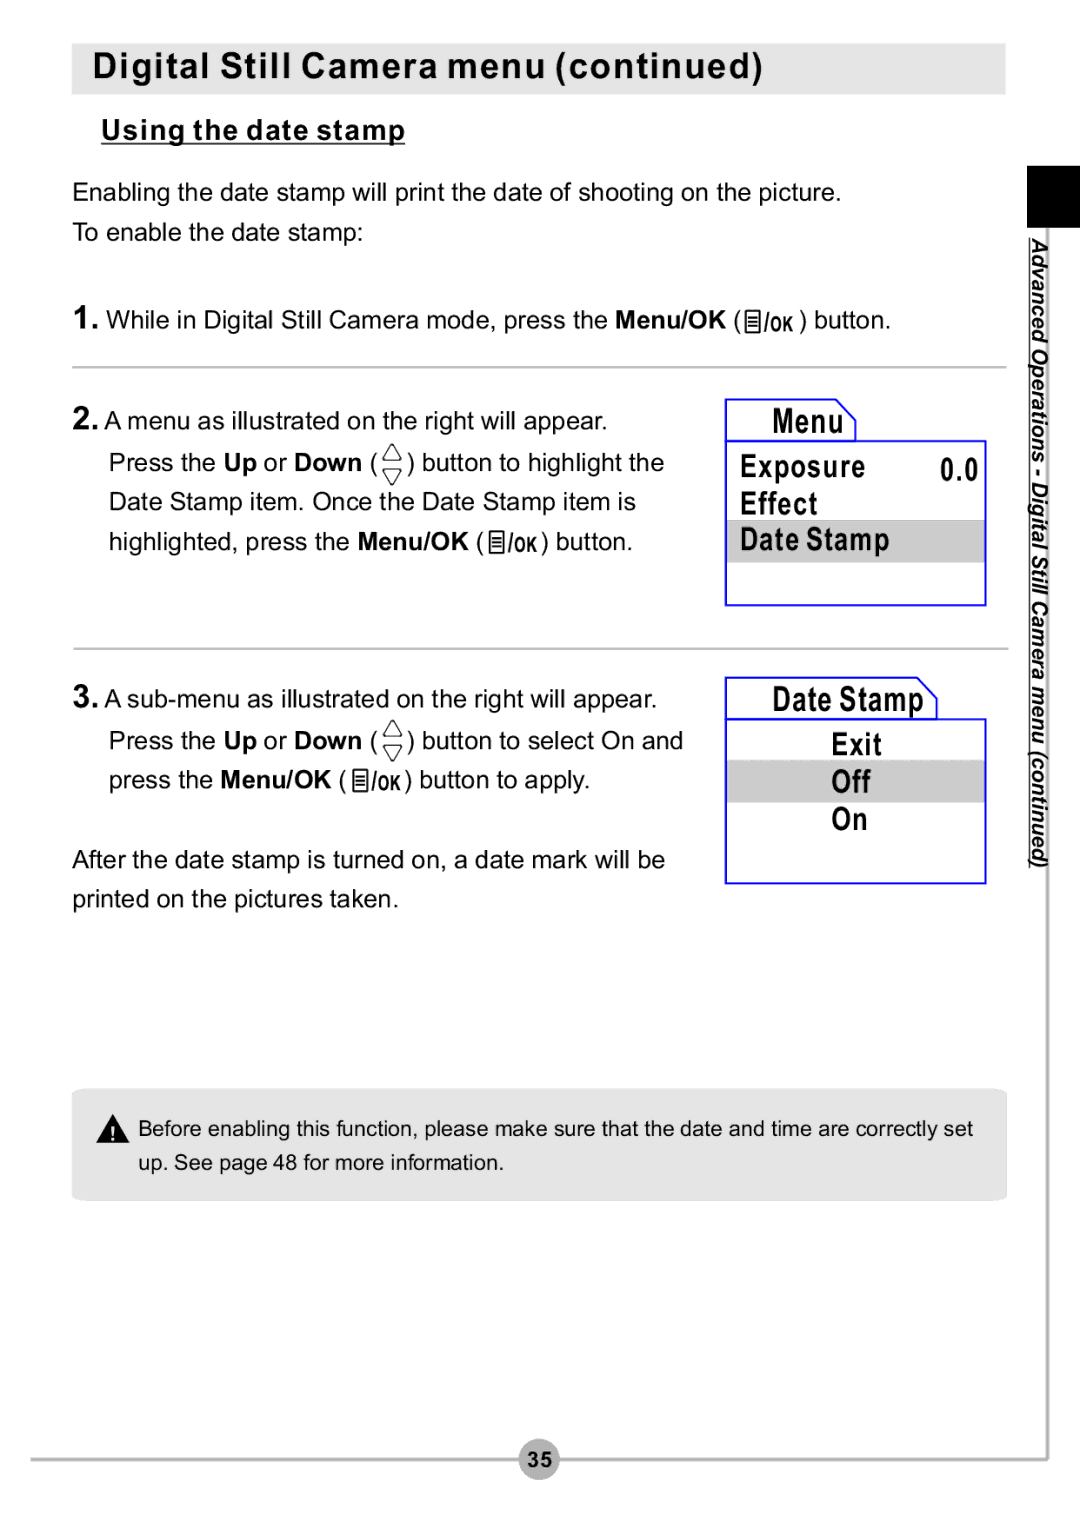
2.A menu as illustrated on the right will appear. Press the Up or Down ( ![]() ) button to highlight the Date Stamp item. Once the Date Stamp item is
) button to highlight the Date Stamp item. Once the Date Stamp item is
highlighted, press the Menu/OK ( ![]() ) button.
) button.
 Menu
Menu
Exposure 0.0
Effect
Date Stamp
Operations - Digital Still Camera
3.A
Press the Up or Down ( ![]() ) button to select On and
) button to select On and
press the Menu/OK ( ![]() ) button to apply.
) button to apply.
After the date stamp is turned on, a date mark will be printed on the pictures taken.
 Date Stamp
Exit
Off
On
menu (continued)
![]() Before enabling this function, please make sure that the date and time are correctly set up. See page 48 for more information.
Before enabling this function, please make sure that the date and time are correctly set up. See page 48 for more information.
35