5 | Rotate image | Click to rotate the image shown in the View Window. |
| angle |
|
6 | Snapshot | Click to capture a still image from the View Window. |
7 | Audio ON/OFF | Click to turn on/off the camera’s audio. |
8 | Zoom Mode | Click to zoom in/out the image in the View Window. |
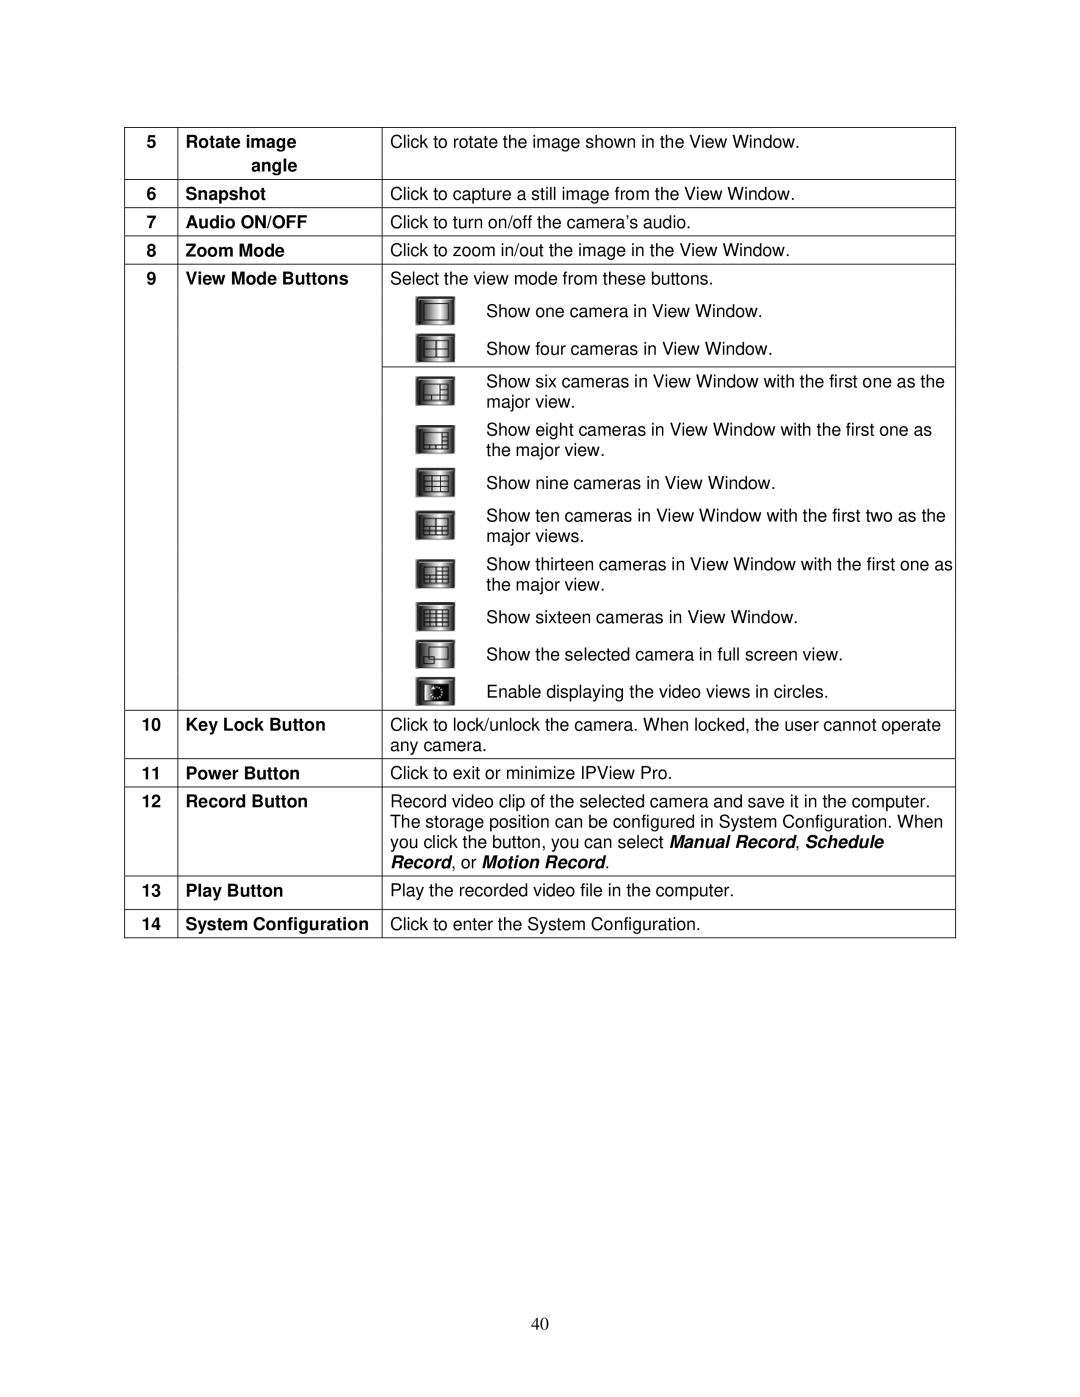
9 | View Mode Buttons | Select the view mode from these buttons. |
|
| Show one camera in View Window. |
|
| Show four cameras in View Window. |
|
|
|
|
| Show six cameras in View Window with the first one as the |
|
| major view. |
|
| Show eight cameras in View Window with the first one as |
|
| the major view. |
|
| Show nine cameras in View Window. |
|
| Show ten cameras in View Window with the first two as the |
|
| major views. |
|
| Show thirteen cameras in View Window with the first one as |
|
| the major view. |
|
| Show sixteen cameras in View Window. |
|
| Show the selected camera in full screen view. |
|
| Enable displaying the video views in circles. |
|
|
|
10 | Key Lock Button | Click to lock/unlock the camera. When locked, the user cannot operate |
|
| any camera. |
11 | Power Button | Click to exit or minimize IPView Pro. |
12 | Record Button | Record video clip of the selected camera and save it in the computer. |
|
| The storage position can be configured in System Configuration. When |
|
| you click the button, you can select Manual Record, Schedule |
|
| Record, or Motion Record. |
13 | Play Button | Play the recorded video file in the computer. |
|
|
|
14 | System Configuration | Click to enter the System Configuration. |
40