2.Hardware Installation
2.1Attaching the Camera to the Stand
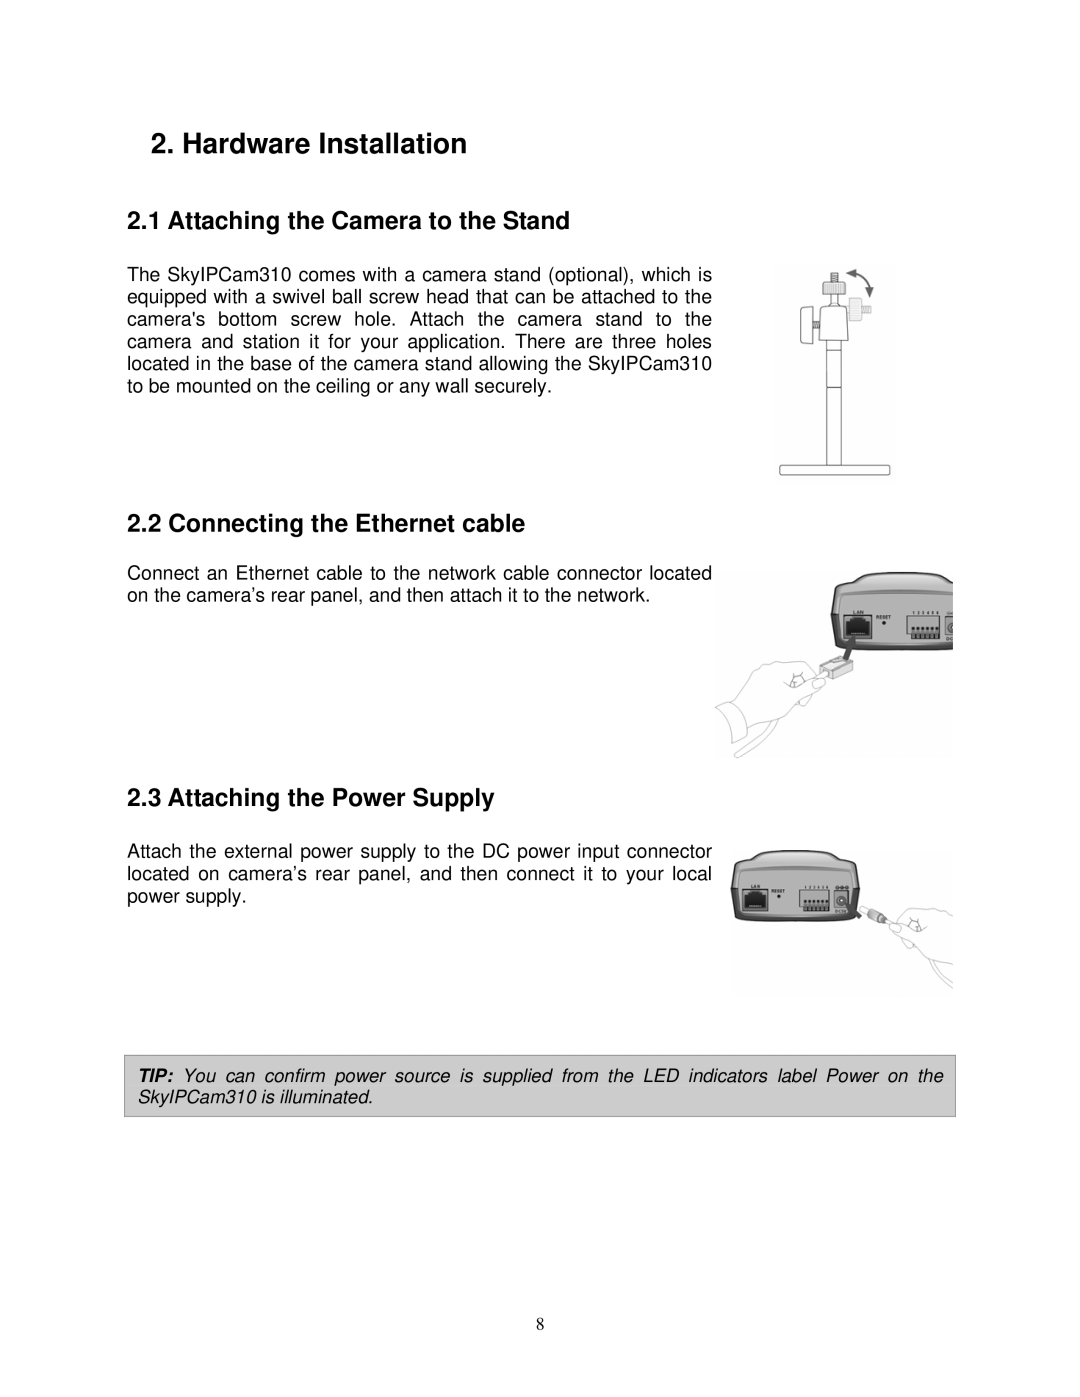
The SkyIPCam310 comes with a camera stand (optional), which is equipped with a swivel ball screw head that can be attached to the camera's bottom screw hole. Attach the camera stand to the camera and station it for your application. There are three holes located in the base of the camera stand allowing the SkyIPCam310 to be mounted on the ceiling or any wall securely.
2.2 Connecting the Ethernet cable
Connect an Ethernet cable to the network cable connector located on the camera’s rear panel, and then attach it to the network.
2.3 Attaching the Power Supply
Attach the external power supply to the DC power input connector located on camera’s rear panel, and then connect it to your local power supply.
TIP: You can confirm power source is supplied from the LED indicators label Power on the SkyIPCam310 is illuminated.
8