 Connections
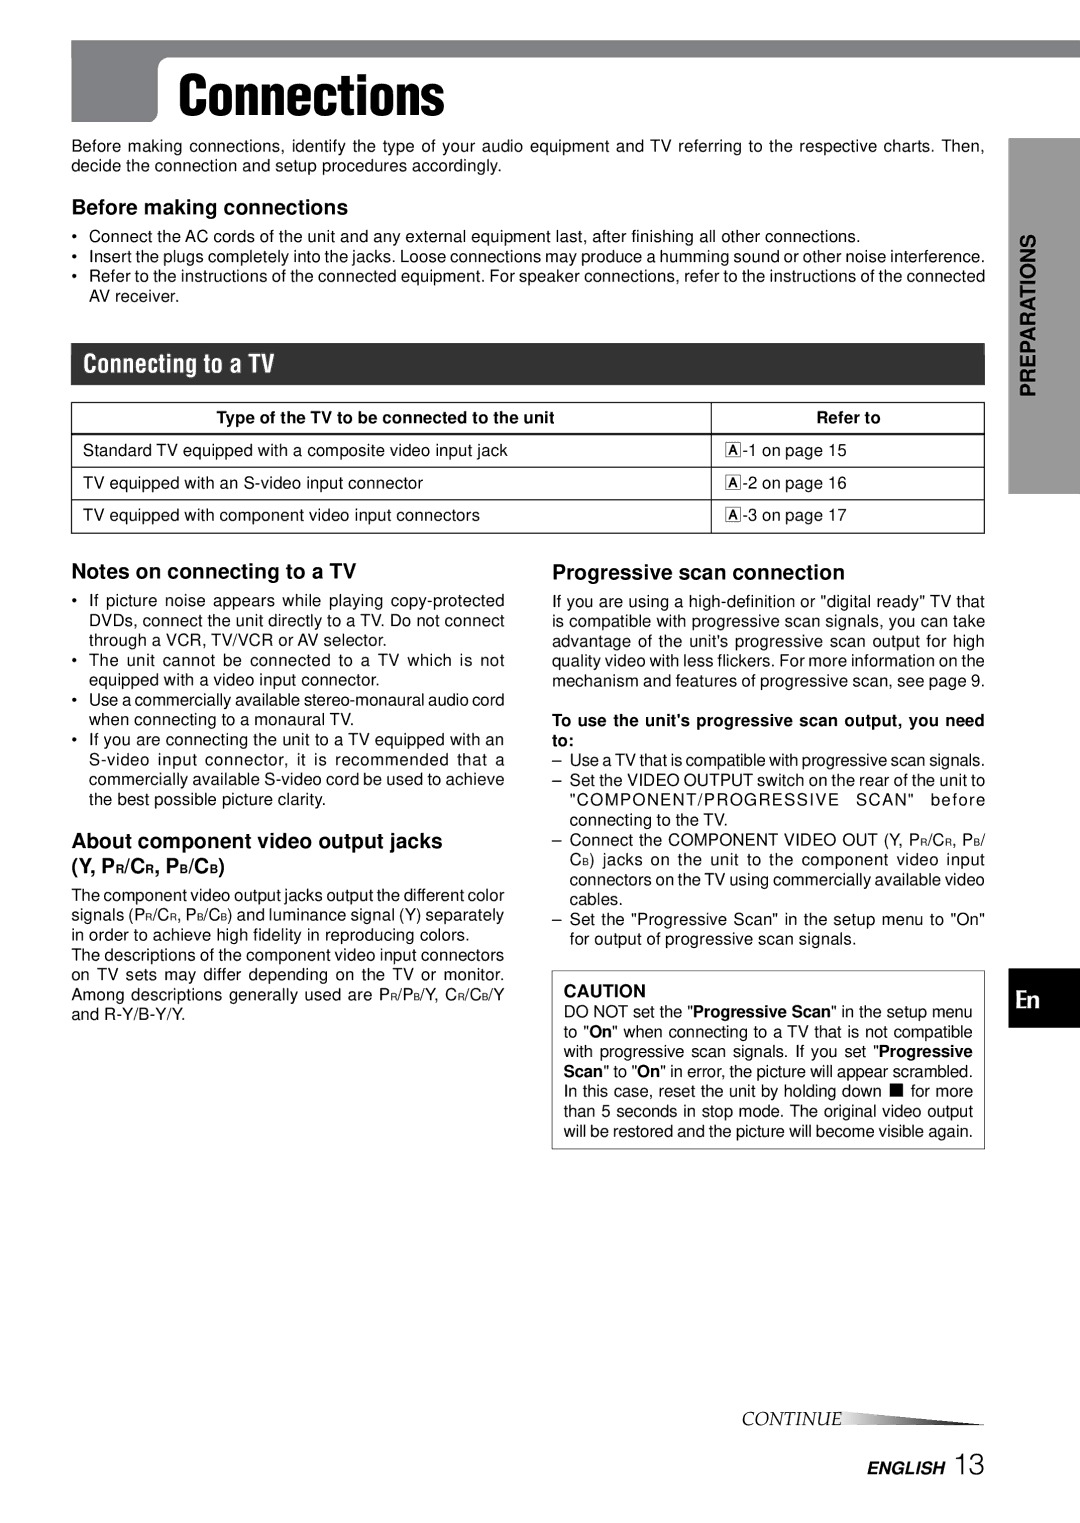
Before making connections, identify the type of your audio equipment and TV referring to the respective charts. Then, decide the connection and setup procedures accordingly.
Before making connections
•Connect the AC cords of the unit and any external equipment last, after finishing all other connections.
•Insert the plugs completely into the jacks. Loose connections may produce a humming sound or other noise interference.
•Refer to the instructions of the connected equipment. For speaker connections, refer to the instructions of the connected AV receiver.
Connecting to a TV
Type of the TV to be connected to the unit | Refer to |
|
|
Standard TV equipped with a composite video input jack | |
|
|
TV equipped with an | |
|
|
TV equipped with component video input connectors | |
|
|
PREPARATIONS
Notes on connecting to a TV
•If picture noise appears while playing
•The unit cannot be connected to a TV which is not equipped with a video input connector.
•Use a commercially available
•If you are connecting the unit to a TV equipped with an
About component video output jacks (Y, PR/CR, PB/CB)
The component video output jacks output the different color signals (PR/CR, PB/CB) and luminance signal (Y) separately in order to achieve high fidelity in reproducing colors.
The descriptions of the component video input connectors on TV sets may differ depending on the TV or monitor. Among descriptions generally used are PR/PB/Y, CR/CB/Y and
Progressive scan connection
If you are using a
To use the unit's progressive scan output, you need to:
–Use a TV that is compatible with progressive scan signals.
–Set the VIDEO OUTPUT switch on the rear of the unit to "COMPONENT/PROGRESSIVE SCAN" before connecting to the TV.
–Connect the COMPONENT VIDEO OUT (Y, PR/CR, PB/ CB) jacks on the unit to the component video input connectors on the TV using commercially available video cables.
–Set the "Progressive Scan" in the setup menu to "On" for output of progressive scan signals.
CAUTION
DO NOT set the "Progressive Scan" in the setup menu to "On" when connecting to a TV that is not compatible with progressive scan signals. If you set "Progressive Scan" to "On" in error, the picture will appear scrambled. In this case, reset the unit by holding down s for more than 5 seconds in stop mode. The original video output will be restored and the picture will become visible again.
En
CONTINUE
ENGLISH 13
