ASSEMBLY
2.Make sure the tractor PTO is the correct speed and shaft size for the implement. Ensure the drawbar is extended the proper distance from the Tractor PTO shaft for desired PTO speed; 540 PTO is 14” and for 1000 PTO speed the distance is 16”
3.Carefully back tractor to mower. Do not allow coworkers or bystanders between the tractor and the imple- ment while backing. When dismounting the tractor ALWAYS shut down the tractor, disengage the PTO, and set the parking brake before dismounting.
4.Install the retaining bolt through tongue clevis and tractor drawbar. The implement tongue is very heavy. Make any height adjustments using the implement jack. Place two 1” flatwashers (1) positioned under top lip of tongue clevis and to the top of drawbar. Insert a 1” diameter grade 5 or 8 bolt (2) through clevis and drawbar and retain in position with a 1” locknut (3). Tighten the locknut securely but do not overtighten, which could spring or break the clevis. NOTE: NEVER attach mower to the tractor with a pin not having a nut.
5.Install the implement tow chain to a secure location on the tractor.
6.Attach proper hydraulic couplers to implement hose ends. Insert the wing hose quick disconnect couplers into tractor hydraulic remotes.
7.Mount tractor, fasten your seatbelt and start engine. From the operators seat use the tractor hydraulic con-
trol levers to fill wing cylinders with oil. Filling the cylinders should retract the wings slightly to their mini- mum closed width. Continue to apply pressure to cylinders for at least 10 seconds to assure they have filled with fluid.
Keep coworkers and bystanders away from the implement while filling.
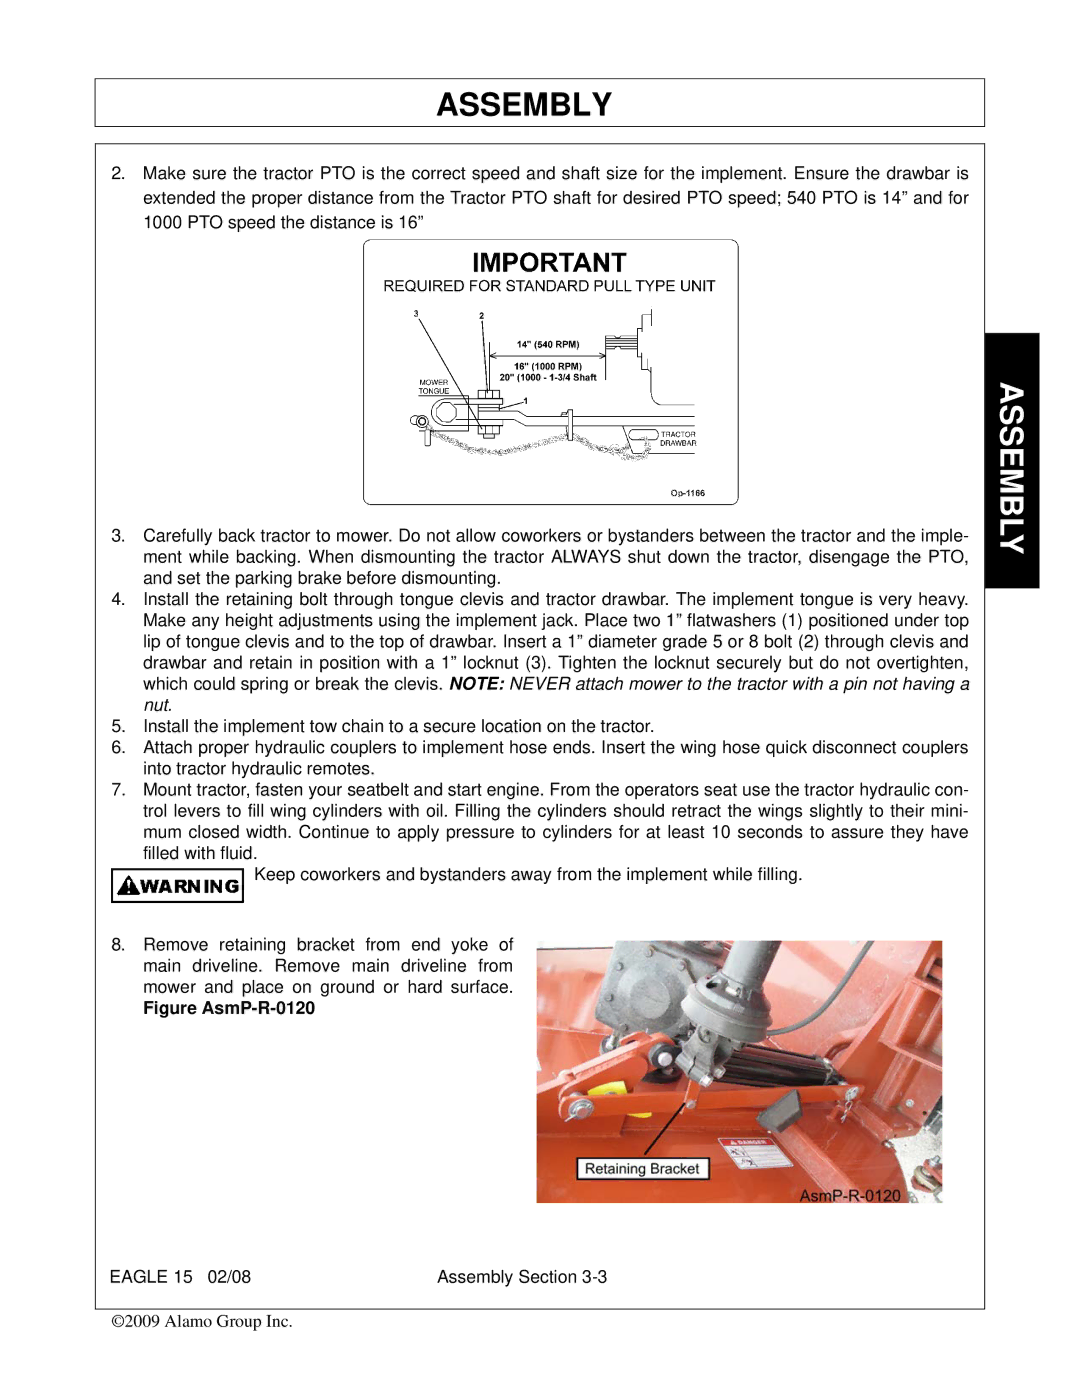
8.Remove retaining bracket from end yoke of main driveline. Remove main driveline from mower and place on ground or hard surface.
Figure AsmP-R-0120
EAGLE 15 02/08 | Assembly Section |
©2009 Alamo Group Inc.