Solving a Mirror conflict
A Mirror conflict occurs when both disks in a RAID 1 (Mirror) configuration are unplugged from the system in turn, then plugged in again. Since both disks contain exactly the same data, the system will be unable to determine which of the two is the source drive. This option allows you to set the source drive and rebuild the Mirror drive according to the contents of the source drive.
To solve a Mirror conflict:
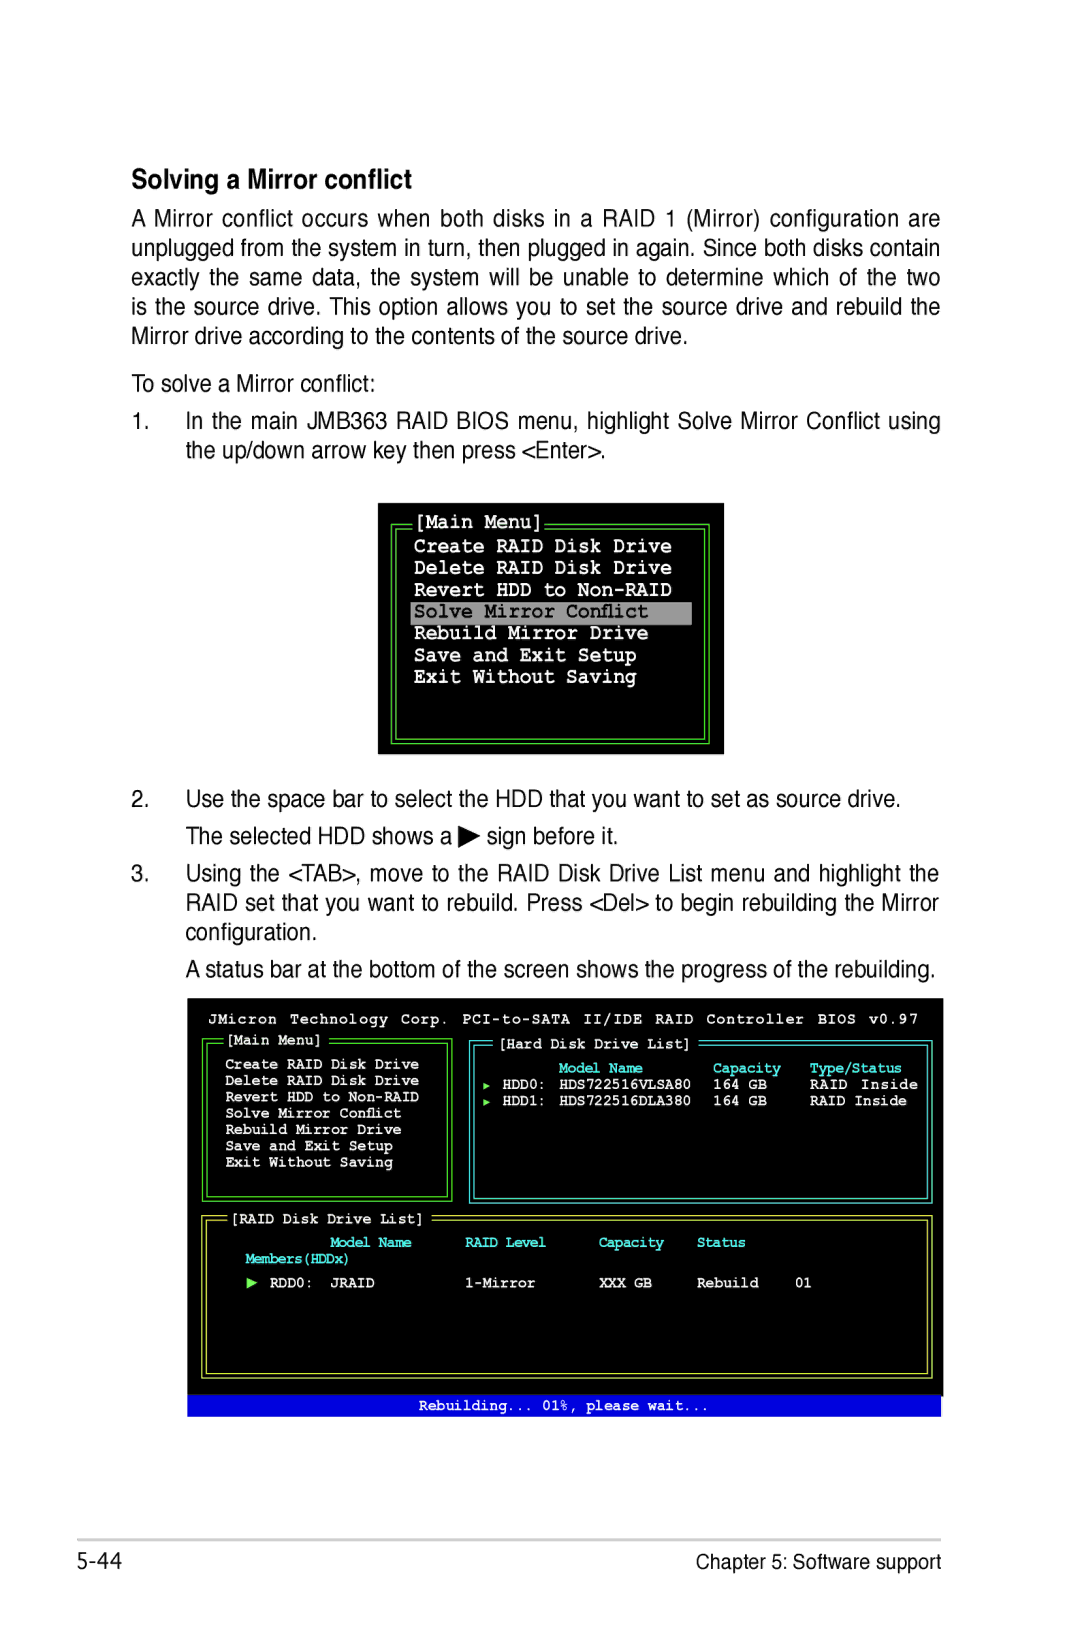
1.In the main JMB363 RAID BIOS menu, highlight Solve Mirror Conflict using the up/down arrow key then press <Enter>.
[Main Menu]
Create RAID Disk Drive
Delete RAID Disk Drive
Revert HDD to
Solve Mirror Conflict
Rebuild Mirror Drive
Save and Exit Setup
Exit Without Saving
2.Use the space bar to select the HDD that you want to set as source drive. The selected HDD shows a ![]() sign before it.
sign before it.
3.Using the <TAB>, move to the RAID Disk Drive List menu and highlight the RAID set that you want to rebuild. Press <Del> to begin rebuilding the Mirror configuration.
A status bar at the bottom of the screen shows the progress of the rebuilding.
JMicron Technology Corp.
![]() [Main Menu]
[Main Menu]
Create RAID Disk Drive Delete RAID Disk Drive Revert HDD to
![]() [RAID Disk Drive List]
[RAID Disk Drive List]
Model Name
Members(HDDx)
 RDD0: JRAID
| [Hard Disk Drive List] |
|
|
|
| Model Name | Capacity | Type/Status | |
| HDD0: HDS722516VLSA80 | 164 | GB | RAID Inside |
| HDD1: HDS722516DLA380 | 164 | GB | RAID Inside |
|
|
|
|
|
|
|
|
|
|
RAID Level | Capacity | Status |
|
| XXX GB | Rebuild | 01 |
Rebuilding... 01%, please wait...
Chapter 5: Software support |