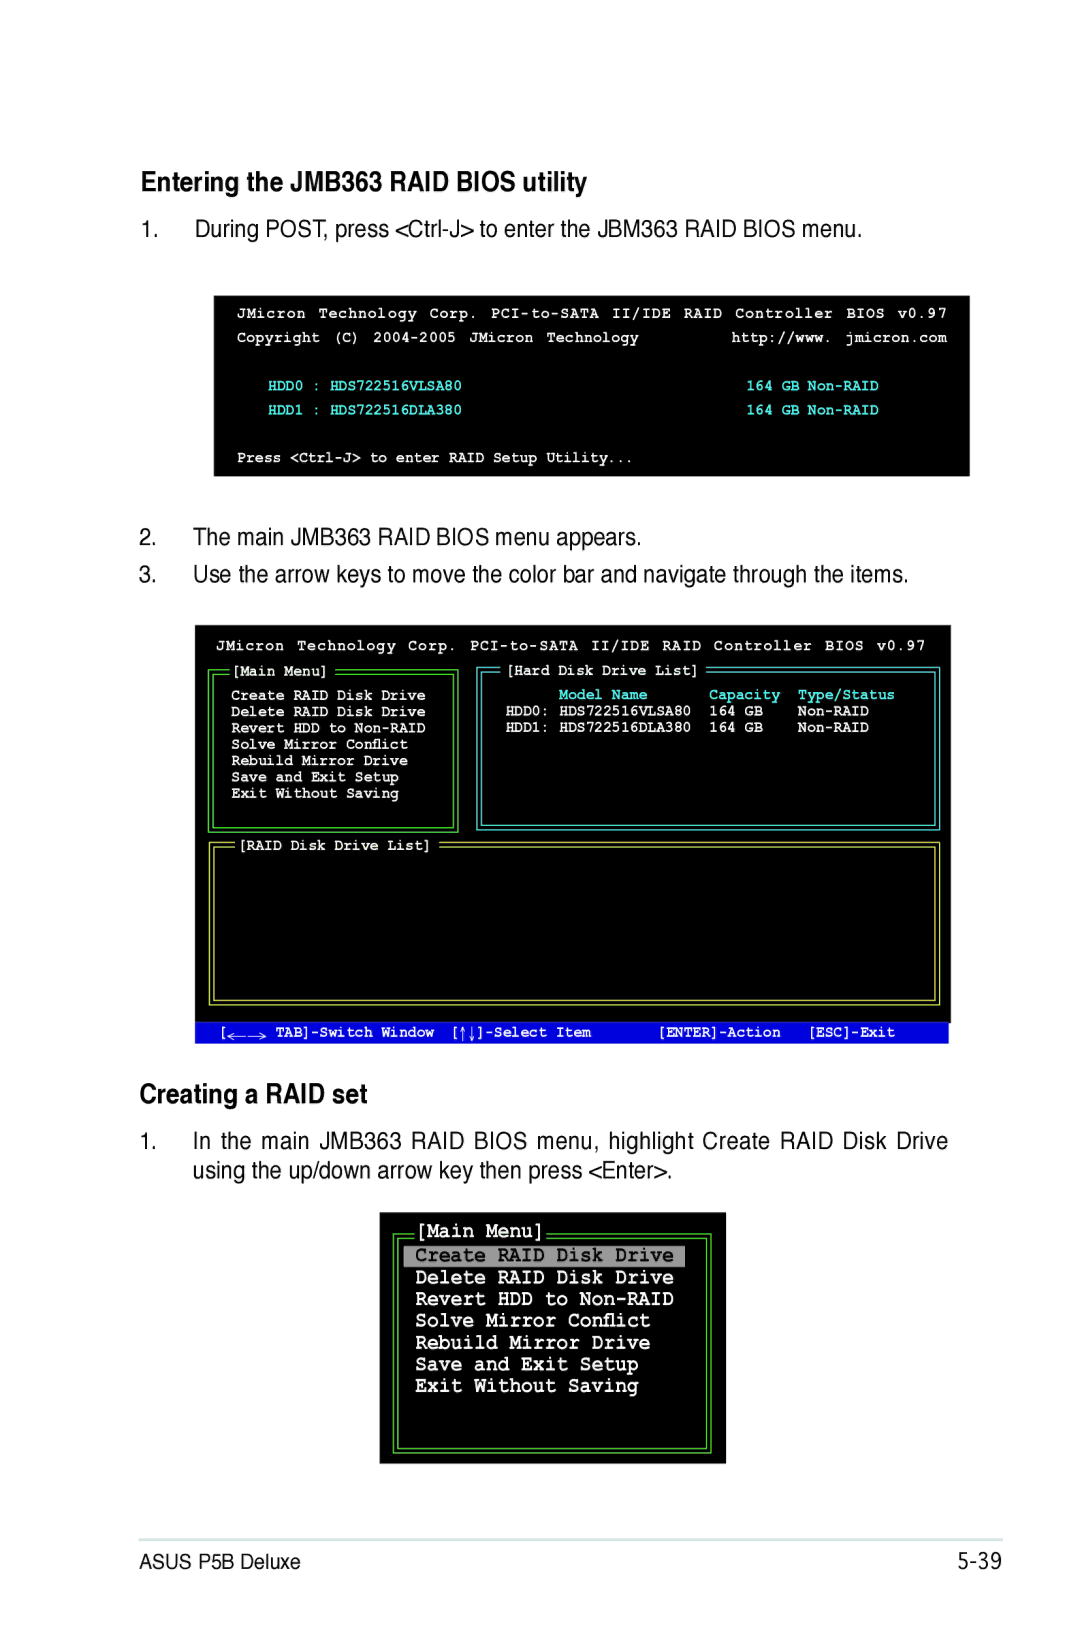
Entering the JMB363 RAID BIOS utility
1.During POST, press
JMicron Technology Corp.
Copyright (C) | http://www. jmicron.com | |
HDD0 : HDS722516VLSA80 | 164 | GB |
HDD1 : HDS722516DLA380 | 164 | GB |
Press <Ctrl-J> to enter RAID Setup Utility...
2.The main JMB363 RAID BIOS menu appears.
3.Use the arrow keys to move the color bar and navigate through the items.
JMicron Technology Corp.
![]() [Main Menu]
[Main Menu]
Create RAID Disk Drive Delete RAID Disk Drive Revert HDD to
| [Hard Disk Drive List] |
|
|
|
| Model Name | Capacity | Type/Status | |
| HDD0: HDS722516VLSA80 | 164 | GB |
|
| HDD1: HDS722516DLA380 | 164 | GB | |
|
|
|
|
|
|
|
|
|
|
![]() [RAID Disk Drive List]
[RAID Disk Drive List]
[ |
Creating a RAID set
1.In the main JMB363 RAID BIOS menu, highlight Create RAID Disk Drive using the up/down arrow key then press <Enter>.
[Main Menu]
Create RAID Disk Drive
Delete RAID Disk Drive
Revert HDD to
Solve Mirror Conflict
Rebuild Mirror Drive
Save and Exit Setup
Exit Without Saving
ASUS P5B Deluxe |