Using the Avaya Remote Supervisor Adapter
Alerts
4Host Name or IP Address [no default]: In the field that corresponds with the Community Name, type the IP Address or Host Name for each community manager.
5If a DNS server is not used or available, scroll down and click Save. If a DNS server will be used, continue to Enabling DNS on page 46 before restarting the ASM.
NOTE:
You must restart the ASM to activate the Network Protocols changes.
6To restart the ASM, click Restart ASM under the ASM Control heading in the navagation pane.
Enabling DNS
To enable the Domain Name System (DNS) and specify the DNS IP address:
1In the navigation pane, select Network Protocols under the ASM Control heading. The Simple Network Management Protocol (SNMP) window appears.
2Scroll down to the DNS section (see Figure 18, Advanced Ethernet setup, on page 43).
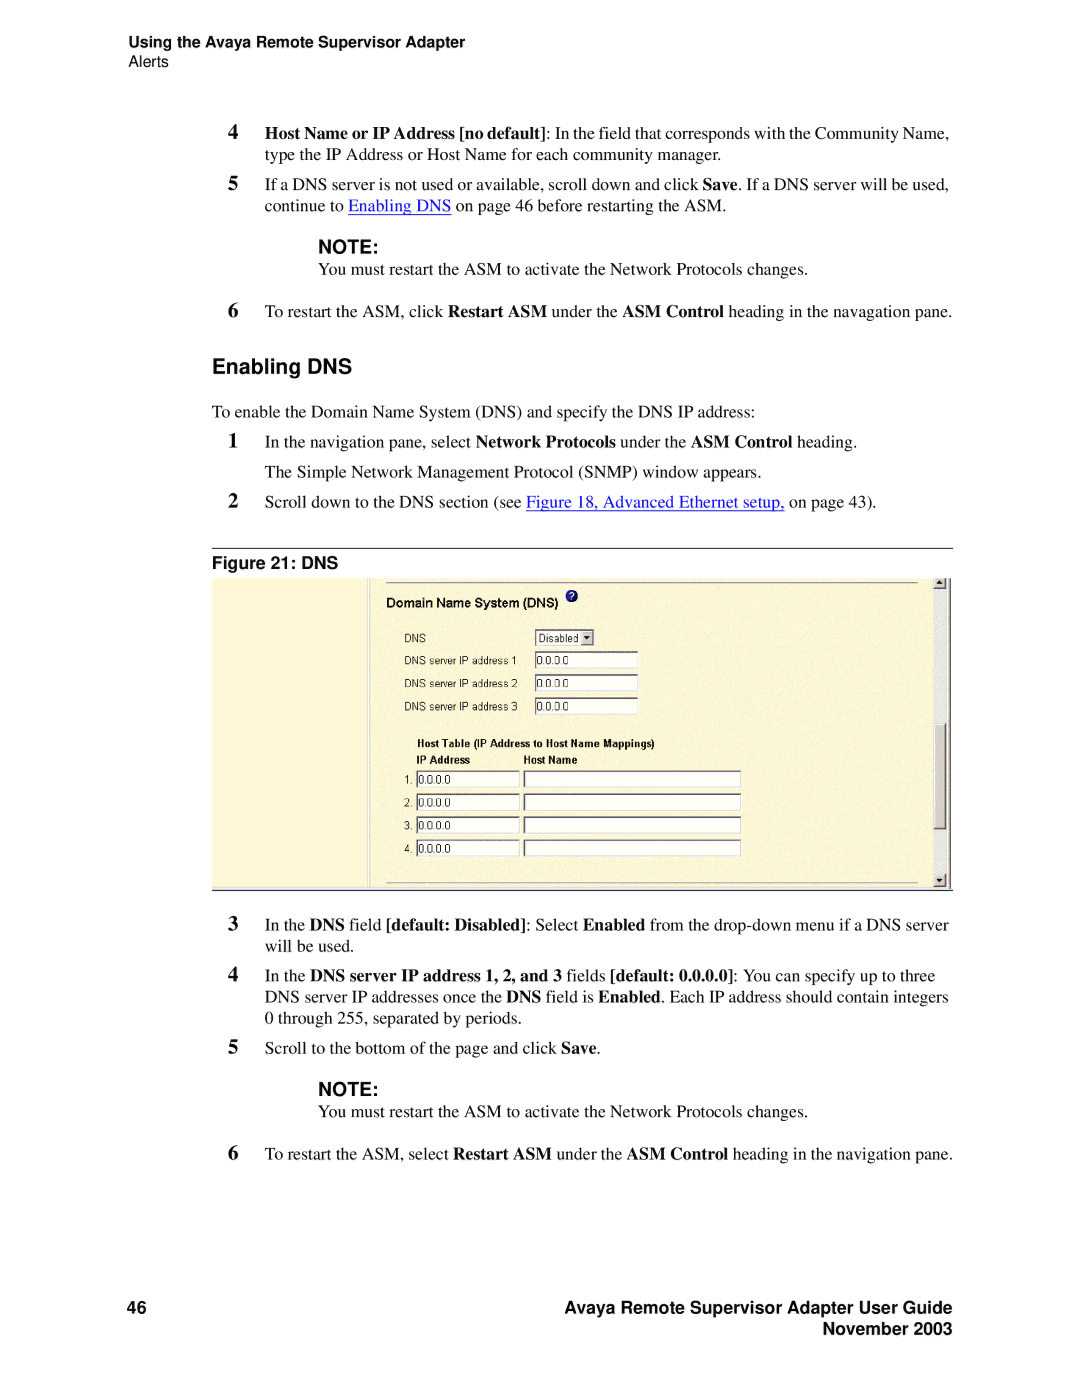
Figure 21: DNS
3In the DNS field [default: Disabled]: Select Enabled from the
4In the DNS server IP address 1, 2, and 3 fields [default: 0.0.0.0]: You can specify up to three DNS server IP addresses once the DNS field is Enabled. Each IP address should contain integers 0 through 255, separated by periods.
5Scroll to the bottom of the page and click Save.
NOTE:
You must restart the ASM to activate the Network Protocols changes.
6To restart the ASM, select Restart ASM under the ASM Control heading in the navigation pane.
46 | Avaya Remote Supervisor Adapter User Guide |
| November 2003 |