Using the Avaya Remote Supervisor Adapter
Alerts
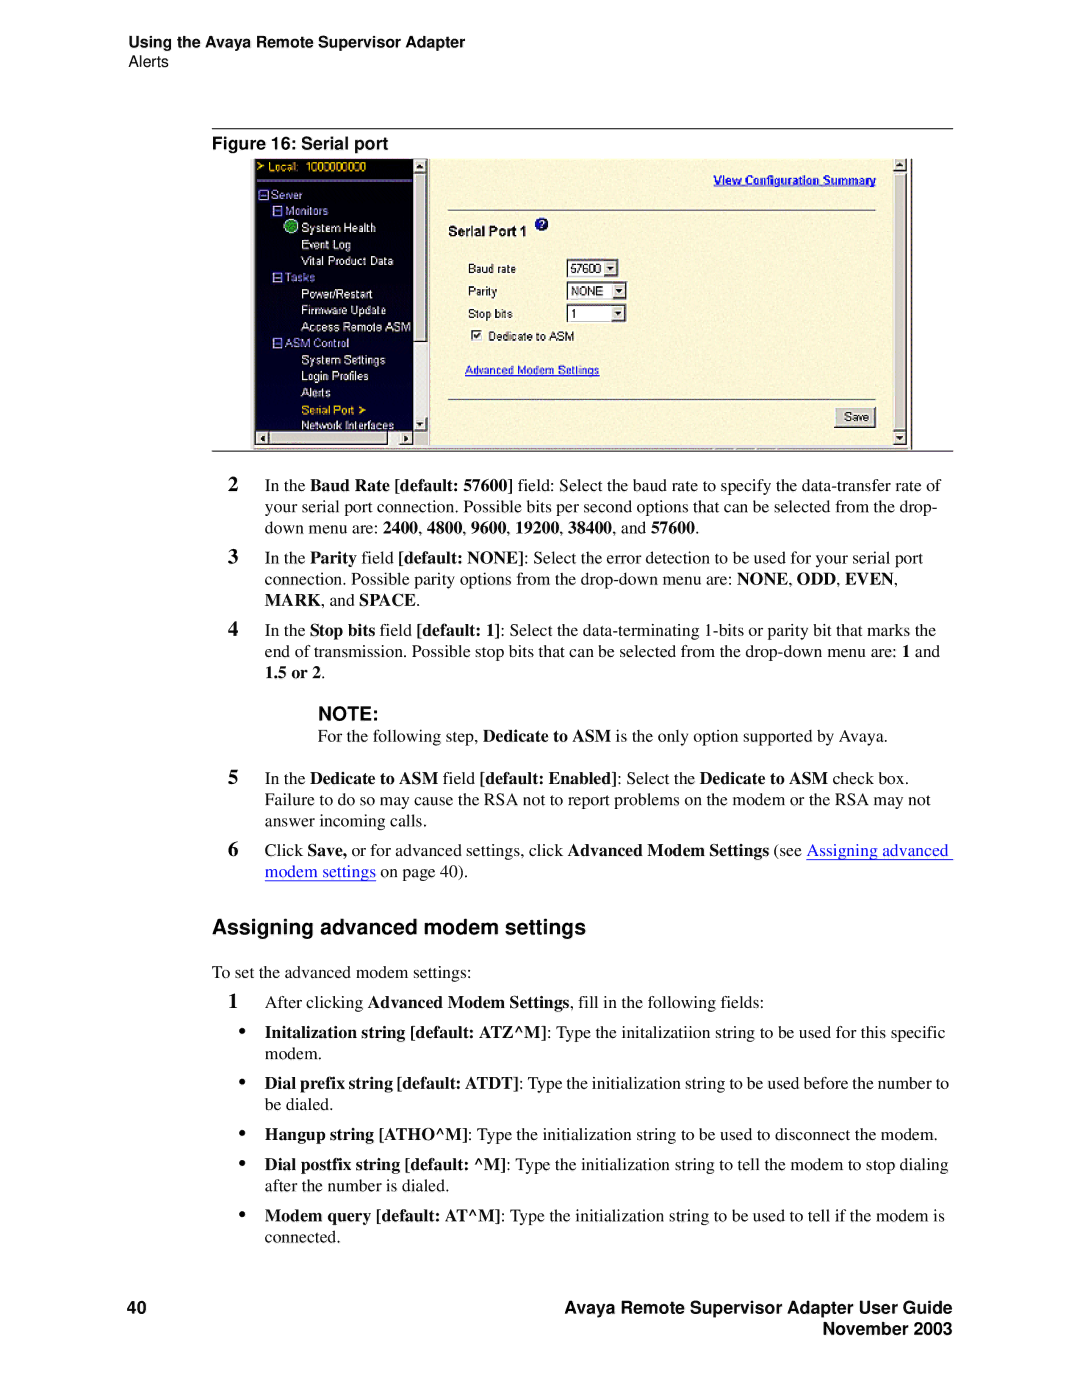
Figure 16: Serial port
2In the Baud Rate [default: 57600] field: Select the baud rate to specify the
3In the Parity field [default: NONE]: Select the error detection to be used for your serial port
connection. Possible parity options from the
4In the Stop bits field [default: 1]: Select the
end of transmission. Possible stop bits that can be selected from the
NOTE:
For the following step, Dedicate to ASM is the only option supported by Avaya.
5In the Dedicate to ASM field [default: Enabled]: Select the Dedicate to ASM check box. Failure to do so may cause the RSA not to report problems on the modem or the RSA may not answer incoming calls.
6Click Save, or for advanced settings, click Advanced Modem Settings (see Assigning advanced modem settings on page 40).
Assigning advanced modem settings
To set the advanced modem settings:
1After clicking Advanced Modem Settings, fill in the following fields:
•Initalization string [default: ATZ^M]: Type the initalizatiion string to be used for this specific modem.
•Dial prefix string [default: ATDT]: Type the initialization string to be used before the number to be dialed.
•Hangup string [ATHO^M]: Type the initialization string to be used to disconnect the modem.
•Dial postfix string [default: ^M]: Type the initialization string to tell the modem to stop dialing after the number is dialed.
•Modem query [default: AT^M]: Type the initialization string to be used to tell if the modem is connected.
40 | Avaya Remote Supervisor Adapter User Guide |
| November 2003 |
