Issue 1 November
Copyright 2003, Avaya Inc All Rights Reserved
SOC/REN
Declarations of Conformity
Contents
November
Avaya Remote Supervisor Adapter User Guide
Avaya Remote Supervisor Adapter User Guide November
POST/BIOS VPD ASM VPD
Avaya Remote Supervisor Adapter User Guide
Overview
Downloading this book and updates from the Web
Audience
Downloading this book
Standards compliance
European Union standards
555-245-702 November
Conventions
Physical dimensions
General
Typography
User input
Safety labels and security alert labels
System output and field names
Press Escape J
Connecting and disconnecting cables To connect To disconnect
Safety precautions
Avaya Remote Supervisor Adapter User Guide
Lbmswarn LAO
Trademarks
Trademarks and Service Marks
Merlin
Sending us comments
Technical assistance
Within the United States
International
Web browser requirements
Using the Avaya Remote Supervisor Adapter
Network password window
Connecting and logging in to the RSA
ASM navigation pane layout
ASM navigation
RSA
Available actions 1 Link Action Description
Available actions 2 Link Action Description
Global Remote Alert Settings Defines
Monitored Local Events Defines
System settings
Viewing the configuration summary
Setting system information
ASM control
System settings
Setting ASM information
Setting server time-outs
ASM date and time
Setting ASM date and time
Creating a login profile
Login profiles
Dialback status and Dialback number fields are not used
Login profile
Alerts
Setting the global login settings
Alerts
Configuring a remote alert recipient
Remote alert recipient window
Adding a remote alert recipient
Alert fowarding
Configuring global remote alert settings
Monitored alerts
Customizing monitored alerts
Critical alerts
Under Environmentals, Temperature , click Value . a
Critical alerts Alphanumeric Pager Code Event Action
Environmentals, Voltages , click Value. a window opens
Alphanumeric Pager Code Event Action
Environmentals, Temperature, click Value . a window
Pane. Under Environmentals, Voltages , click Value. a
Monitored Local Events
System alerts
System Alerts Alphanumeric Pager Code Event Action
Monitored local events 1 Event Action
Monitored local events
Serial port
Configuring the serial port
Monitored local events 2 Event Action
Serial port
Assigning advanced modem settings
Network interfaces
Configuring an Ethernet connection
Setting an advanced Ethernet setup
Setting a static IP configuration
Advanced Ethernet setup
PPP over Serial Port
Configuring PPP access over a serial port
Enabling Snmp agents and traps
Network protocols
DNS
Enabling DNS
Backing up the ASM configuration
Accessing the configuration window
Backup ASM Configuration section, click Backup
Restoring and modifying the ASM configuration
Restore ASM Configuration section, click Browse
Click Restore Defaults
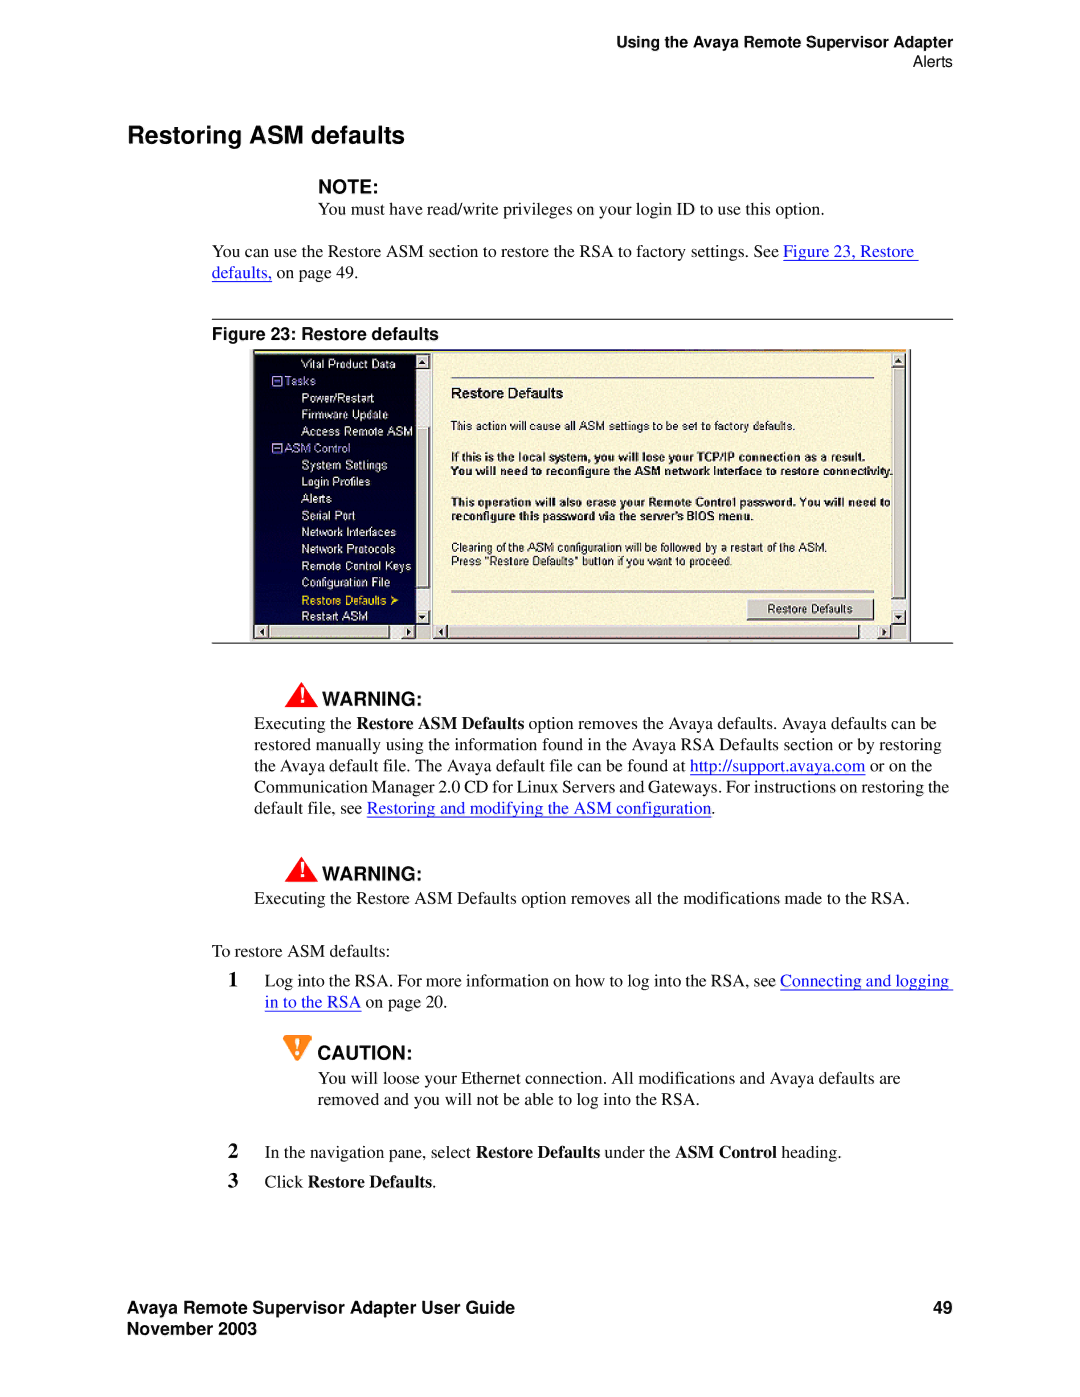
Restoring ASM defaults
Restoring the Avaya defaults
LAN IP Address field, type
Logging off the RSA
Restarting the RSA
Monitoring the S8500 using the RSA
Viewing system health summary
Temperature thresholds
Environmentals
Voltage thresholds
System health temperature thresholds
System health voltage thresholds
Fan speed
Viewing the event log
Event log
Clearing the event log
Vital product data
Saving the event log
Click Clear Log
Machine level VPD Field Function
Viewing vital product data
Component level VPD
POST/BIOS VPD Field Function
Component activity log
Component level VPD data Field Function
Performing RSA tasks
Server power and restart activity
ASM vital product data Field Function
To access the Server Power / Restart Control option
Accessing server power and restart control
Server power/restart control
Update firmware
Updating RSA or Bios firmware
Accessing remote ASM
Avaya Remote Supervisor Adapter User Guide
Operating System
Loader
Avaya Remote Supervisor Adapter User Guide
Index
POST/BIOS VPD
Avaya Remote Supervisor Adapter User Guide November
Avaya Remote Supervisor Adapter User Guide

![]() ! WARNING:
! WARNING:![]() ! WARNING:
! WARNING:![]() CAUTION:
CAUTION: