Basic Installation
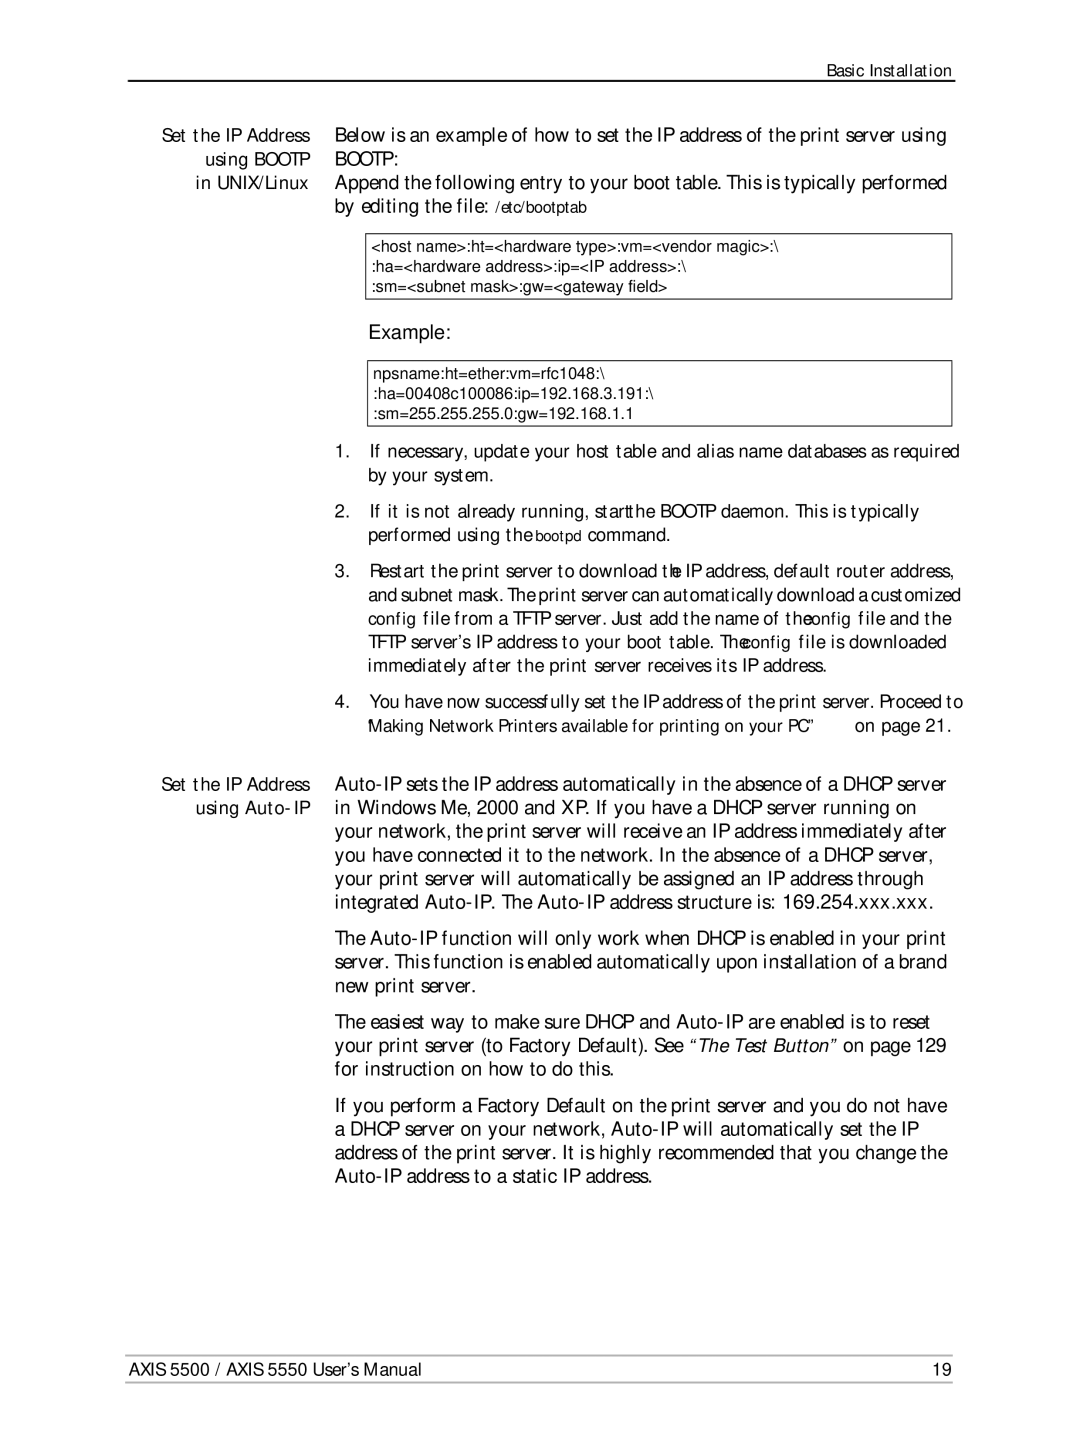
Set the IP Address Below is an example of how to set the IP address of the print server using using BOOTP BOOTP:
in UNIX/Linux Append the following entry to your boot table. This is typically performed by editing the file: /etc/bootptab
<host name>:ht=<hardware type>:vm=<vendor magic>:\ :ha=<hardware address>:ip=<IP address>:\ :sm=<subnet mask>:gw=<gateway field>
Example:
npsname:ht=ether:vm=rfc1048:\
:ha=00408c100086:ip=192.168.3.191:\
:sm=255.255.255.0:gw=192.168.1.1
1.If necessary, update your host table and alias name databases as required by your system.
2.If it is not already running, start the BOOTP daemon. This is typically performed using the bootpd command.
3.Restart the print server to download the IP address, default router address,
and subnet mask. The print server can automatically download a customized config file from a TFTP server. Just add the name of the config file and the TFTP server’s IP address to your boot table. The config file is downloaded immediately after the print server receives its IP address.
4.You have now successfully set the IP address of the print server. Proceed to “Making Network Printers available for printing on your PC” on page 21.
Set the IP Address
your network, the print server will receive an IP address immediately after you have connected it to the network. In the absence of a DHCP server, your print server will automatically be assigned an IP address through integrated
The
The easiest way to make sure DHCP and
If you perform a Factory Default on the print server and you do not have a DHCP server on your network,
AXIS 5500 / AXIS 5550 User’s Manual | 19 |
