Using the projector
Start up
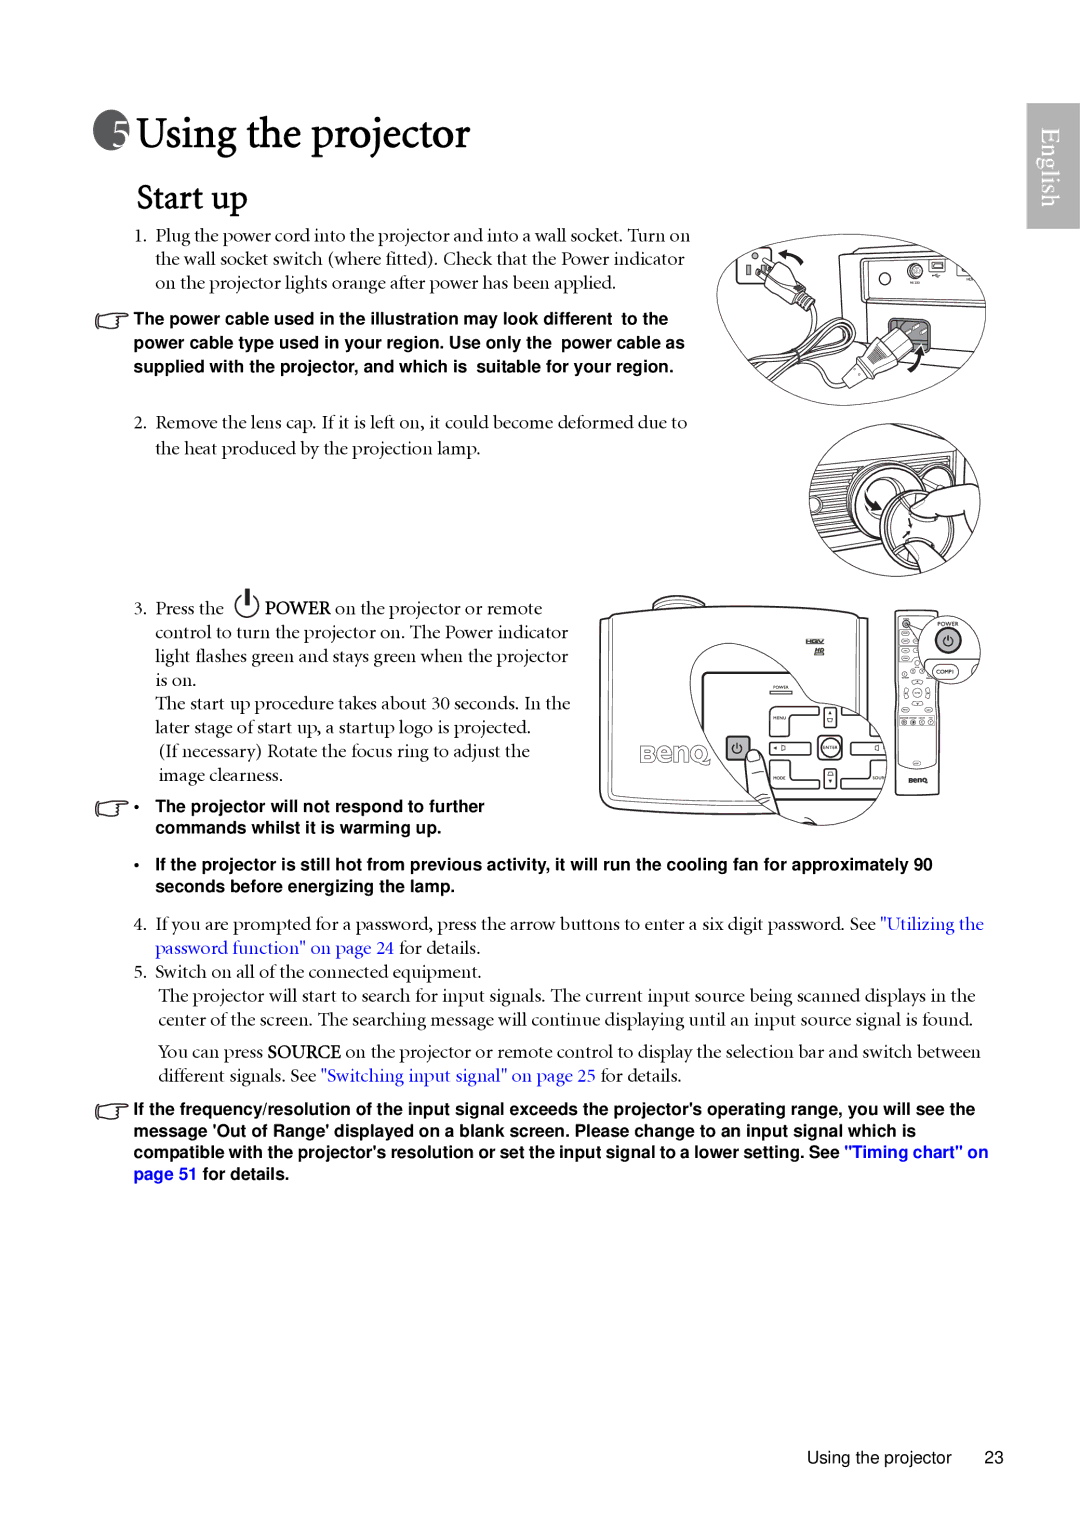
1. Plug the power cord into the projector and into a wall socket. Turn on the wall socket switch (where fitted). Check that the Power indicator on the projector lights orange after power has been applied.
![]() The power cable used in the illustration may look different to the power cable type used in your region. Use only the power cable as supplied with the projector, and which is suitable for your region.
The power cable used in the illustration may look different to the power cable type used in your region. Use only the power cable as supplied with the projector, and which is suitable for your region.
2.Remove the lens cap. If it is left on, it could become deformed due to the heat produced by the projection lamp.
3.Press the ![]() POWER on the projector or remote
POWER on the projector or remote
control to turn the projector on. The Power indicator light flashes green and stays green when the projector is on.
The start up procedure takes about 30 seconds. In the later stage of start up, a startup logo is projected.
(If necessary) Rotate the focus ring to adjust the image clearness.
![]() • The projector will not respond to further commands whilst it is warming up.
• The projector will not respond to further commands whilst it is warming up.
•If the projector is still hot from previous activity, it will run the cooling fan for approximately 90 seconds before energizing the lamp.
4.If you are prompted for a password, press the arrow buttons to enter a six digit password. See "Utilizing the password function" on page 24 for details.
5.Switch on all of the connected equipment.
The projector will start to search for input signals. The current input source being scanned displays in the center of the screen. The searching message will continue displaying until an input source signal is found.
You can press SOURCE on the projector or remote control to display the selection bar and switch between different signals. See "Switching input signal" on page 25 for details.
![]() If the frequency/resolution of the input signal exceeds the projector's operating range, you will see the message 'Out of Range' displayed on a blank screen. Please change to an input signal which is compatible with the projector's resolution or set the input signal to a lower setting. See "Timing chart" on page 51 for details.
If the frequency/resolution of the input signal exceeds the projector's operating range, you will see the message 'Out of Range' displayed on a blank screen. Please change to an input signal which is compatible with the projector's resolution or set the input signal to a lower setting. See "Timing chart" on page 51 for details.
English
Using the projector | 23 |