Operating in a high altitude environment
We recommend that you use the High Altitude Mode when your environment is higher than 3200 feet above sea level, or is hotter than 40°C.
To activate High Altitude Mode:
1.Press MENU to turn the OSD menu on and press eLeft orfRight to select Advanced Setup.
2.Press cUp ordDown to highlight High Altitude Mode.
3.Press eLeft orfRight to select On.
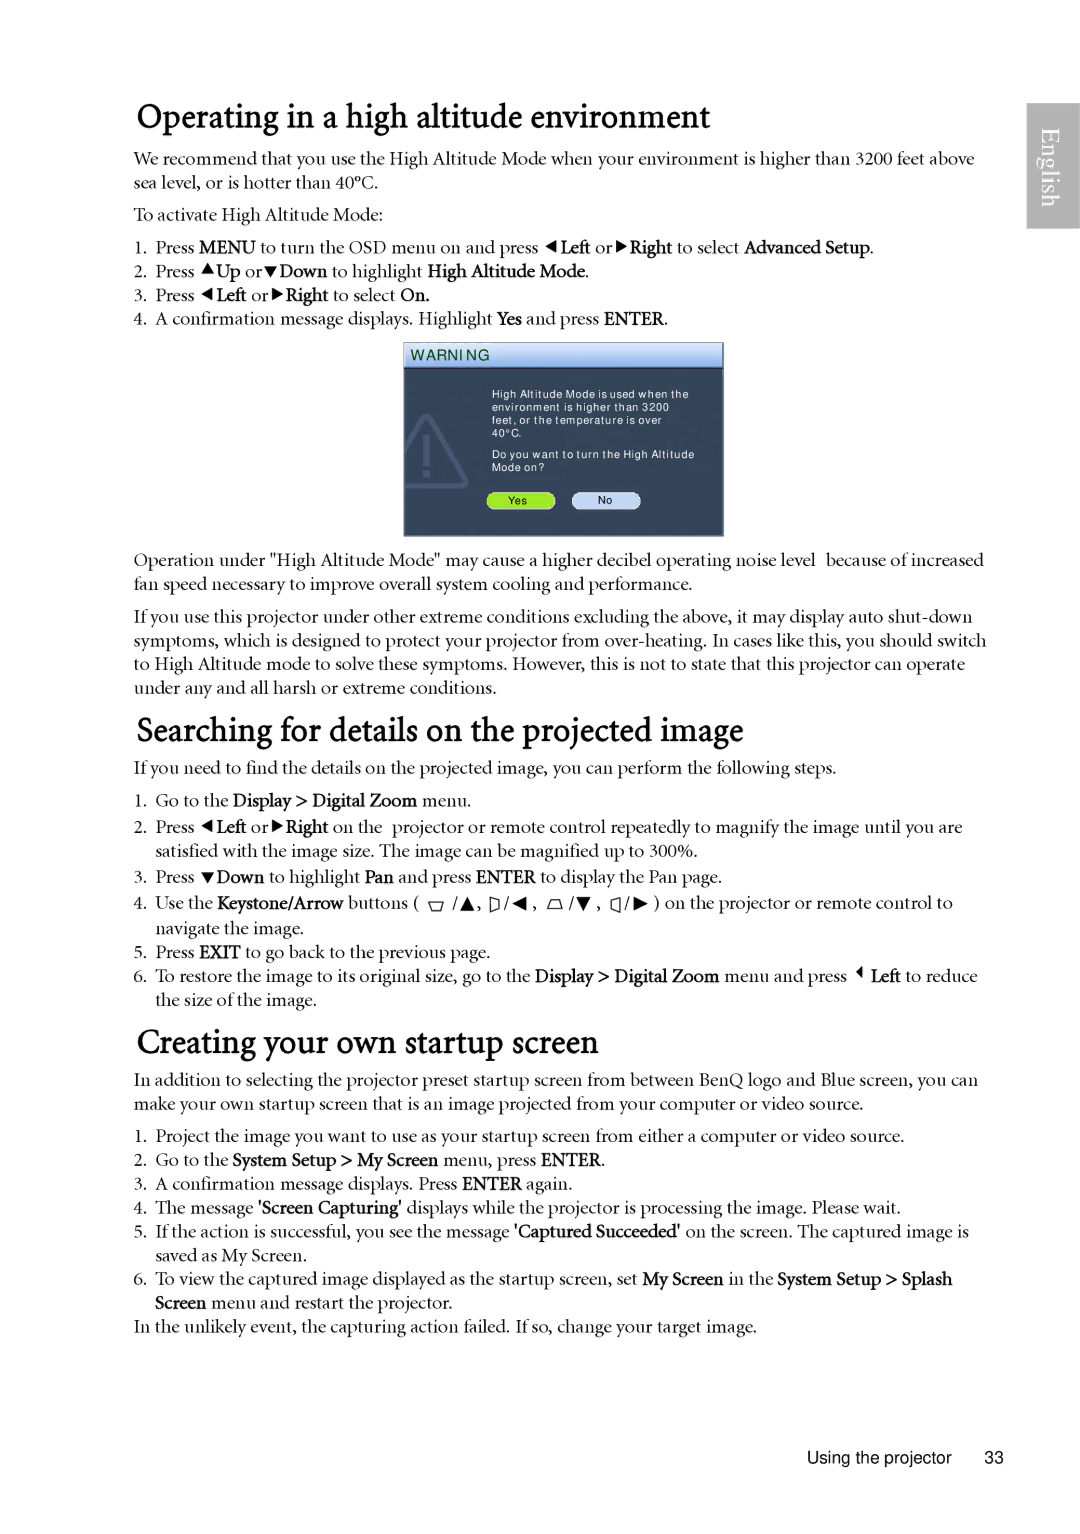
4.A confirmation message displays. Highlight Yes and press ENTER.
WARNING
High Altitude Mode is used when the environment is higher than 3200 feet, or the temperature is over 40°C.
Do you want to turn the High Altitude Mode on?
YesNo
Operation under "High Altitude Mode" may cause a higher decibel operating noise level because of increased fan speed necessary to improve overall system cooling and performance.
If you use this projector under other extreme conditions excluding the above, it may display auto
Searching for details on the projected image
If you need to find the details on the projected image, you can perform the following steps.
1.Go to the Display > Digital Zoom menu.
2.Press eLeft orfRight on the projector or remote control repeatedly to magnify the image until you are satisfied with the image size. The image can be magnified up to 300%.
3.Press dDown to highlight Pan and press ENTER to display the Pan page.
4.Use the Keystone/Arrow buttons ( ![]() /
/![]() ,
, ![]() /
/ ![]() ,
, ![]() /
/![]() ,
, ![]() /
/ ![]() ) on the projector or remote control to navigate the image.
) on the projector or remote control to navigate the image.
5.Press EXIT to go back to the previous page.
6.To restore the image to its original size, go to the Display > Digital Zoom menu and press 3Left to reduce the size of the image.
Creating your own startup screen
In addition to selecting the projector preset startup screen from between BenQ logo and Blue screen, you can make your own startup screen that is an image projected from your computer or video source.
1.Project the image you want to use as your startup screen from either a computer or video source.
2.Go to the System Setup > My Screen menu, press ENTER.
3.A confirmation message displays. Press ENTER again.
4.The message 'Screen Capturing' displays while the projector is processing the image. Please wait.
5.If the action is successful, you see the message 'Captured Succeeded' on the screen. The captured image is saved as My Screen.
6.To view the captured image displayed as the startup screen, set My Screen in the System Setup > Splash Screen menu and restart the projector.
In the unlikely event, the capturing action failed. If so, change your target image.
English
Using the projector | 33 |