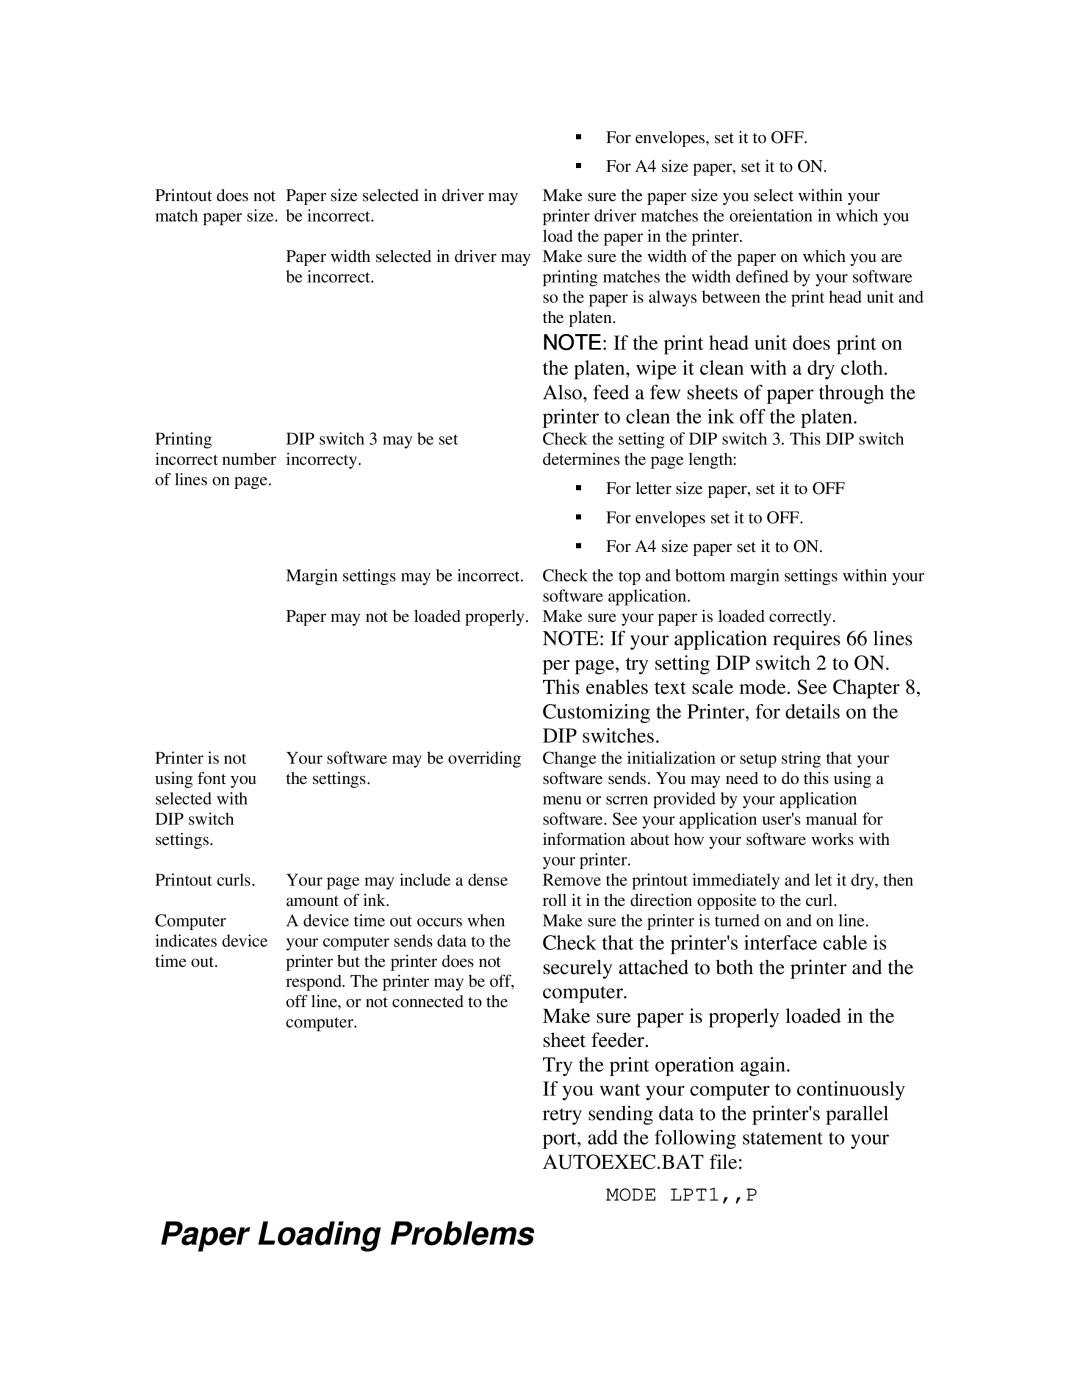
Printout does not Paper size selected in driver may match paper size. be incorrect.
Paper width selected in driver may be incorrect.
§For envelopes, set it to OFF.
§For A4 size paper, set it to ON.
Make sure the paper size you select within your printer driver matches the oreientation in which you load the paper in the printer.
Make sure the width of the paper on which you are printing matches the width defined by your software so the paper is always between the print head unit and the platen.
Printing | DIP switch 3 may be set |
incorrect number | incorrecty. |
of lines on page. |
|
Margin settings may be incorrect.
Paper may not be loaded properly.
Printer is not | Your software may be overriding |
using font you | the settings. |
selected with |
|
DIP switch |
|
settings. |
|
Printout curls. | Your page may include a dense |
| amount of ink. |
Computer | A device time out occurs when |
indicates device | your computer sends data to the |
time out. | printer but the printer does not |
| respond. The printer may be off, |
| off line, or not connected to the |
| computer. |
NOTE: If the print head unit does print on the platen, wipe it clean with a dry cloth. Also, feed a few sheets of paper through the printer to clean the ink off the platen.
Check the setting of DIP switch 3. This DIP switch determines the page length:
§For letter size paper, set it to OFF
§For envelopes set it to OFF.
§For A4 size paper set it to ON.
Check the top and bottom margin settings within your software application.
Make sure your paper is loaded correctly.
NOTE: If your application requires 66 lines per page, try setting DIP switch 2 to ON. This enables text scale mode. See Chapter 8, Customizing the Printer, for details on the DIP switches.
Change the initialization or setup string that your software sends. You may need to do this using a menu or scrren provided by your application software. See your application user's manual for information about how your software works with your printer.
Remove the printout immediately and let it dry, then roll it in the direction opposite to the curl.
Make sure the printer is turned on and on line.
Check that the printer's interface cable is securely attached to both the printer and the computer.
Make sure paper is properly loaded in the sheet feeder.
Try the print operation again.
If you want your computer to continuously retry sending data to the printer's parallel port, add the following statement to your AUTOEXEC.BAT file:
MODE LPT1,,P
