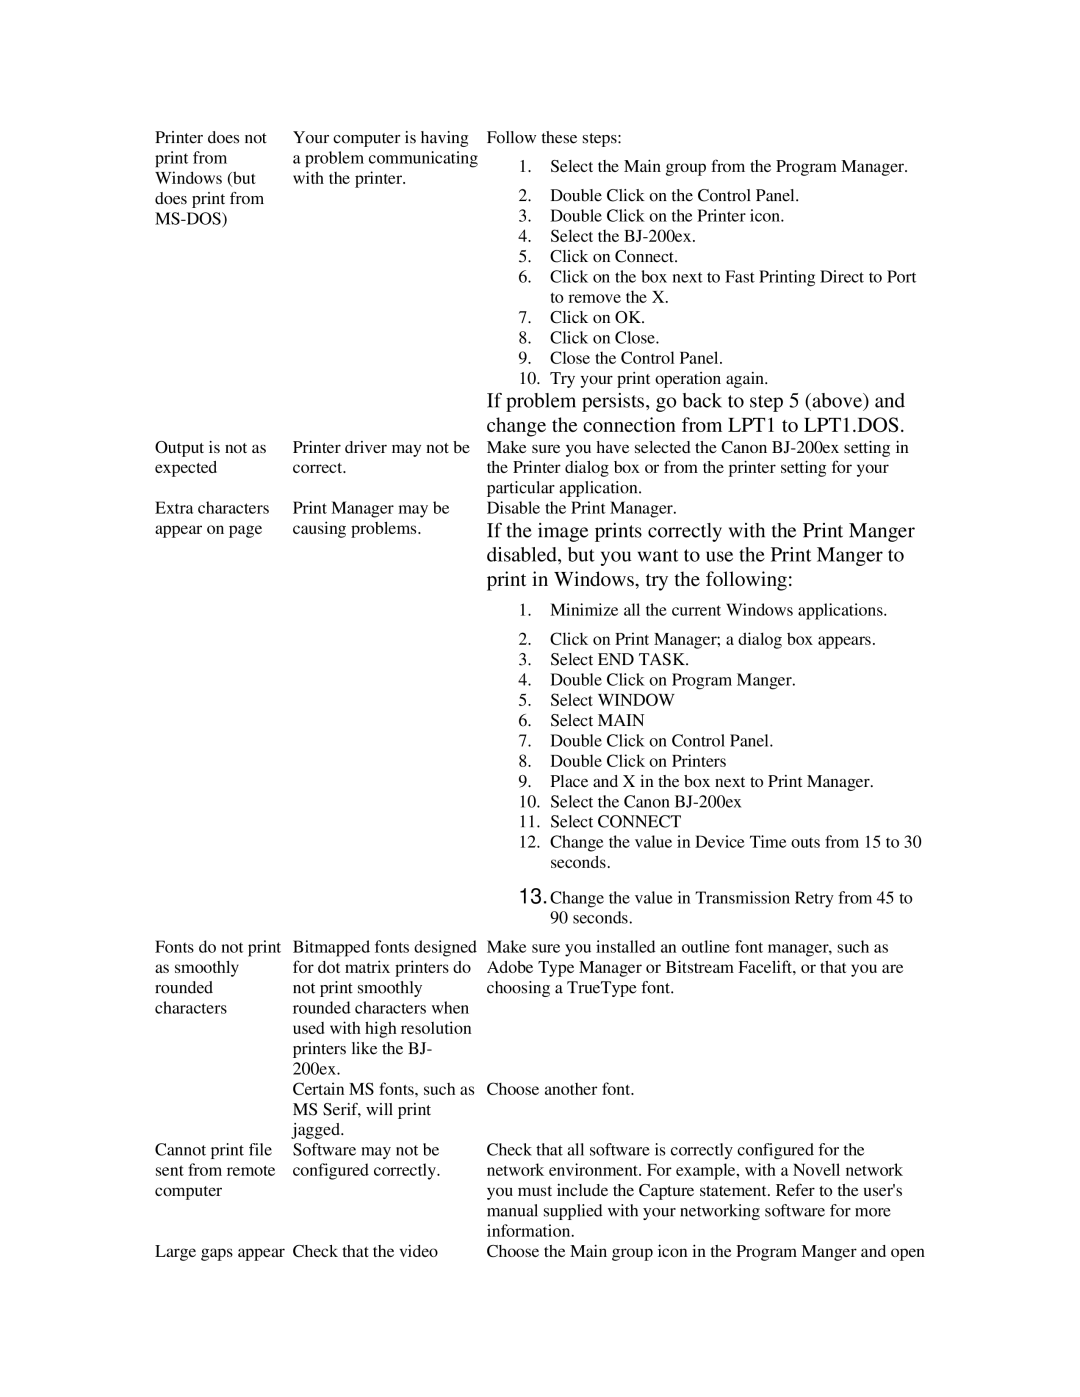
Large gaps appear Check that the video
Check that all software is correctly configured for the network environment. For example, with a Novell network you must include the Capture statement. Refer to the user's manual supplied with your networking software for more information.
Choose the Main group icon in the Program Manger and open
Fonts do not print Bitmapped fonts designed Make sure you installed an outline font manager, such as
as smoothly for dot matrix printers do Adobe Type Manager or Bitstream Facelift, or that you are
roundednot print smoothly choosing a TrueType font.
characters rounded characters when used with high resolution printers like the BJ- 200ex.
Certain MS fonts, such as Choose another font. MS Serif, will print
jagged.
Cannot print file Software may not be sent from remote configured correctly. computer
If the image prints correctly with the Print Manger disabled, but you want to use the Print Manger to print in Windows, try the following:
1. Minimize all the current Windows applications.
2. Click on Print Manager; a dialog box appears.
3. Select END TASK.
4. Double Click on Program Manger.
5. Select WINDOW
6. Select MAIN
7. Double Click on Control Panel.
8. Double Click on Printers
9. Place and X in the box next to Print Manager.
10. Select the Canon BJ-200ex
11. Select CONNECT
12. Change the value in Device Time outs from 15 to 30 seconds.
13. Change the value in Transmission Retry from 45 to 90 seconds.
Print Manager may be causing problems.
Extra characters appear on page
Printer driver may not be Make sure you have selected the Canon BJ-200ex setting in
correct.the Printer dialog box or from the printer setting for your particular application.
Disable the Print Manager.
Output is not as expected
Your computer is having Follow these steps:
a problem communicating 1. Select the Main group from the Program Manager. with the printer.
2. Double Click on the Control Panel.
3. Double Click on the Printer icon.
4. Select the BJ-200ex.
5. Click on Connect.
6. Click on the box next to Fast Printing Direct to Port to remove the X.
7. Click on OK.
8. Click on Close.
9. Close the Control Panel.
10. Try your print operation again.
If problem persists, go back to step 5 (above) and change the connection from LPT1 to LPT1.DOS.
Printer does not print from Windows (but does print from MS-DOS)
