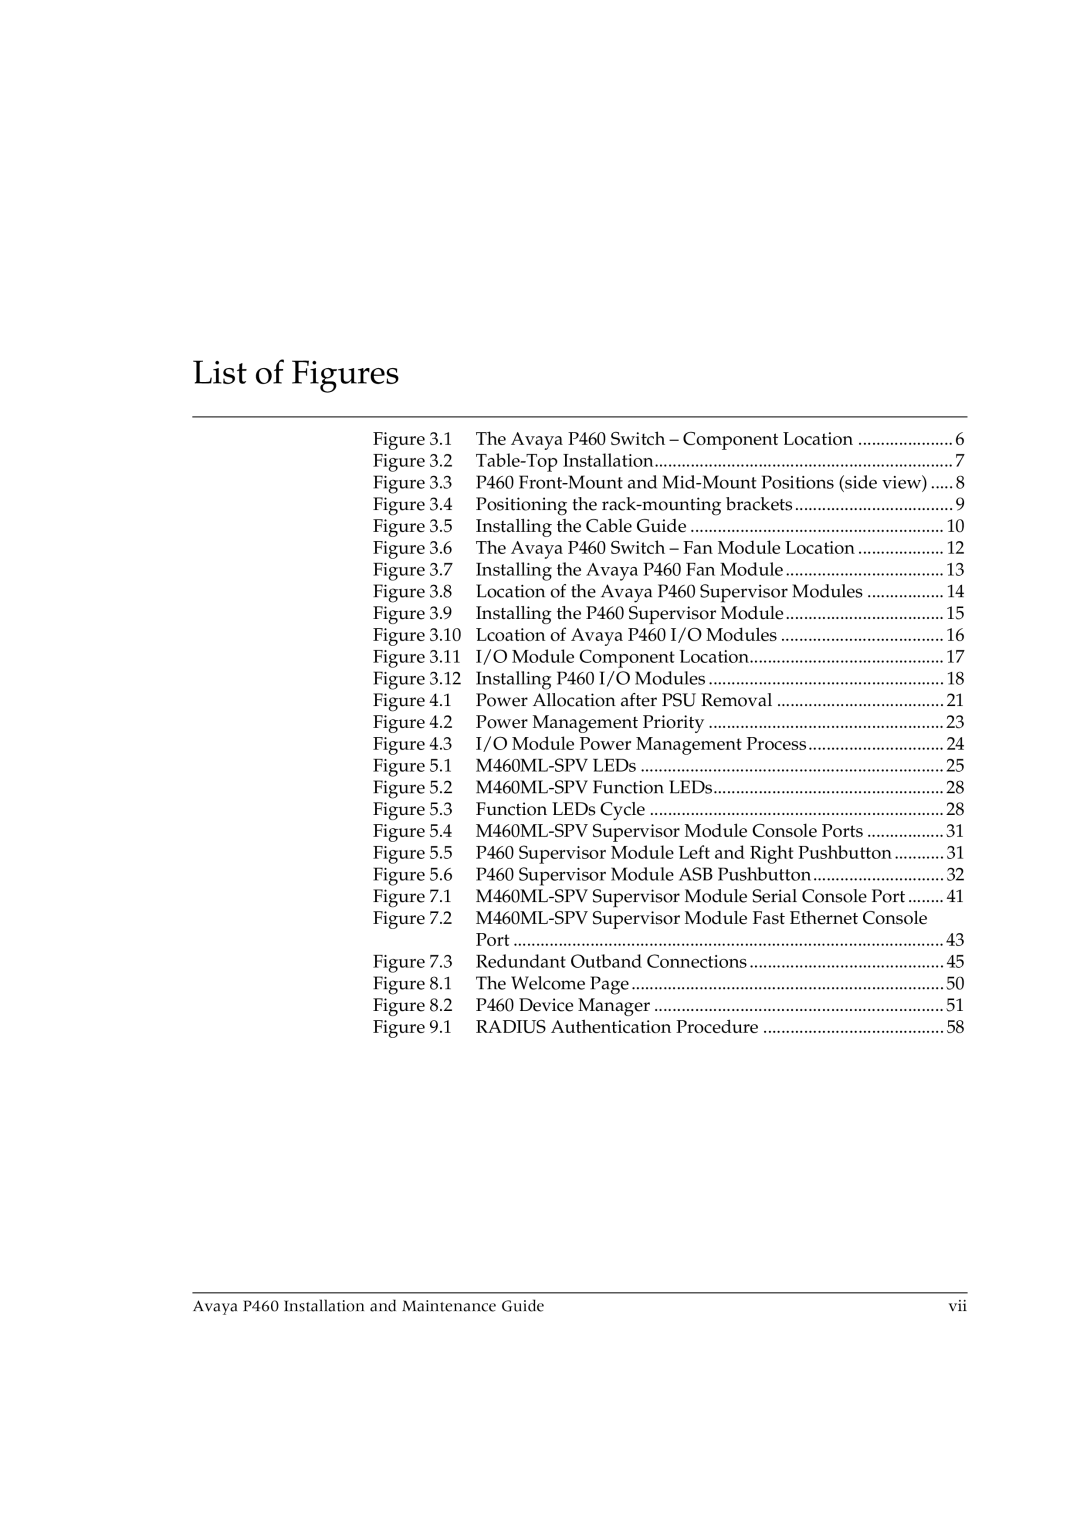
List of Figures |
|
|
Figure 3.1 | The Avaya P460 Switch – Component Location | 6 |
Figure 3.2 | 7 | |
Figure 3.3 | P460 | 8 |
Figure 3.4 | Positioning the | 9 |
Figure 3.5 | Installing the Cable Guide | 10 |
Figure 3.6 | The Avaya P460 Switch – Fan Module Location | 12 |
Figure 3.7 | Installing the Avaya P460 Fan Module | 13 |
Figure 3.8 | Location of the Avaya P460 Supervisor Modules | 14 |
Figure 3.9 | Installing the P460 Supervisor Module | 15 |
Figure 3.10 | Lcoation of Avaya P460 I/O Modules | 16 |
Figure 3.11 | I/O Module Component Location | 17 |
Figure 3.12 | Installing P460 I/O Modules | 18 |
Figure 4.1 | Power Allocation after PSU Removal | 21 |
Figure 4.2 | Power Management Priority | 23 |
Figure 4.3 | I/O Module Power Management Process | 24 |
Figure 5.1 | 25 | |
Figure 5.2 | 28 | |
Figure 5.3 | Function LEDs Cycle | 28 |
Figure 5.4 | 31 | |
Figure 5.5 | P460 Supervisor Module Left and Right Pushbutton | 31 |
Figure 5.6 | P460 Supervisor Module ASB Pushbutton | 32 |
Figure 7.1 | 41 | |
Figure 7.2 |
| |
| Port | 43 |
Figure 7.3 | Redundant Outband Connections | 45 |
Figure 8.1 | The Welcome Page | 50 |
Figure 8.2 | P460 Device Manager | 51 |
Figure 9.1 | RADIUS Authentication Procedure | 58 |
Avaya P460 Installation and Maintenance Guide | vii |
