Chapter 7
Establishing Switch Access
Introduction
This chapter describes how to access the Avaya P460 CLI from the following devices:
•A terminal to the serial port on the Supervisor Module
•A workstation running a Telnet session connected via an I/O module (Inband)
•A workstation running a Telnet session connected to the Console Fast Ethernet port on a Supervisor module (outband)
•A remote terminal/workstation attached via a modem (PPP connection) to the Supervisor Console Serial port. (Sideband)
Establishing a Console Connection with the P460
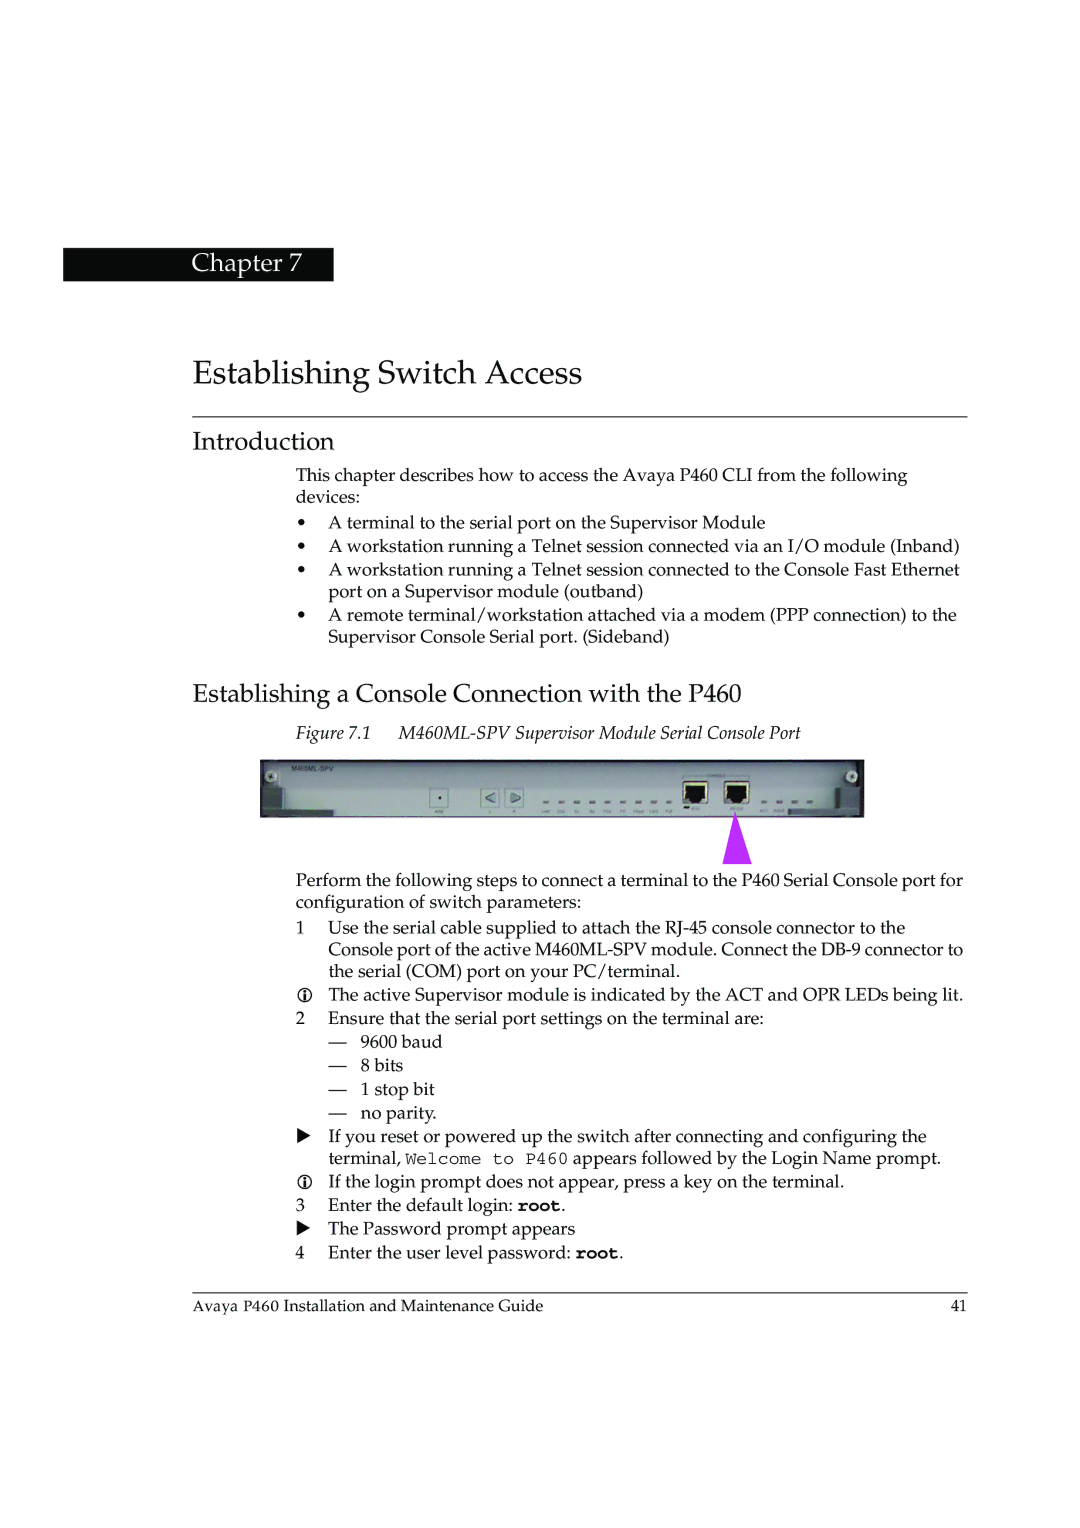
Figure 7.1 M460ML-SPV Supervisor Module Serial Console Port
Perform the following steps to connect a terminal to the P460 Serial Console port for configuration of switch parameters:
1Use the serial cable supplied to attach the
The active Supervisor module is indicated by the ACT and OPR LEDs being lit.
2Ensure that the serial port settings on the terminal are:
—9600 baud
—8 bits
—1 stop bit
—no parity.
XIf you reset or powered up the switch after connecting and configuring the terminal, Welcome to P460 appears followed by the Login Name prompt. If the login prompt does not appear, press a key on the terminal.
3Enter the default login: root. X The Password prompt appears
4Enter the user level password: root.
Avaya P460 Installation and Maintenance Guide | 41 |