Appendix B Using TightVNC Viewer to Shadow or Monitor a Thin Client
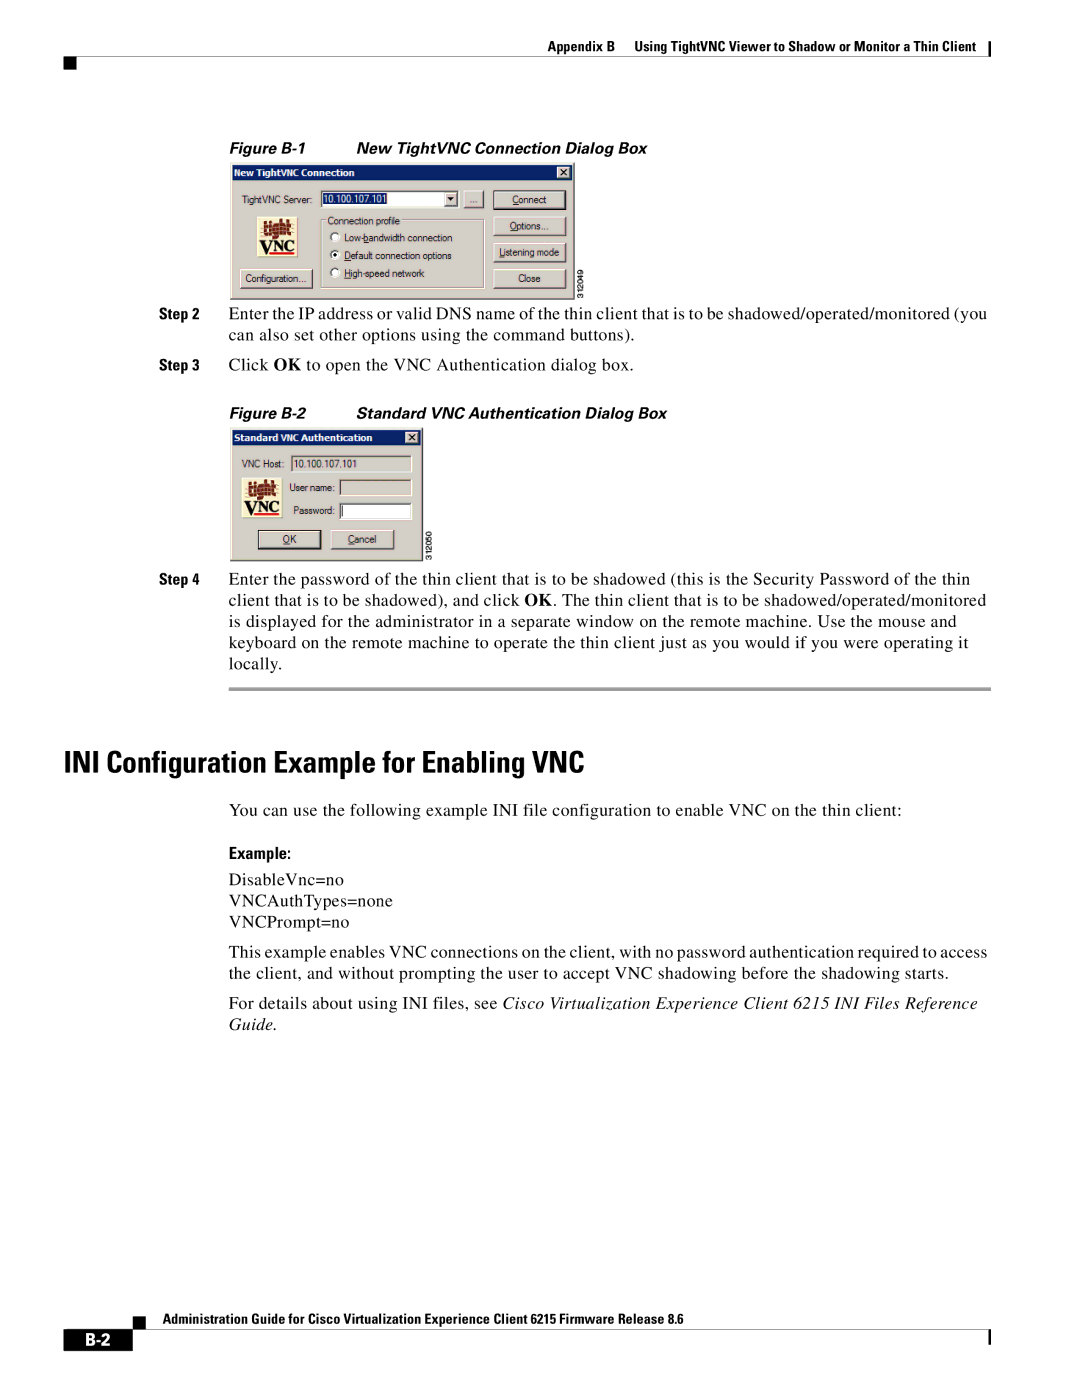
Figure B-1 New TightVNC Connection Dialog Box
Step 2 Enter the IP address or valid DNS name of the thin client that is to be shadowed/operated/monitored (you can also set other options using the command buttons).
Step 3 Click OK to open the VNC Authentication dialog box.
Figure B-2 Standard VNC Authentication Dialog Box
Step 4 Enter the password of the thin client that is to be shadowed (this is the Security Password of the thin client that is to be shadowed), and click OK. The thin client that is to be shadowed/operated/monitored is displayed for the administrator in a separate window on the remote machine. Use the mouse and keyboard on the remote machine to operate the thin client just as you would if you were operating it locally.
INI Configuration Example for Enabling VNC
You can use the following example INI file configuration to enable VNC on the thin client:
Example:
DisableVnc=no
VNCAuthTypes=none
VNCPrompt=no
This example enables VNC connections on the client, with no password authentication required to access the client, and without prompting the user to accept VNC shadowing before the shadowing starts.
For details about using INI files, see Cisco Virtualization Experience Client 6215 INI Files Reference Guide.
Administration Guide for Cisco Virtualization Experience Client 6215 Firmware Release 8.6