Chapter 7 Controlling Lightweight Access Points
Configuring Link Latency
Note Link latency calculates the CAPWAP response time between the access point and the controller. It does not measure network latency or ping responses.
The controller displays the current
You can configure link latency for a specific access point using the controller GUI or CLI or for all access points joined to the controller using the CLI.
Using the GUI to Configure Link Latency
Using the controller GUI, follow these steps to configure link latency.
Step 1 Click Wireless > Access Points > All APs to open the All APs page.
Step 2 Click the name of the access point for which you want to configure link latency.
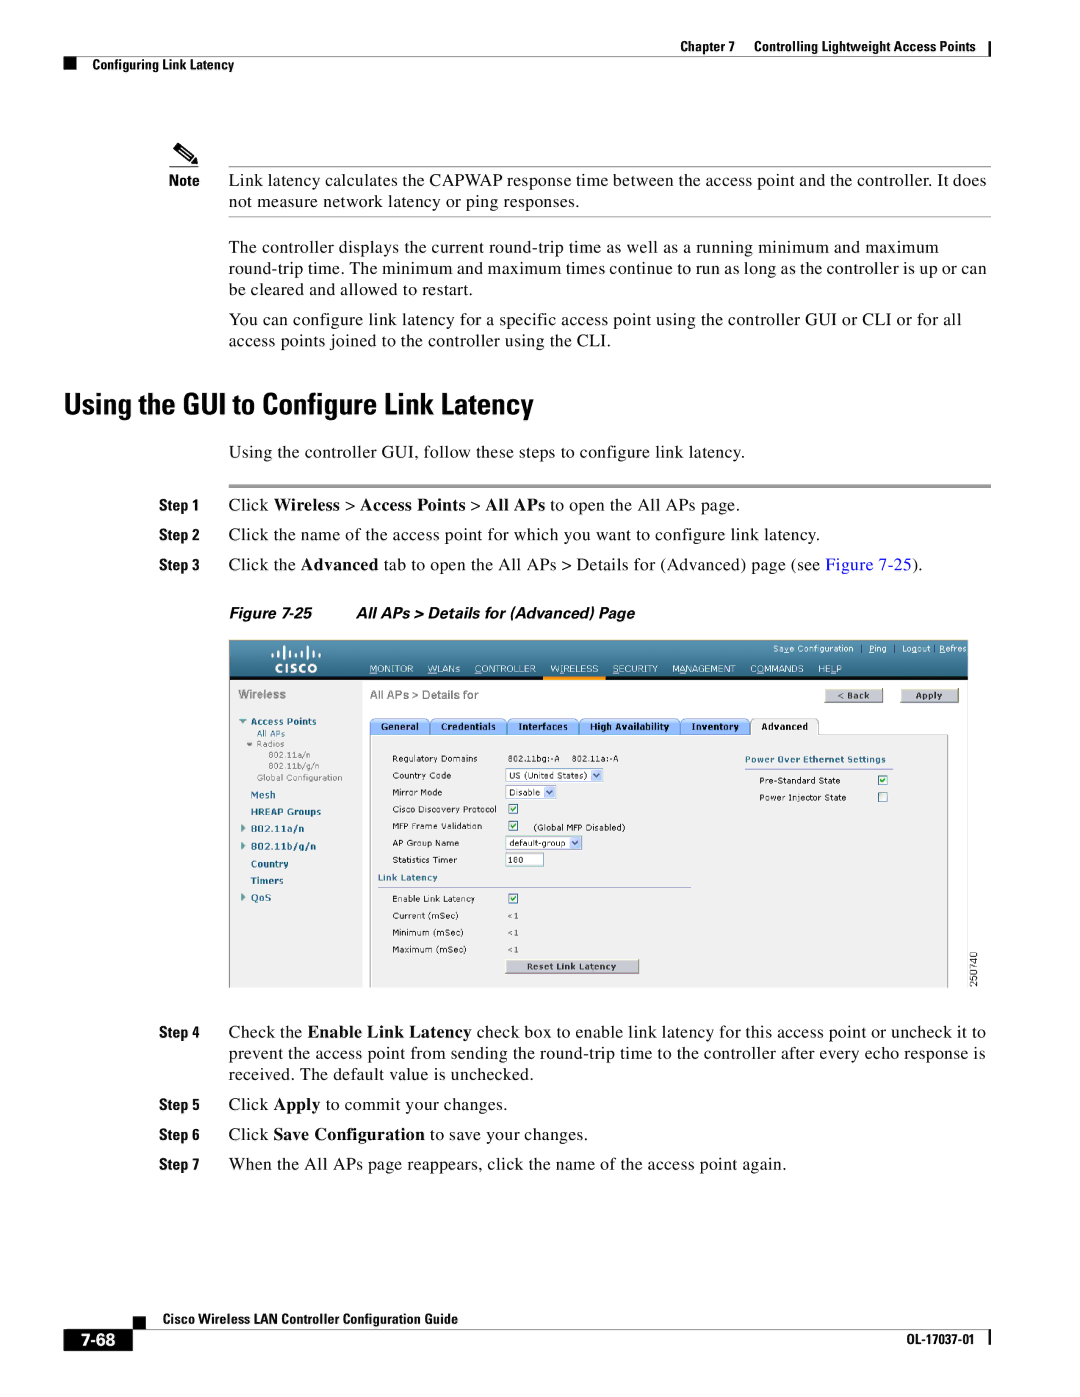
Step 3 Click the Advanced tab to open the All APs > Details for (Advanced) page (see Figure
Figure 7-25 All APs > Details for (Advanced) Page
Step 4 Check the Enable Link Latency check box to enable link latency for this access point or uncheck it to prevent the access point from sending the
Step 5 Click Apply to commit your changes.
Step 6 Click Save Configuration to save your changes.
Step 7 When the All APs page reappears, click the name of the access point again.
| Cisco Wireless LAN Controller Configuration Guide |